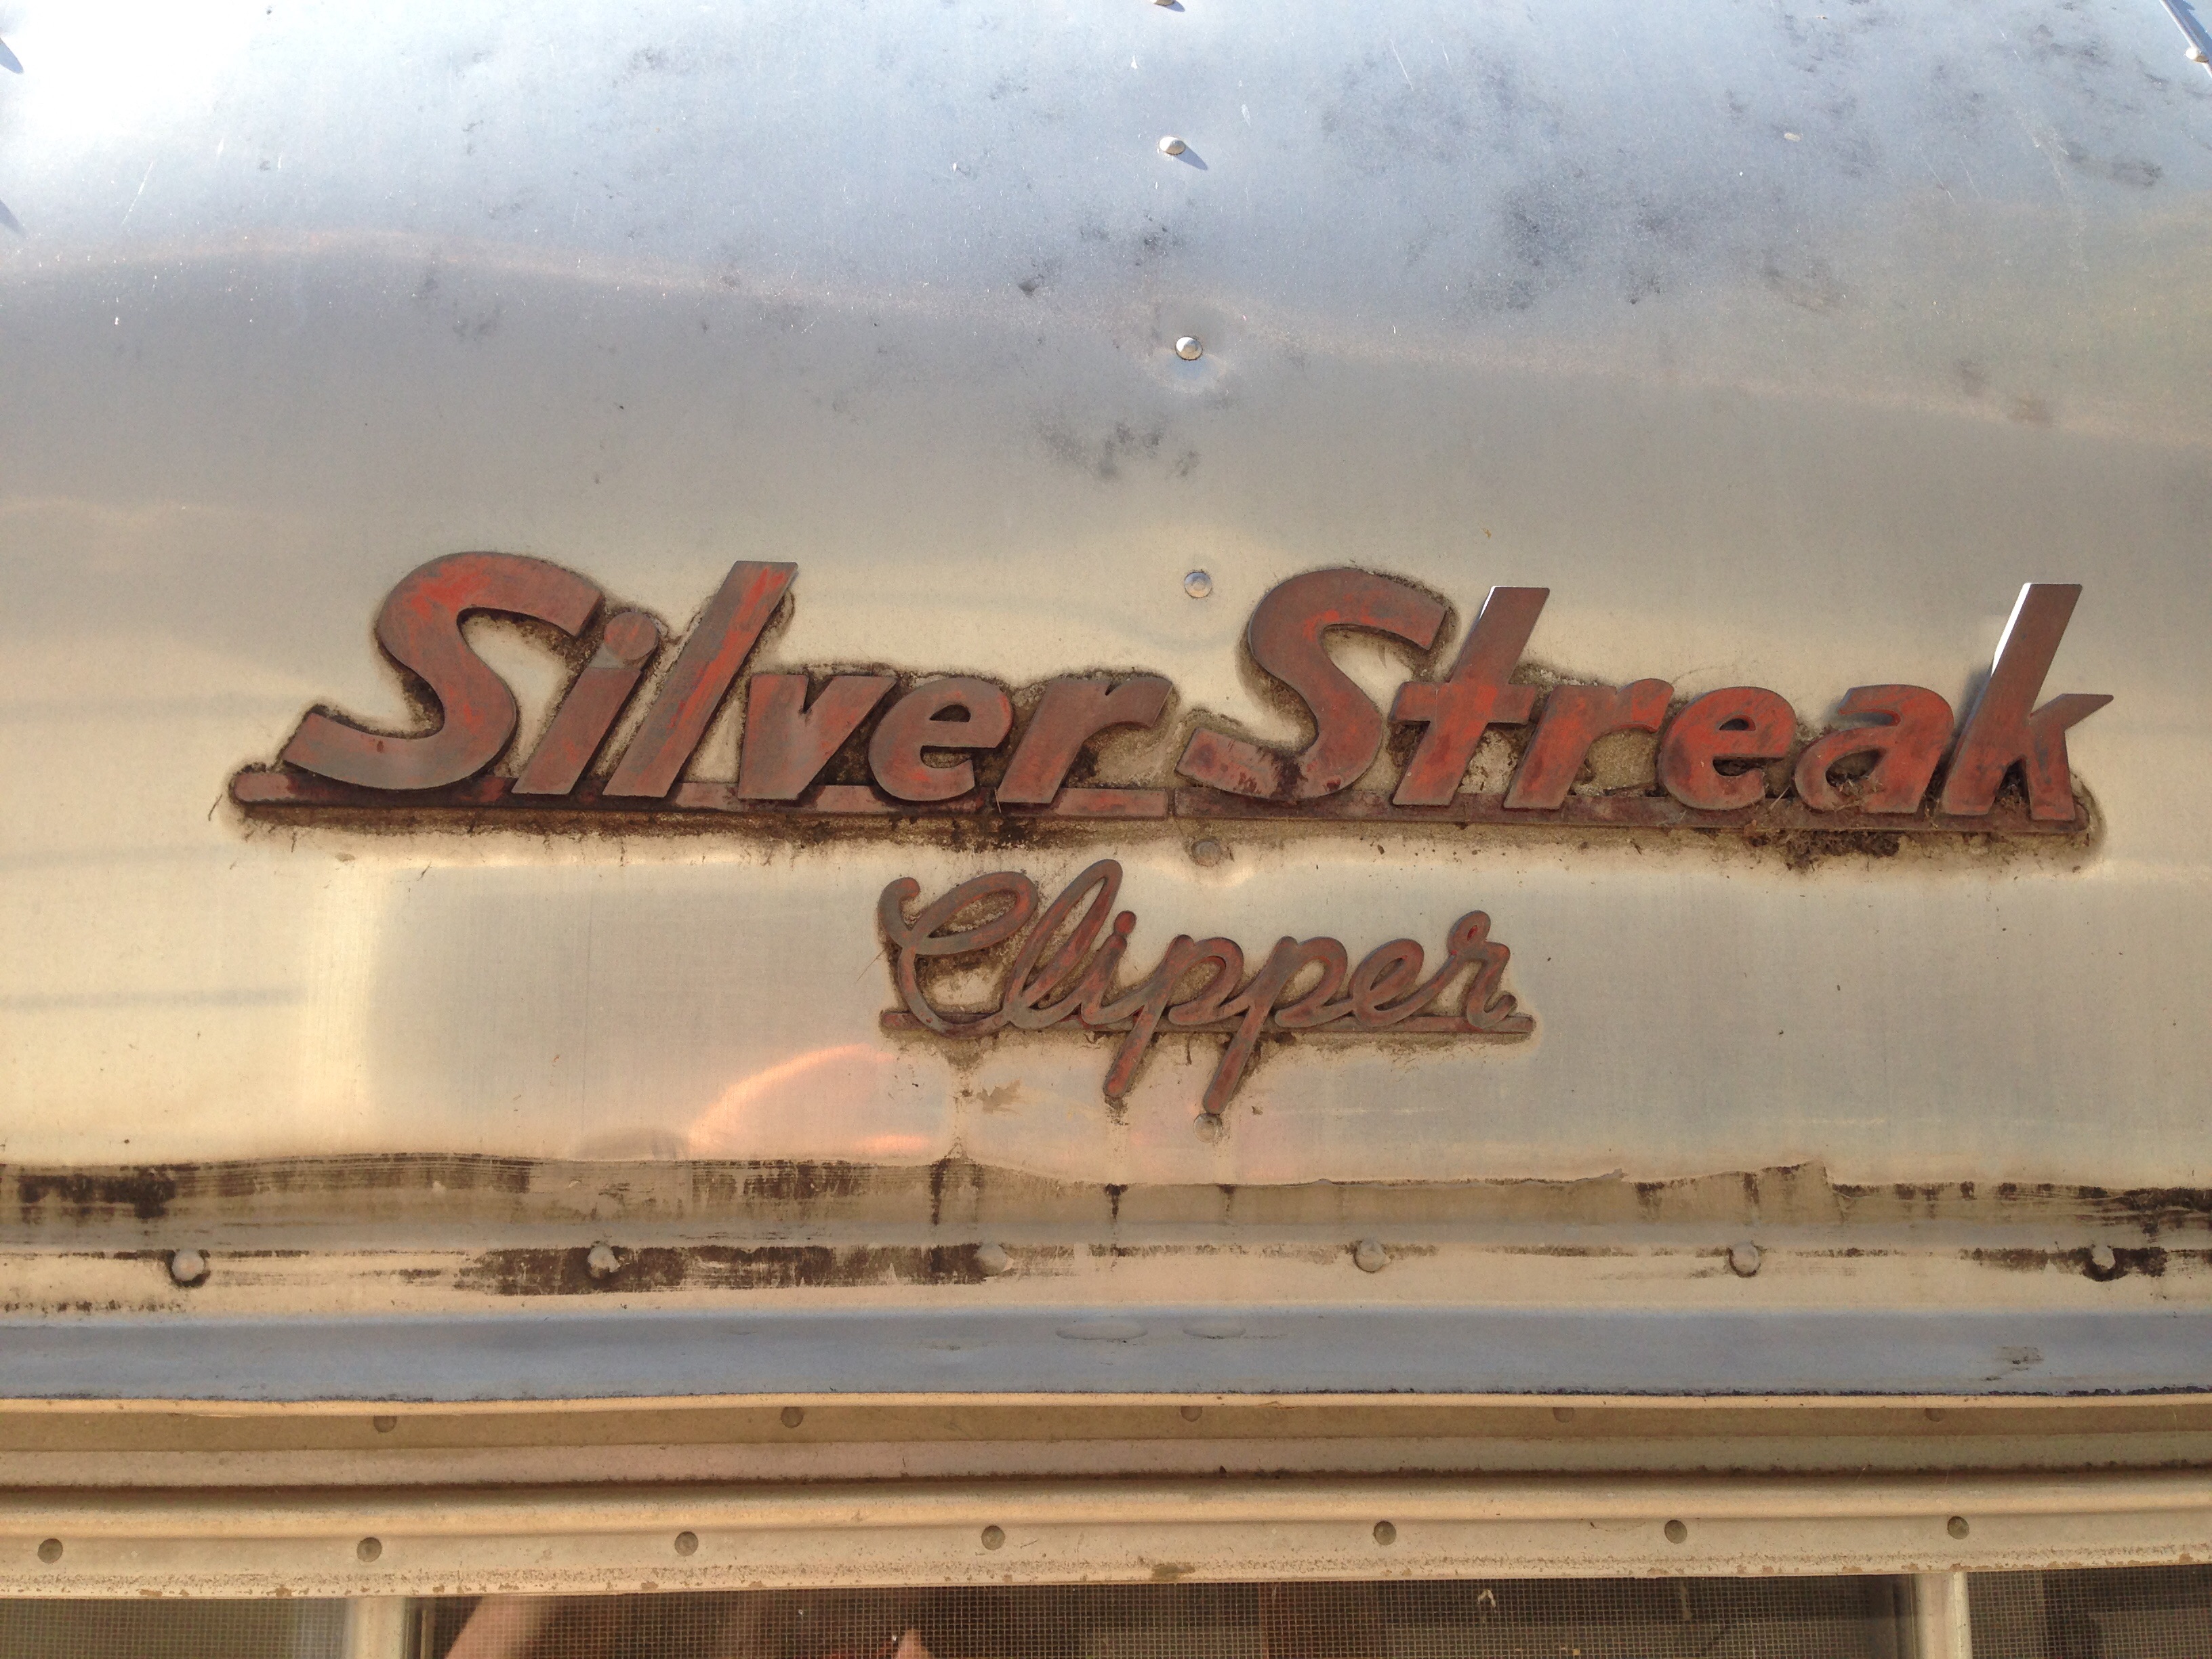
Emblem
I’ve been so bad about updating this blog about our Silver Streak! Work is happening….blogging is not. We are, finally, in the process of putting her back together. I CANNOT WAIT TO CAMP! We are not-so-anxiously awaiting another doozy of a snow storm this weekend. UGH. 6-15″ of heavy wet snow is forecast. Crap. I’m over it, already.
I’ll give you a brief run-down of what has been happening, then post pictures at the end. As always, contact me if you have any questions.
As is typical, we have been fighting leaks in the Clipper. We’ve replaced a few windows, painted the top with elastomeric paint, and resealed everything that could possibly need it. This next storm will determine if we did a good job. Since we’ve installed some of the wood framed furniture, I am a bit worried. We rebuilt the bed frames and the dinette (ok, ok, ok….GEORGE rebuilt them). I shellacked and poly’ed them, though :-P. So, I really really really do not want them to get wet.
I removed all the doors and drawers. Some were in better shape than others. I sanded them down and applied a few coats of Amber Shellac, then I polyurethaned everything a couple times. I, also, did the same to the new bed and dinette frames. I am somewhat of a freak and really enjoy the smell of polyurethane, acetone, mineral spirits, and contact cement. Dear Husband calls me his “solvent queen”. I’m not sure how I feel about that, but I DID enjoy myself.
I got all fancy and stuff and made really nice black-out lined curtains. Wow. I impressed myself with those. I purchased some fantastic tropical fabric and black-out lining on FabricGuru.com. Man, do I love that website. Holy Moly. It’s a good thing I’m in a “purge” cycle, or my attic would be stuffed with great fabric deals. Seriously. I, also, found some awesome “Teal Tweed” Sunbrella fabric on eBay. I used the Sunbrella for the upholstery (as well as some cool teal vinyl which I bought at Colorado Fabrics – for a very hefty sum, and they didn’t even kiss me afterwards). I used the same Sunbrella fabric for the awning (YES….I MADE ANOTHER DAMN AWNING).
We ordered some fantastic boomerang laminate. It is Wilsonart Retro Hotrod, and it is fantastic! It was a pretty good deal, too. $115 for an 8′ x 4′ sheet, which was enough for EVERYTHING. The old laminate popped right off the original wood pieces, and we were very happy that we didn’t have to make a new table or counter tops. The hardest part is cutting the darn laminate. We scored it and snapped it on the cut lines, but it wasn’t easy. I’m sure there is some laminate tool that we need to buy, but geeeeeez. We have so many darn tools. Thankfully, we have a router and a laminate bit, so cutting the Formica once it was glued on the wood table or counter base was pretty darn easy.
The original interior paint was in amazingly good condition in this beautiful trailer. There were a couple areas that needed a touch up, which was kind of intimidating. The original paint was sprayed on almost 60 years ago! I took a small sample of the original paint to Lowes and they did a great job of matching it for me. It’s not quite the right sheen (because of how it was applied – I rolled it on, I didn’t spray it), but it is in areas that will not be noticeable once it is all put back together, and it looks a heck of a lot better than the chipped and bare spots that were there before.
The original emblems (in the pic up top) were in bad shape. We only had one good emblem on the trailer. The other one was broken and not complete. George was the brave one and started working on removing our one in tact emblem. Thankfully, he was successful!! I found a place via my trailer groups on Facebook that will make us aluminum replicas! I’m so happy! I could not find them ANYWHERE. The place that is making them for me will keep the pattern, and they will now be available for other Silver Streak owners that need this type of emblem. Once I receive them, I will post the contact information. They should arrive in a couple weeks.
So here are pics of what we’ve accomplished and where we are at. Still loads to do, but this is the downhill side of this mountain. YAY!


Installing the Dinette
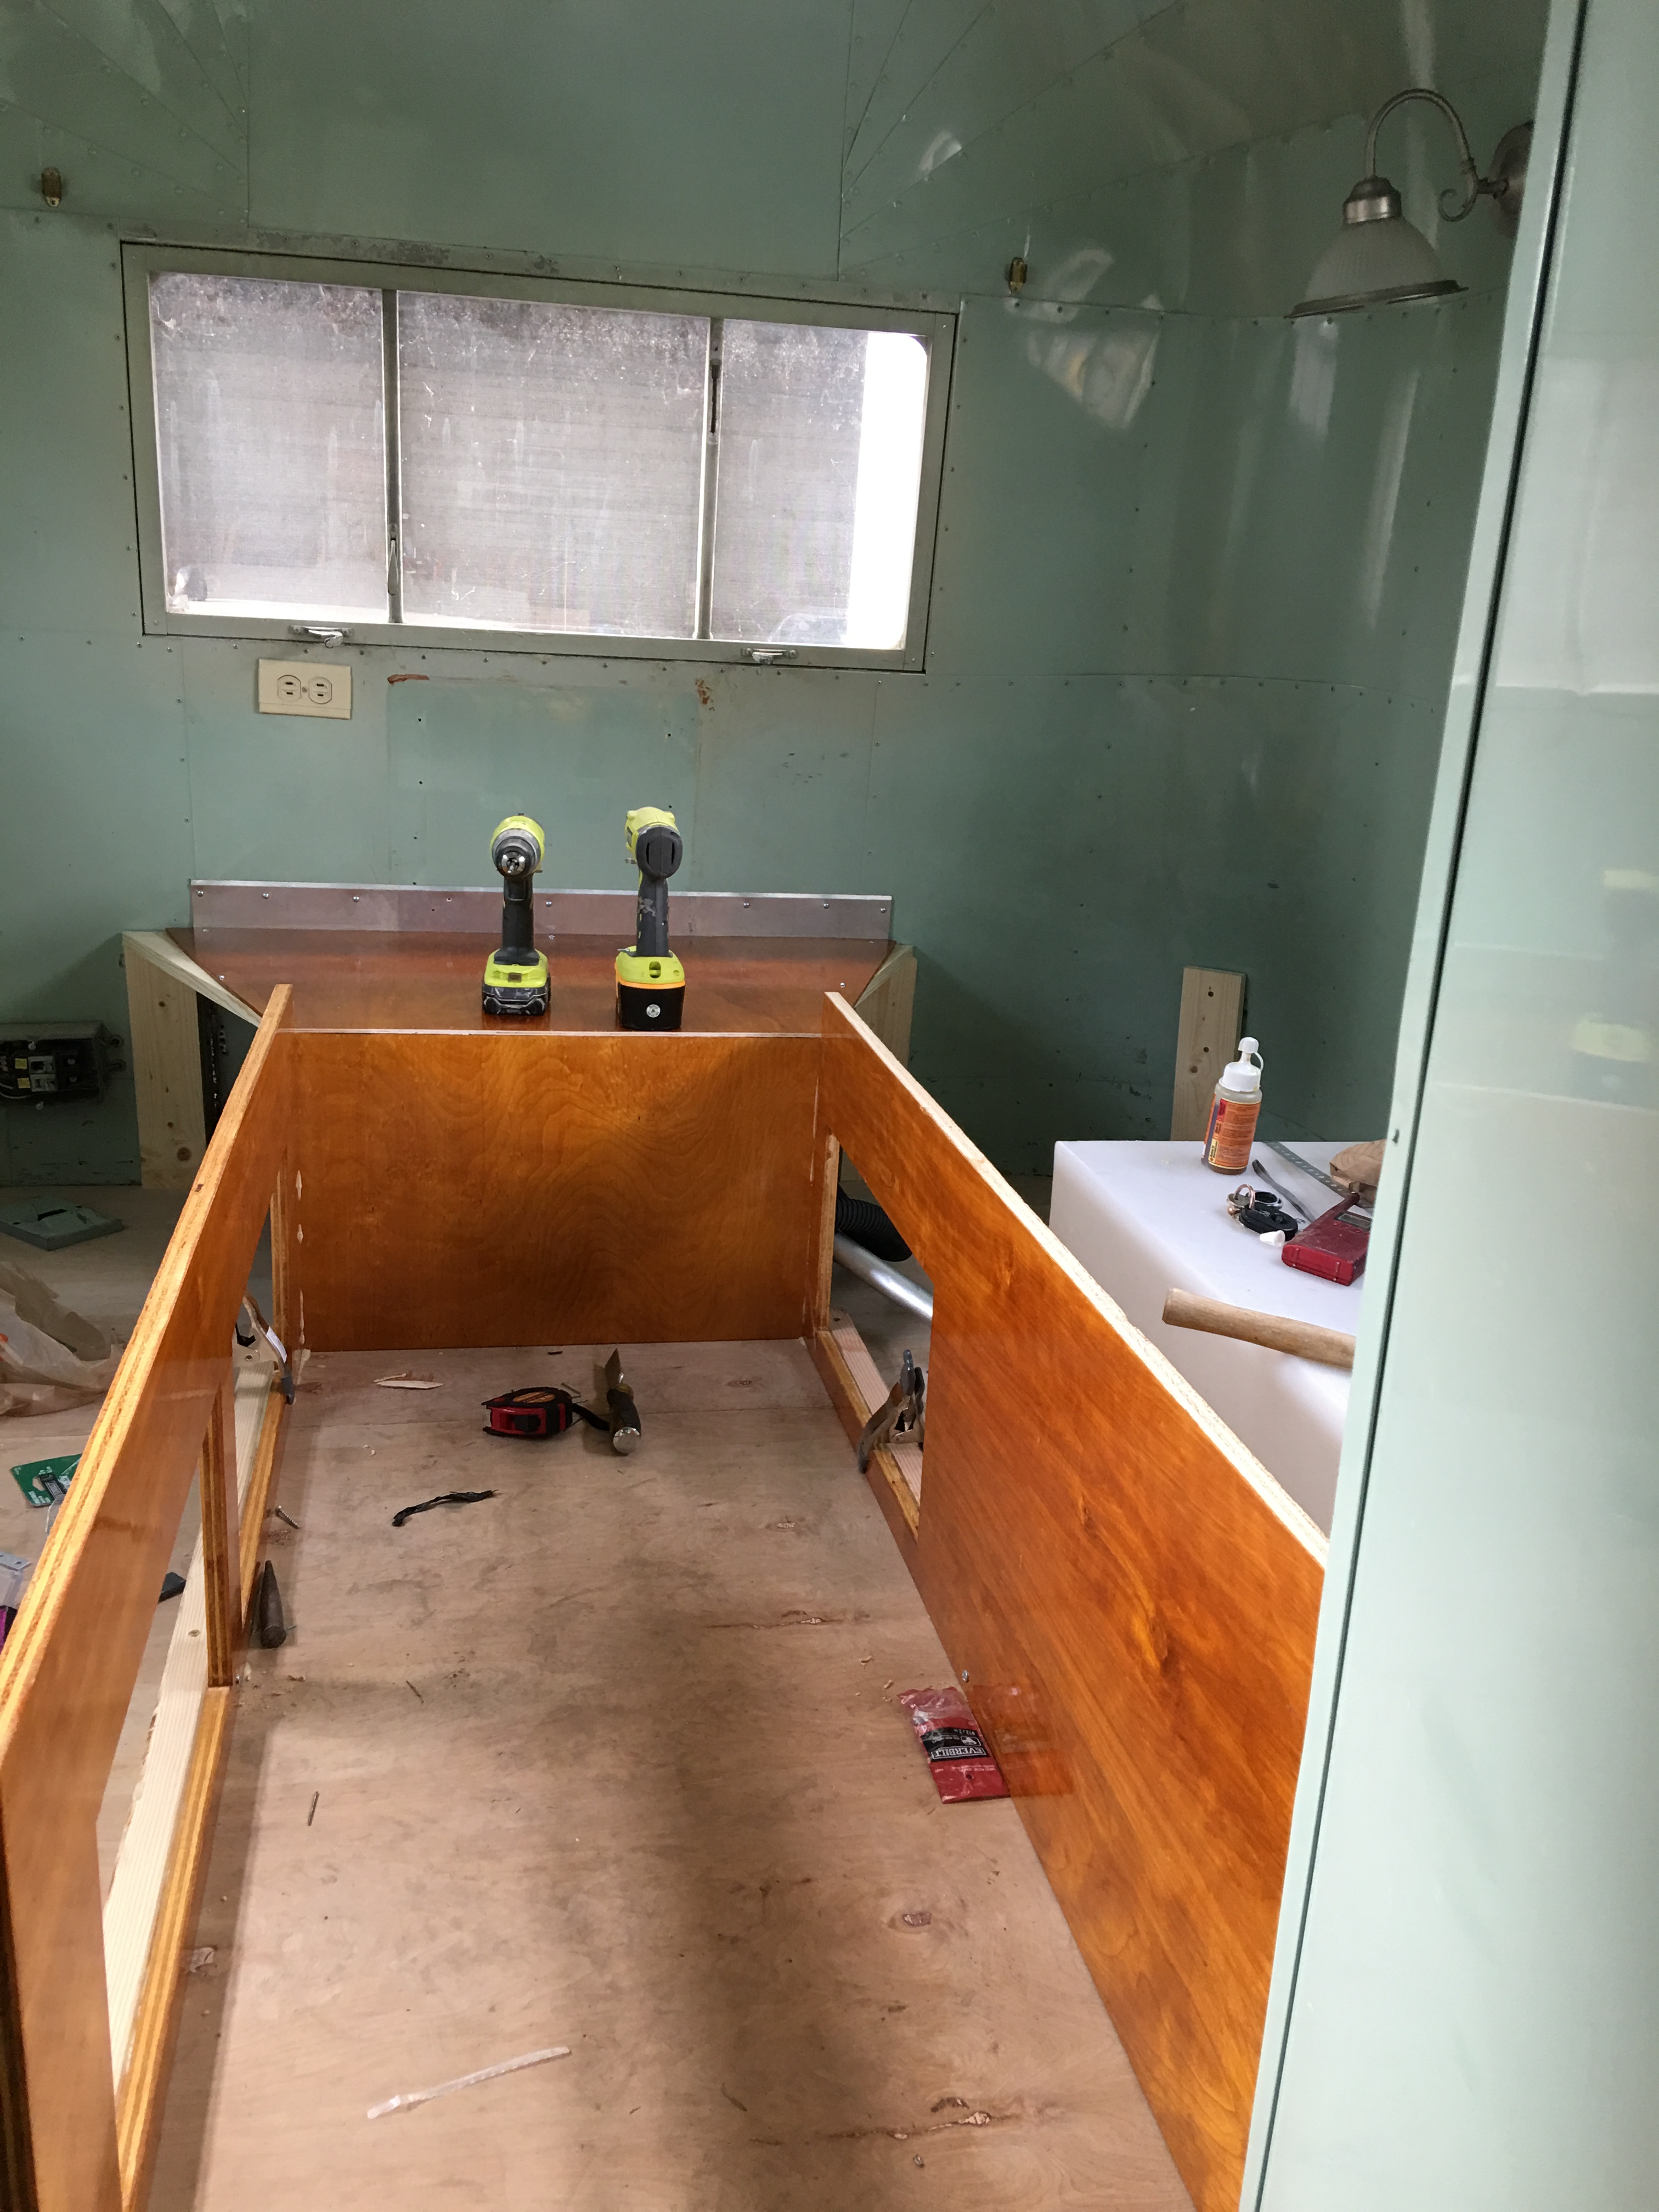
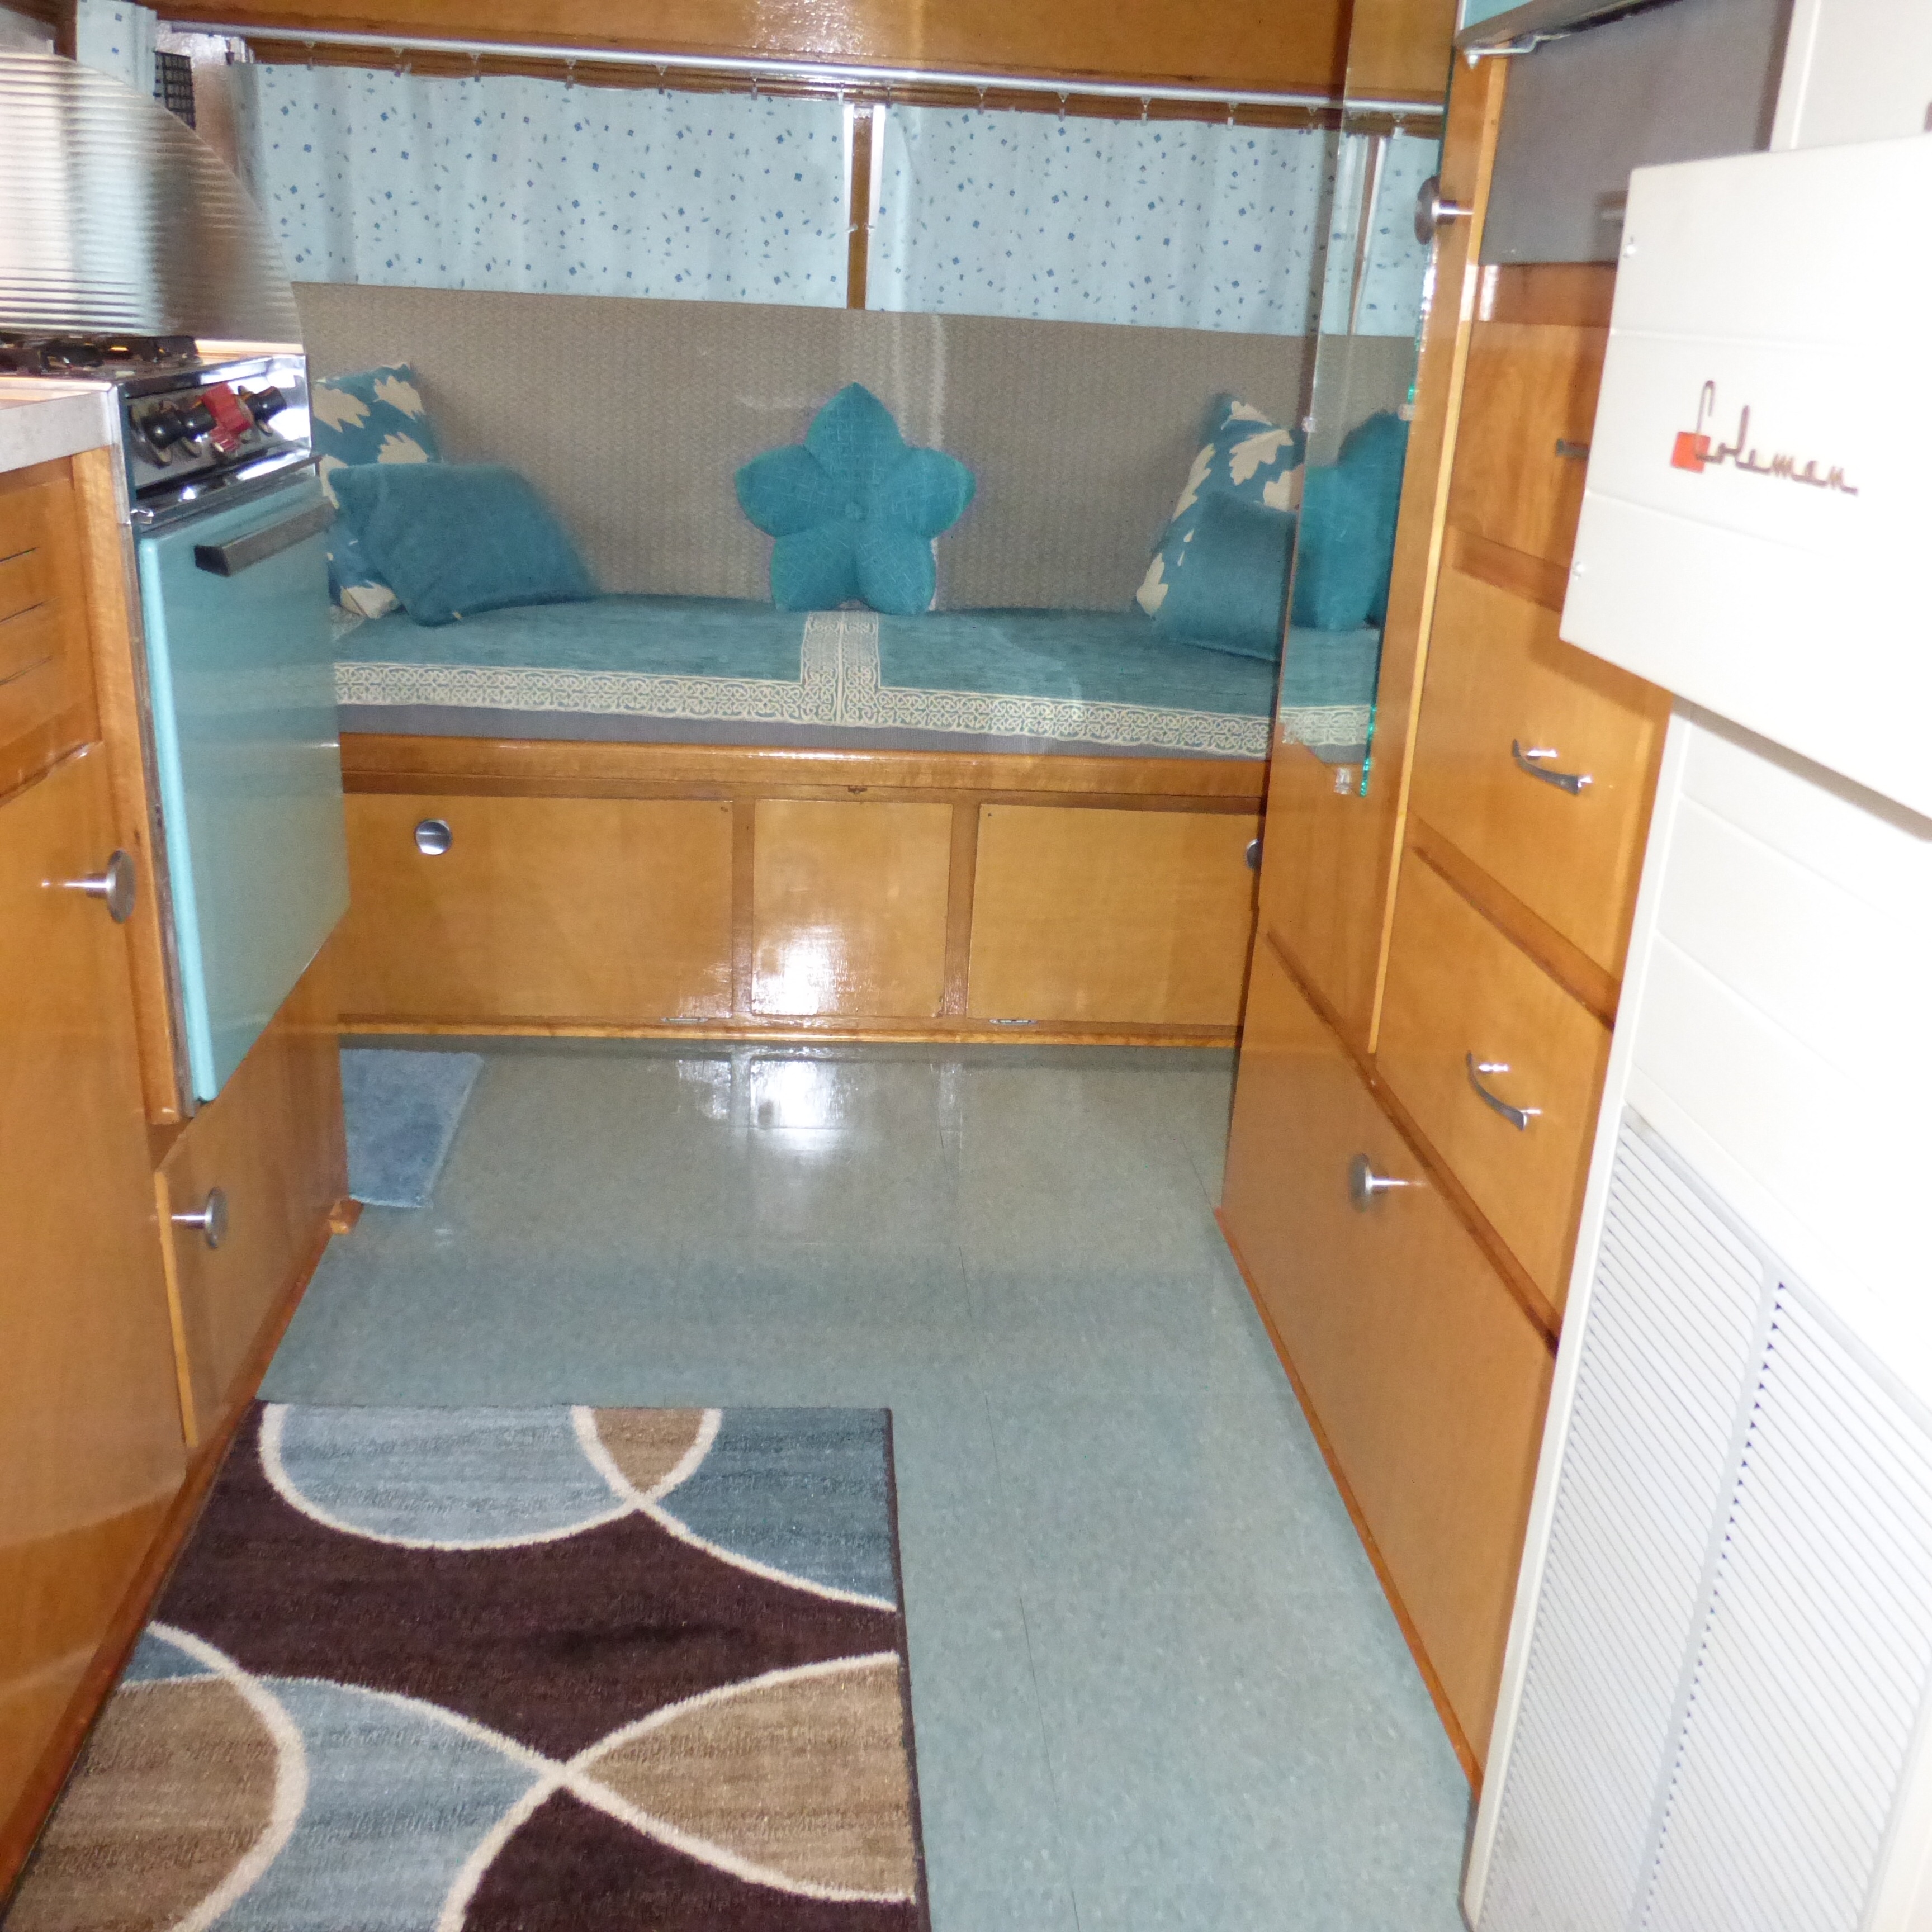
Bed frames installed

New water tank and 12V pump


Processed with MOLDIV

Kitchen counter dry fit

Shelf above stove. I ADORE that fan.
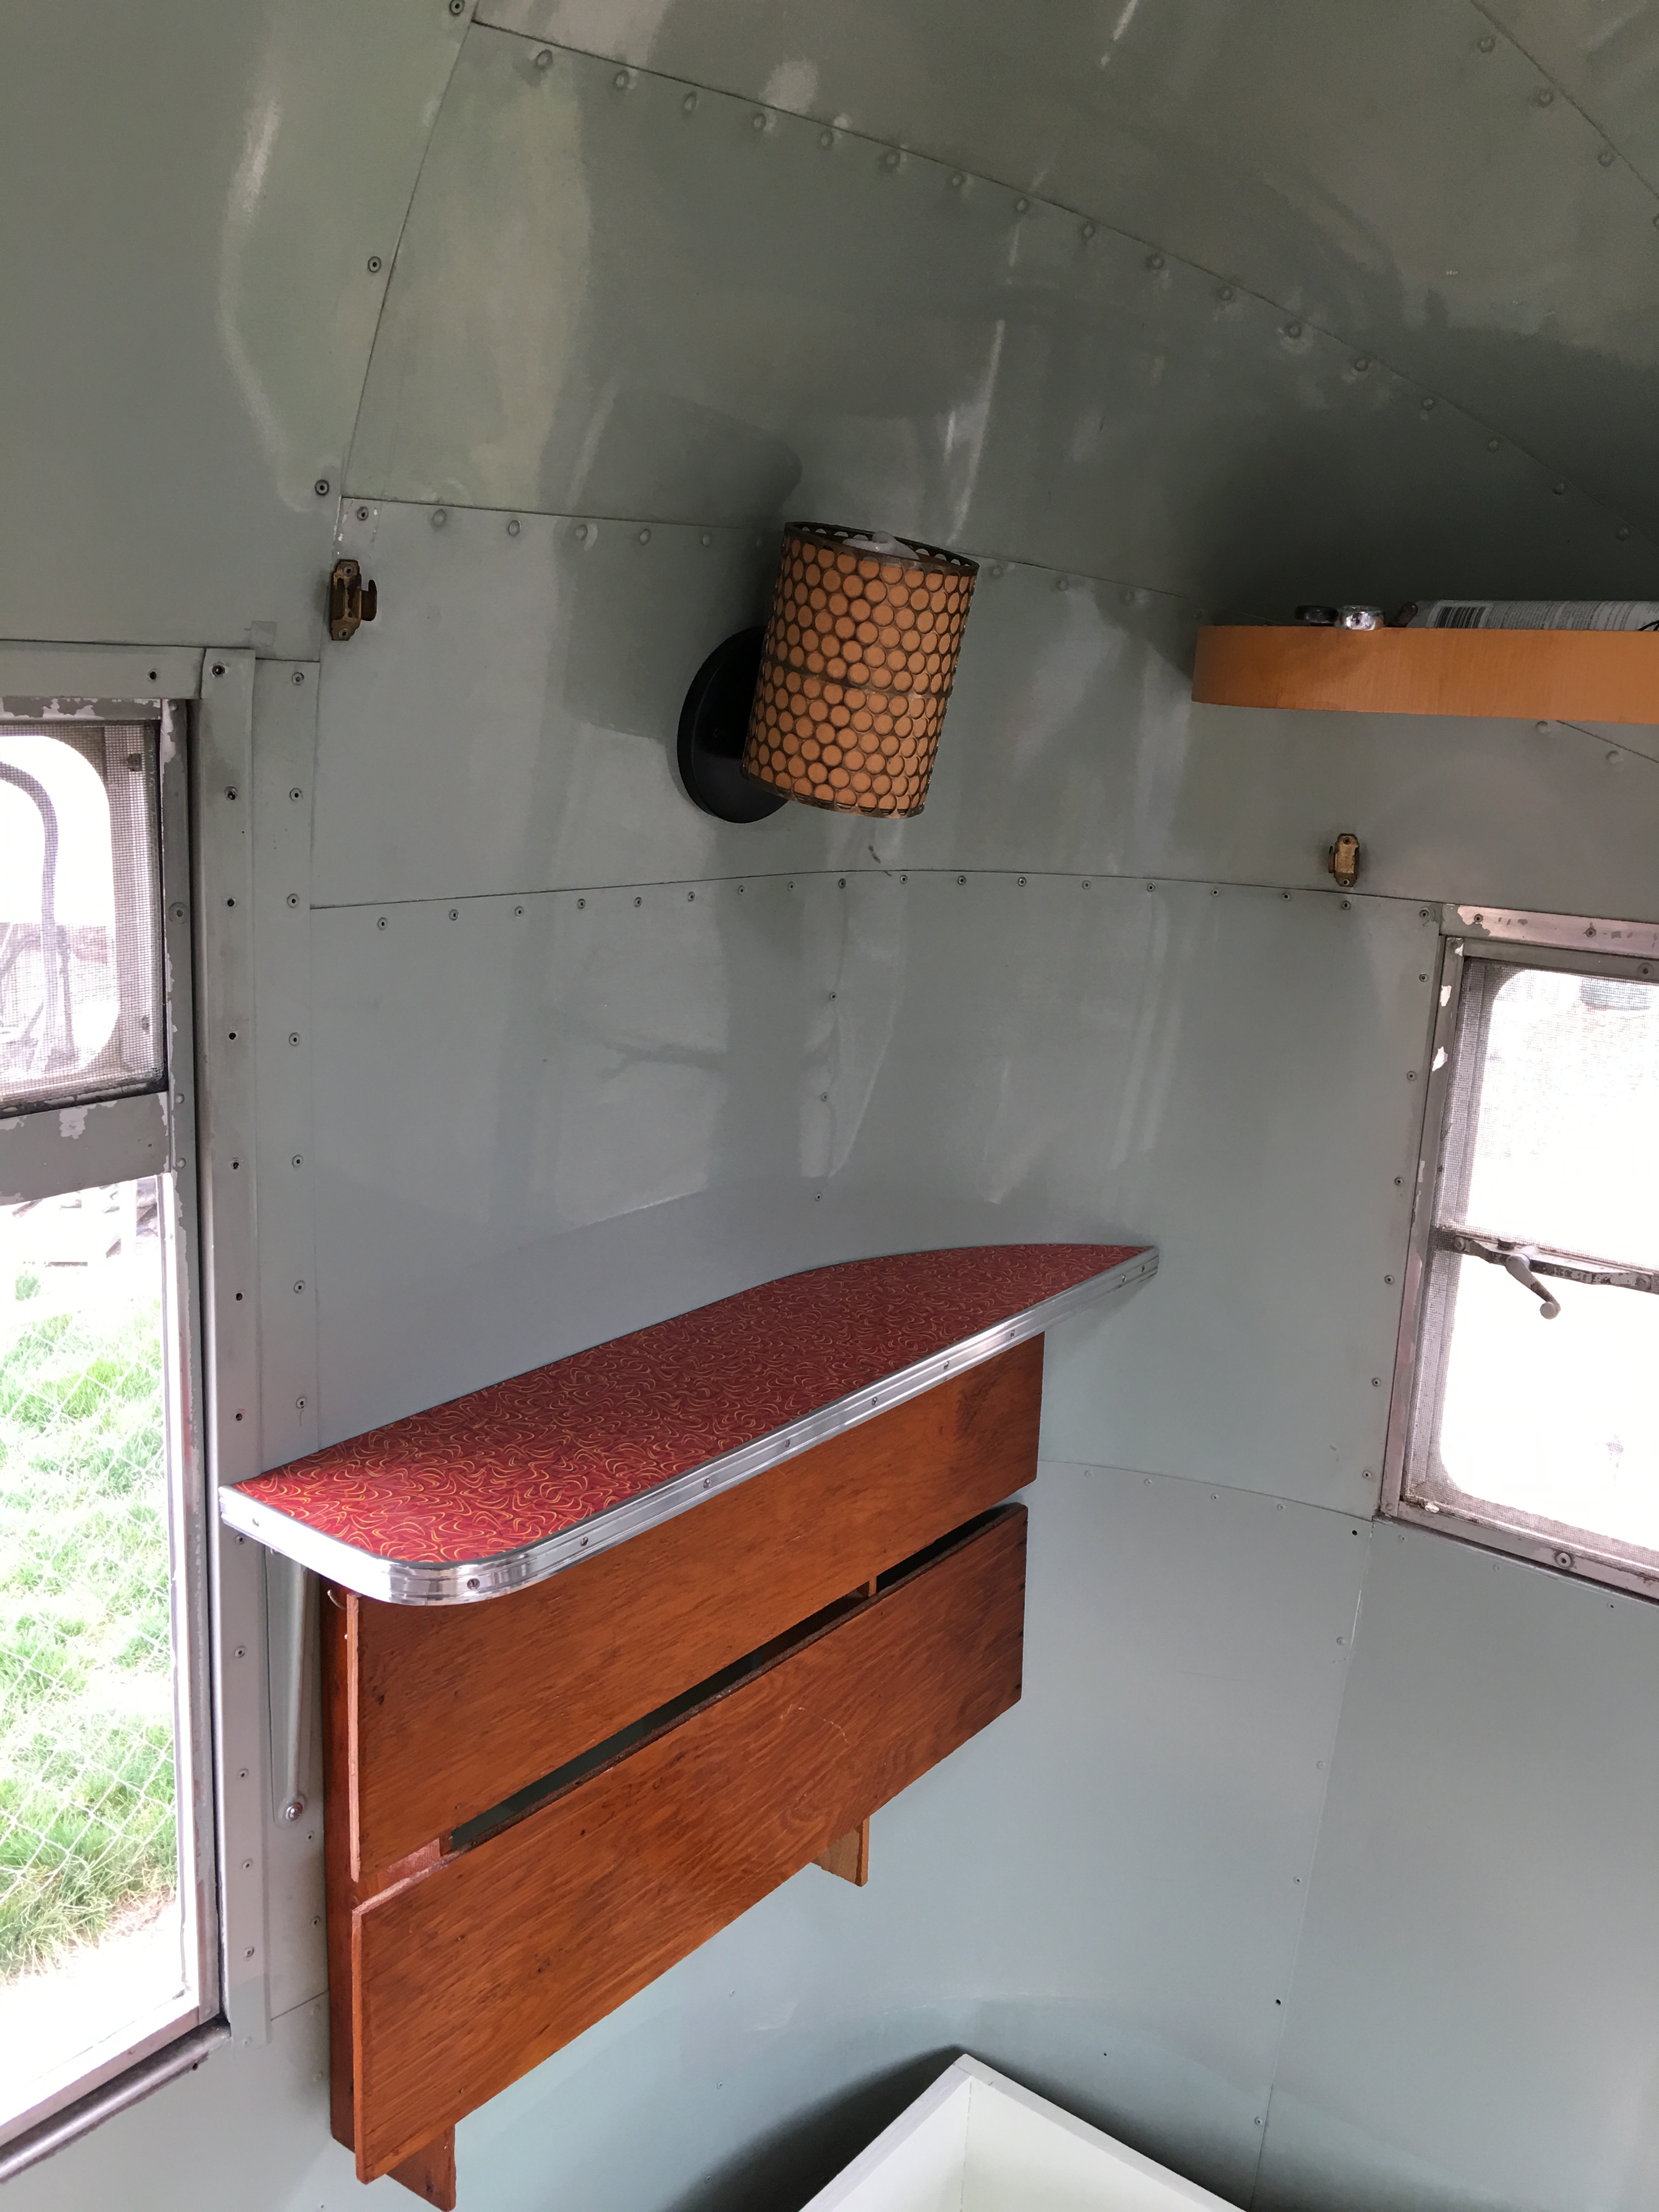
Cute little shelf above dinette
Still to do:
Replace several window latches
Re-screen Windows and Door-in-door screen
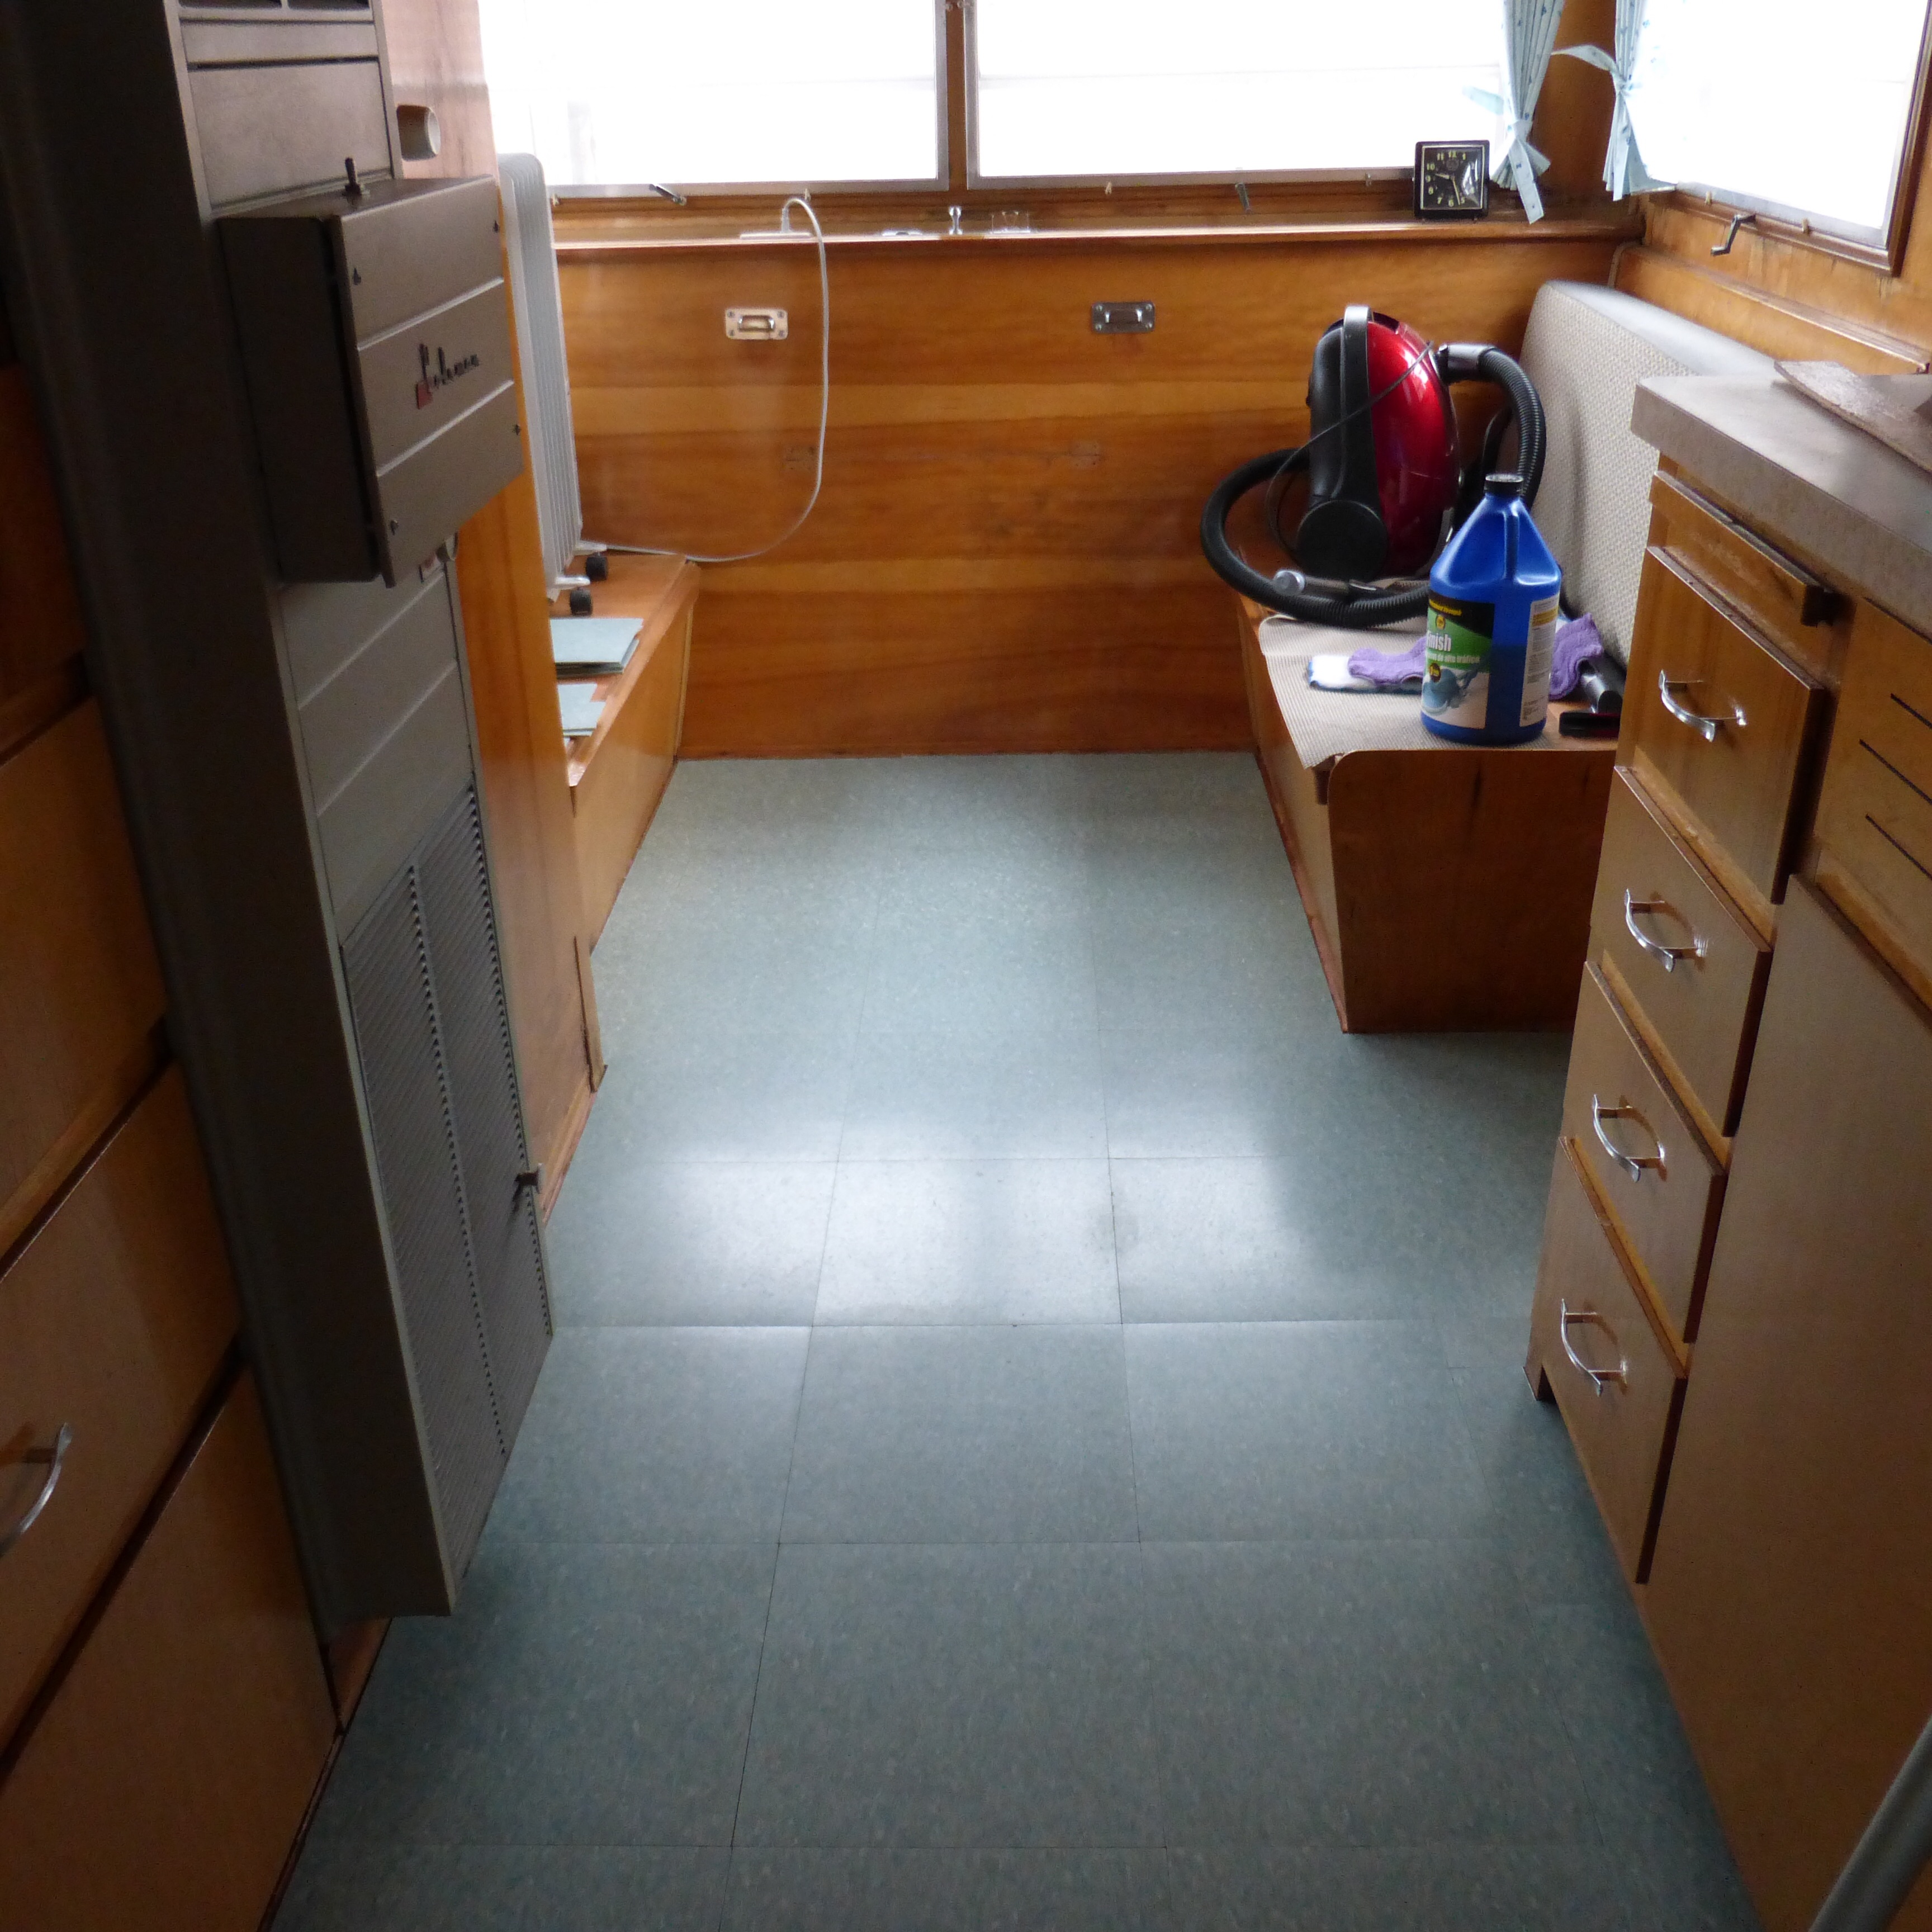
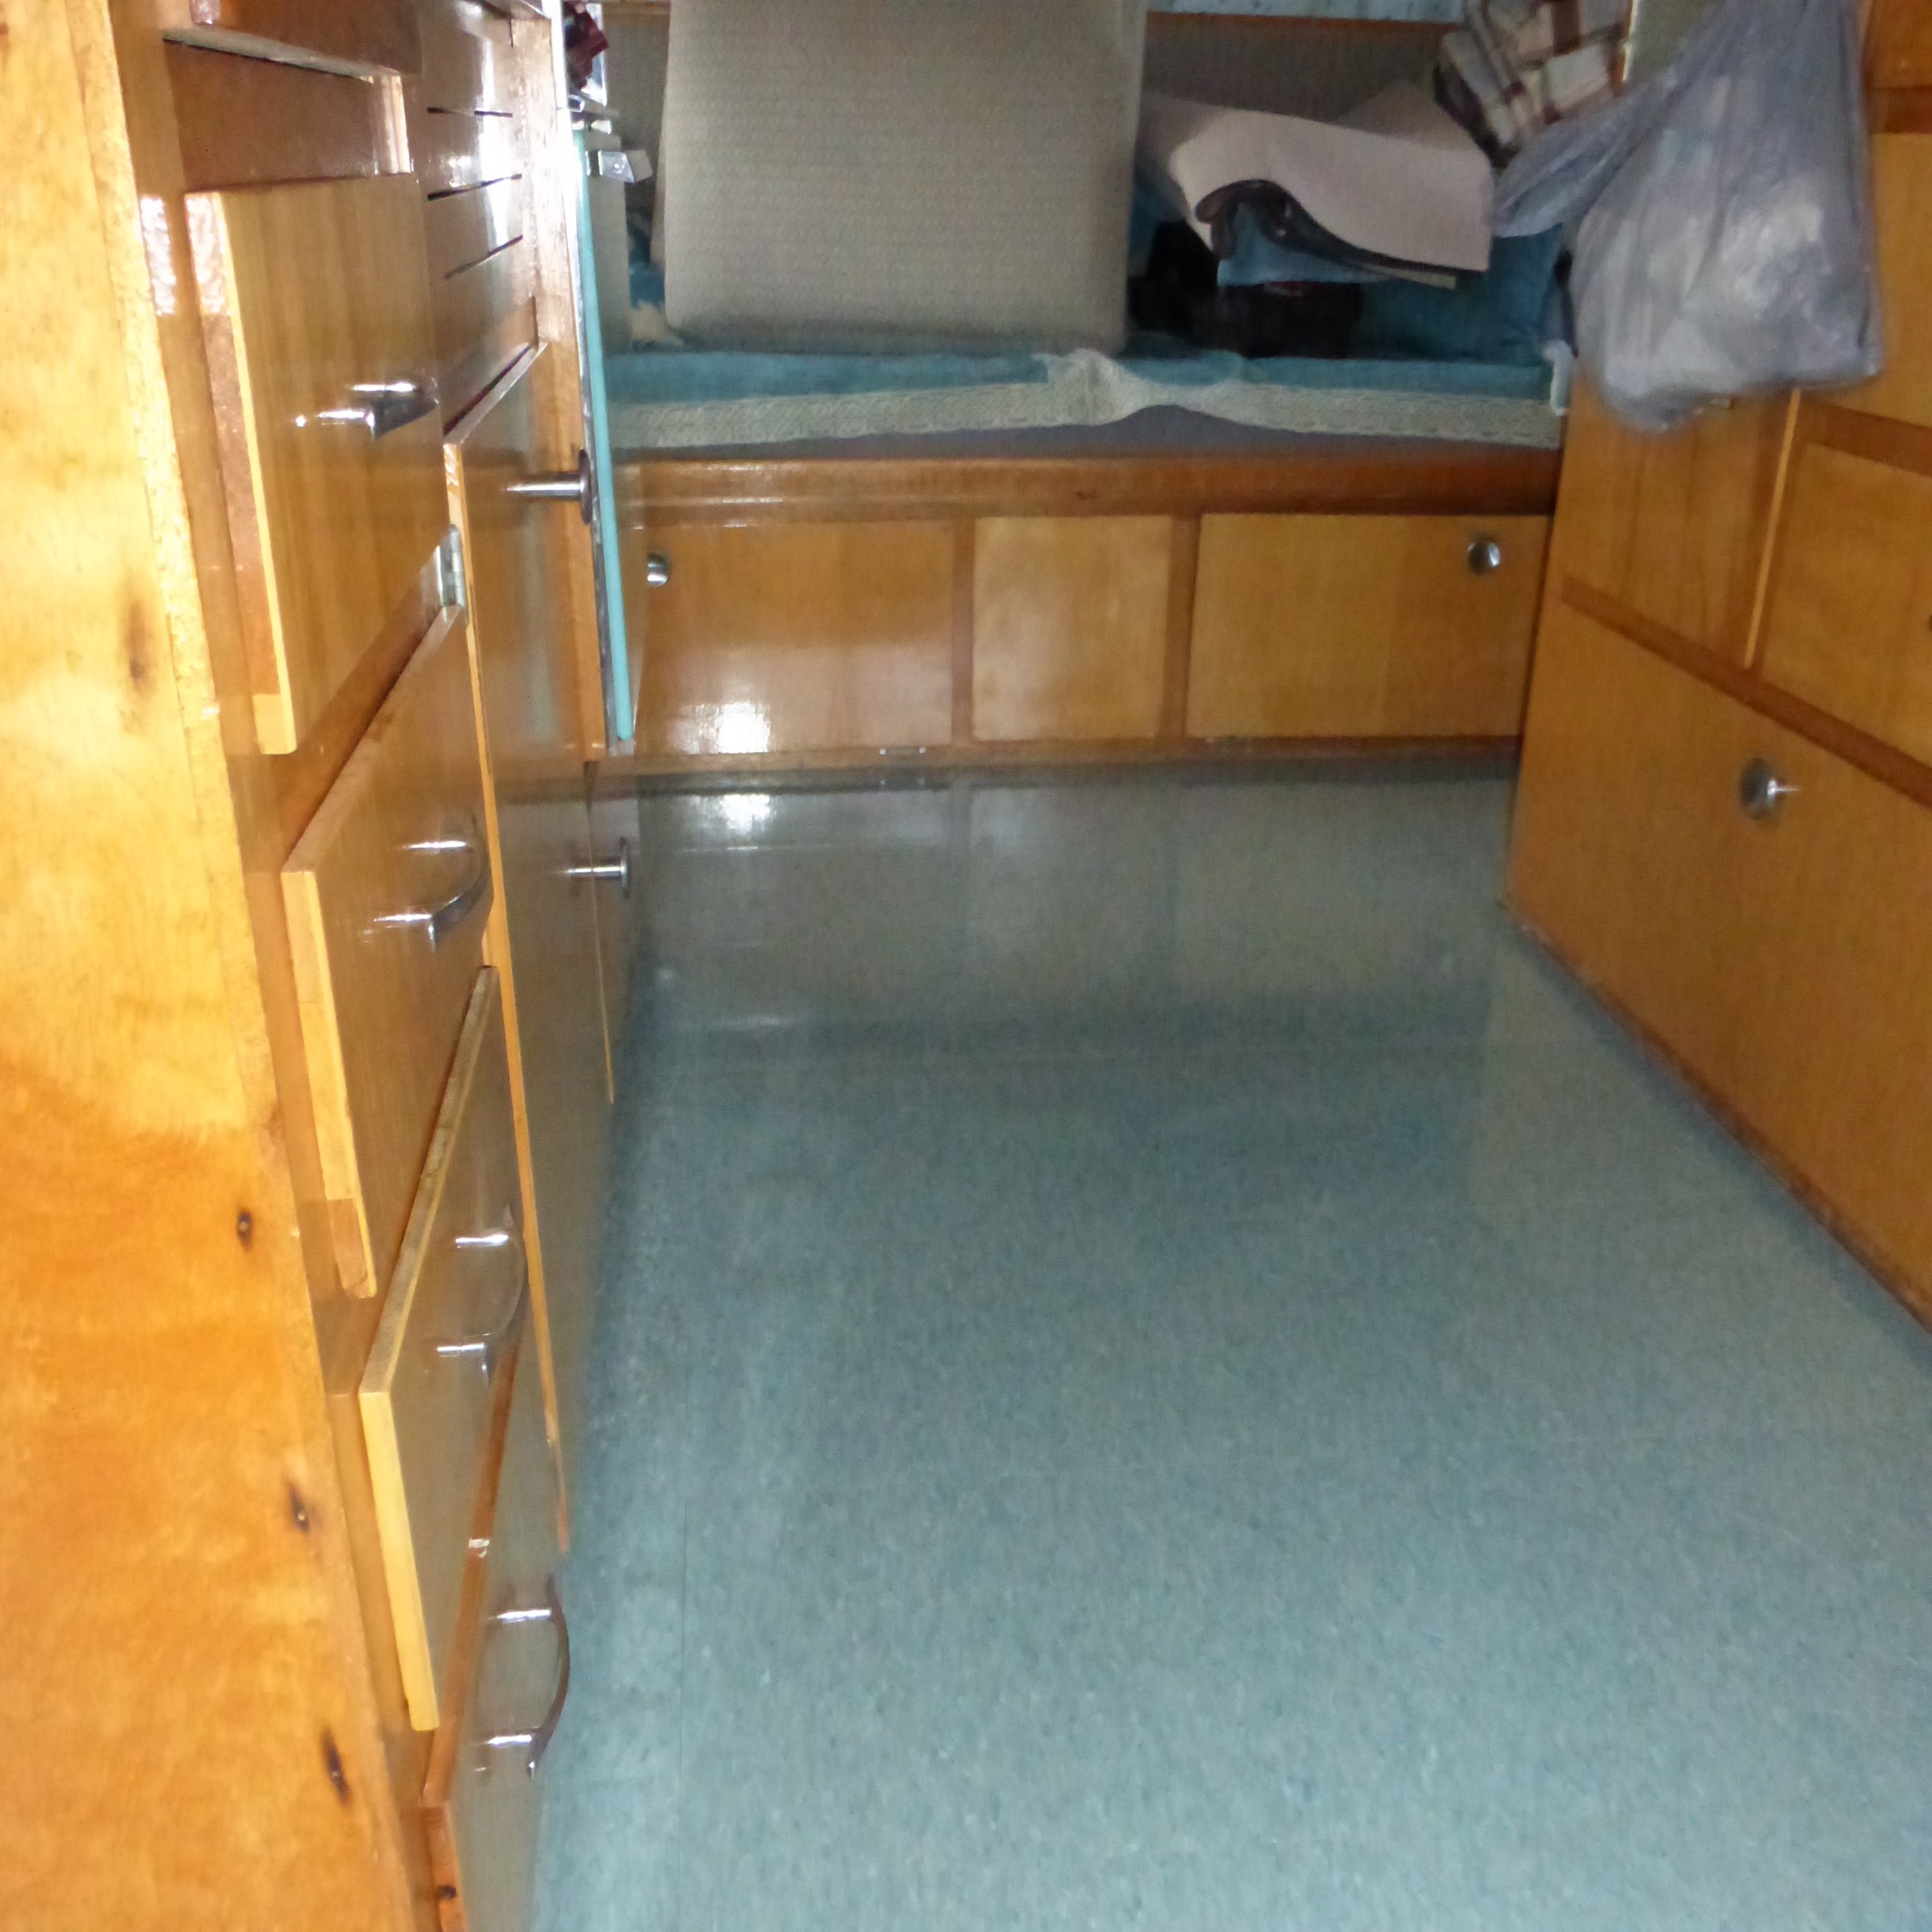
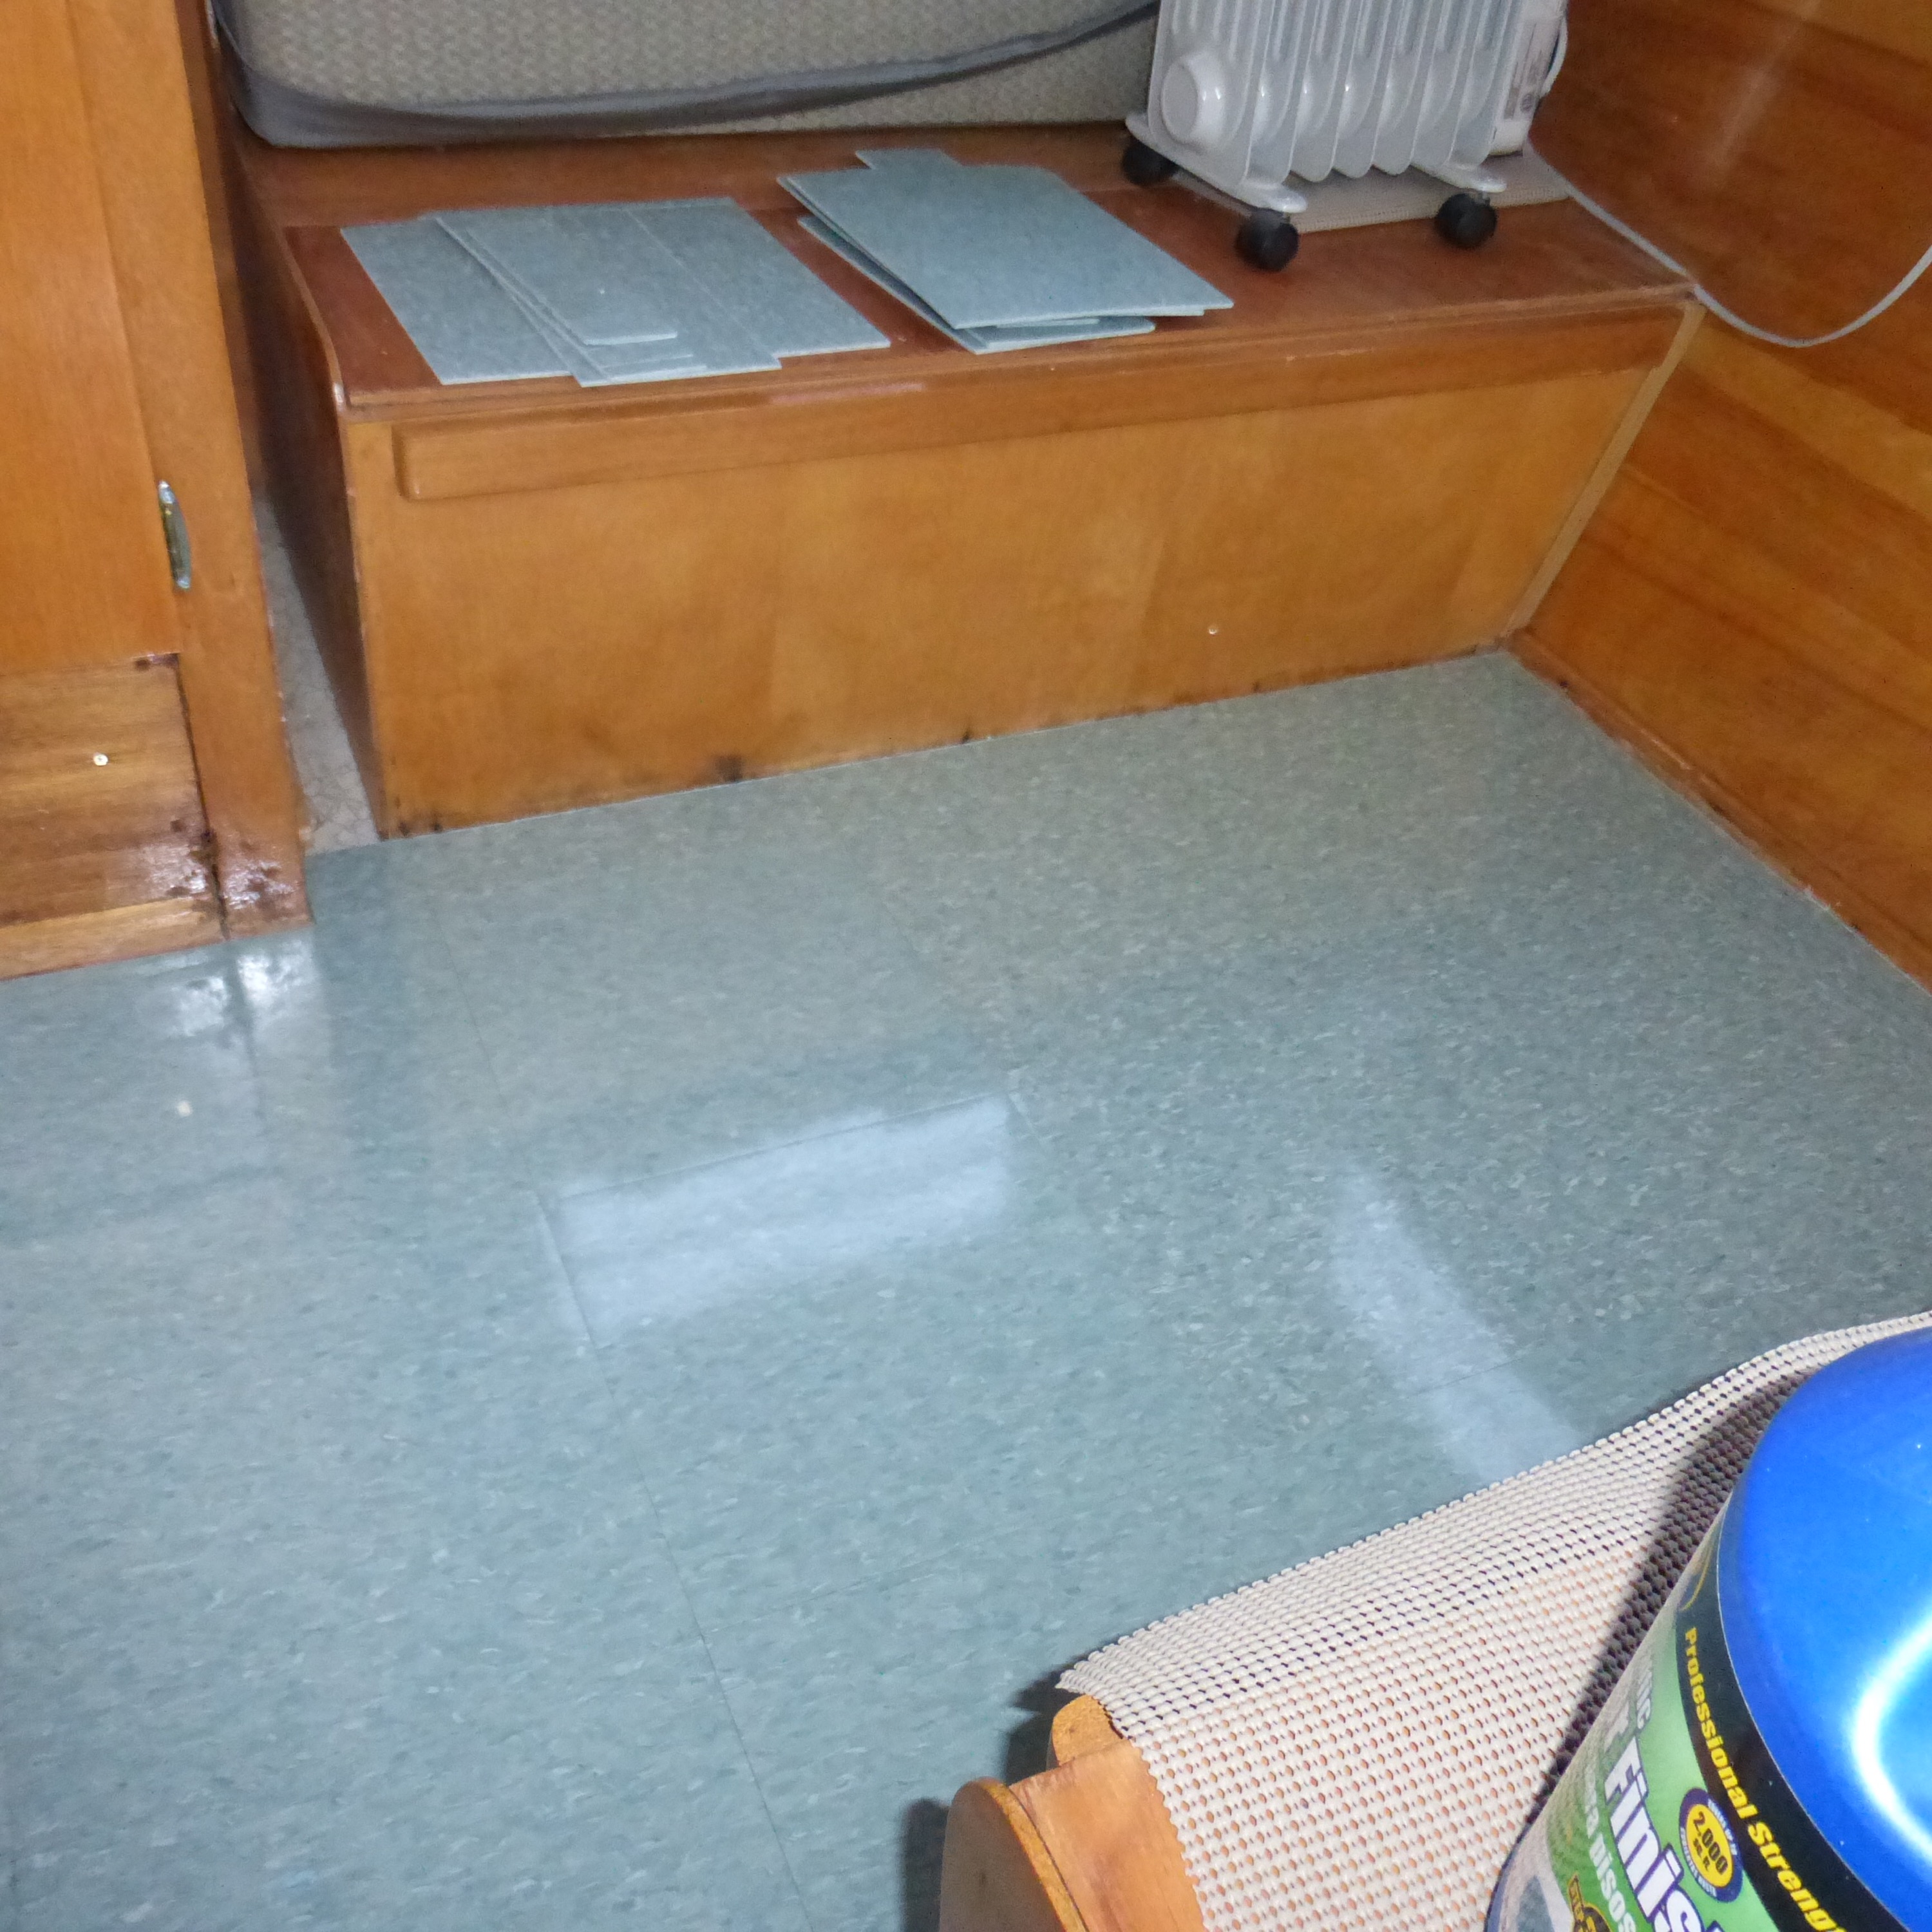
Install flooring
Paint bathroom
Replace exterior lights
Re-wire trailer hitch
Install new cylinder in door lock (YES! We will finally have keys!)
Re-key trunk door
Install front window rock guard
Trailer brake tune-up
And….lord help us….Dear Husband wants to polish her.
Last, but not least….Give this beast a name. I’ve got a couple in mind, but waiting for her to be finished to decide. It will come to me :-).
So there you have it. Much has been done, but there is still so much to do!
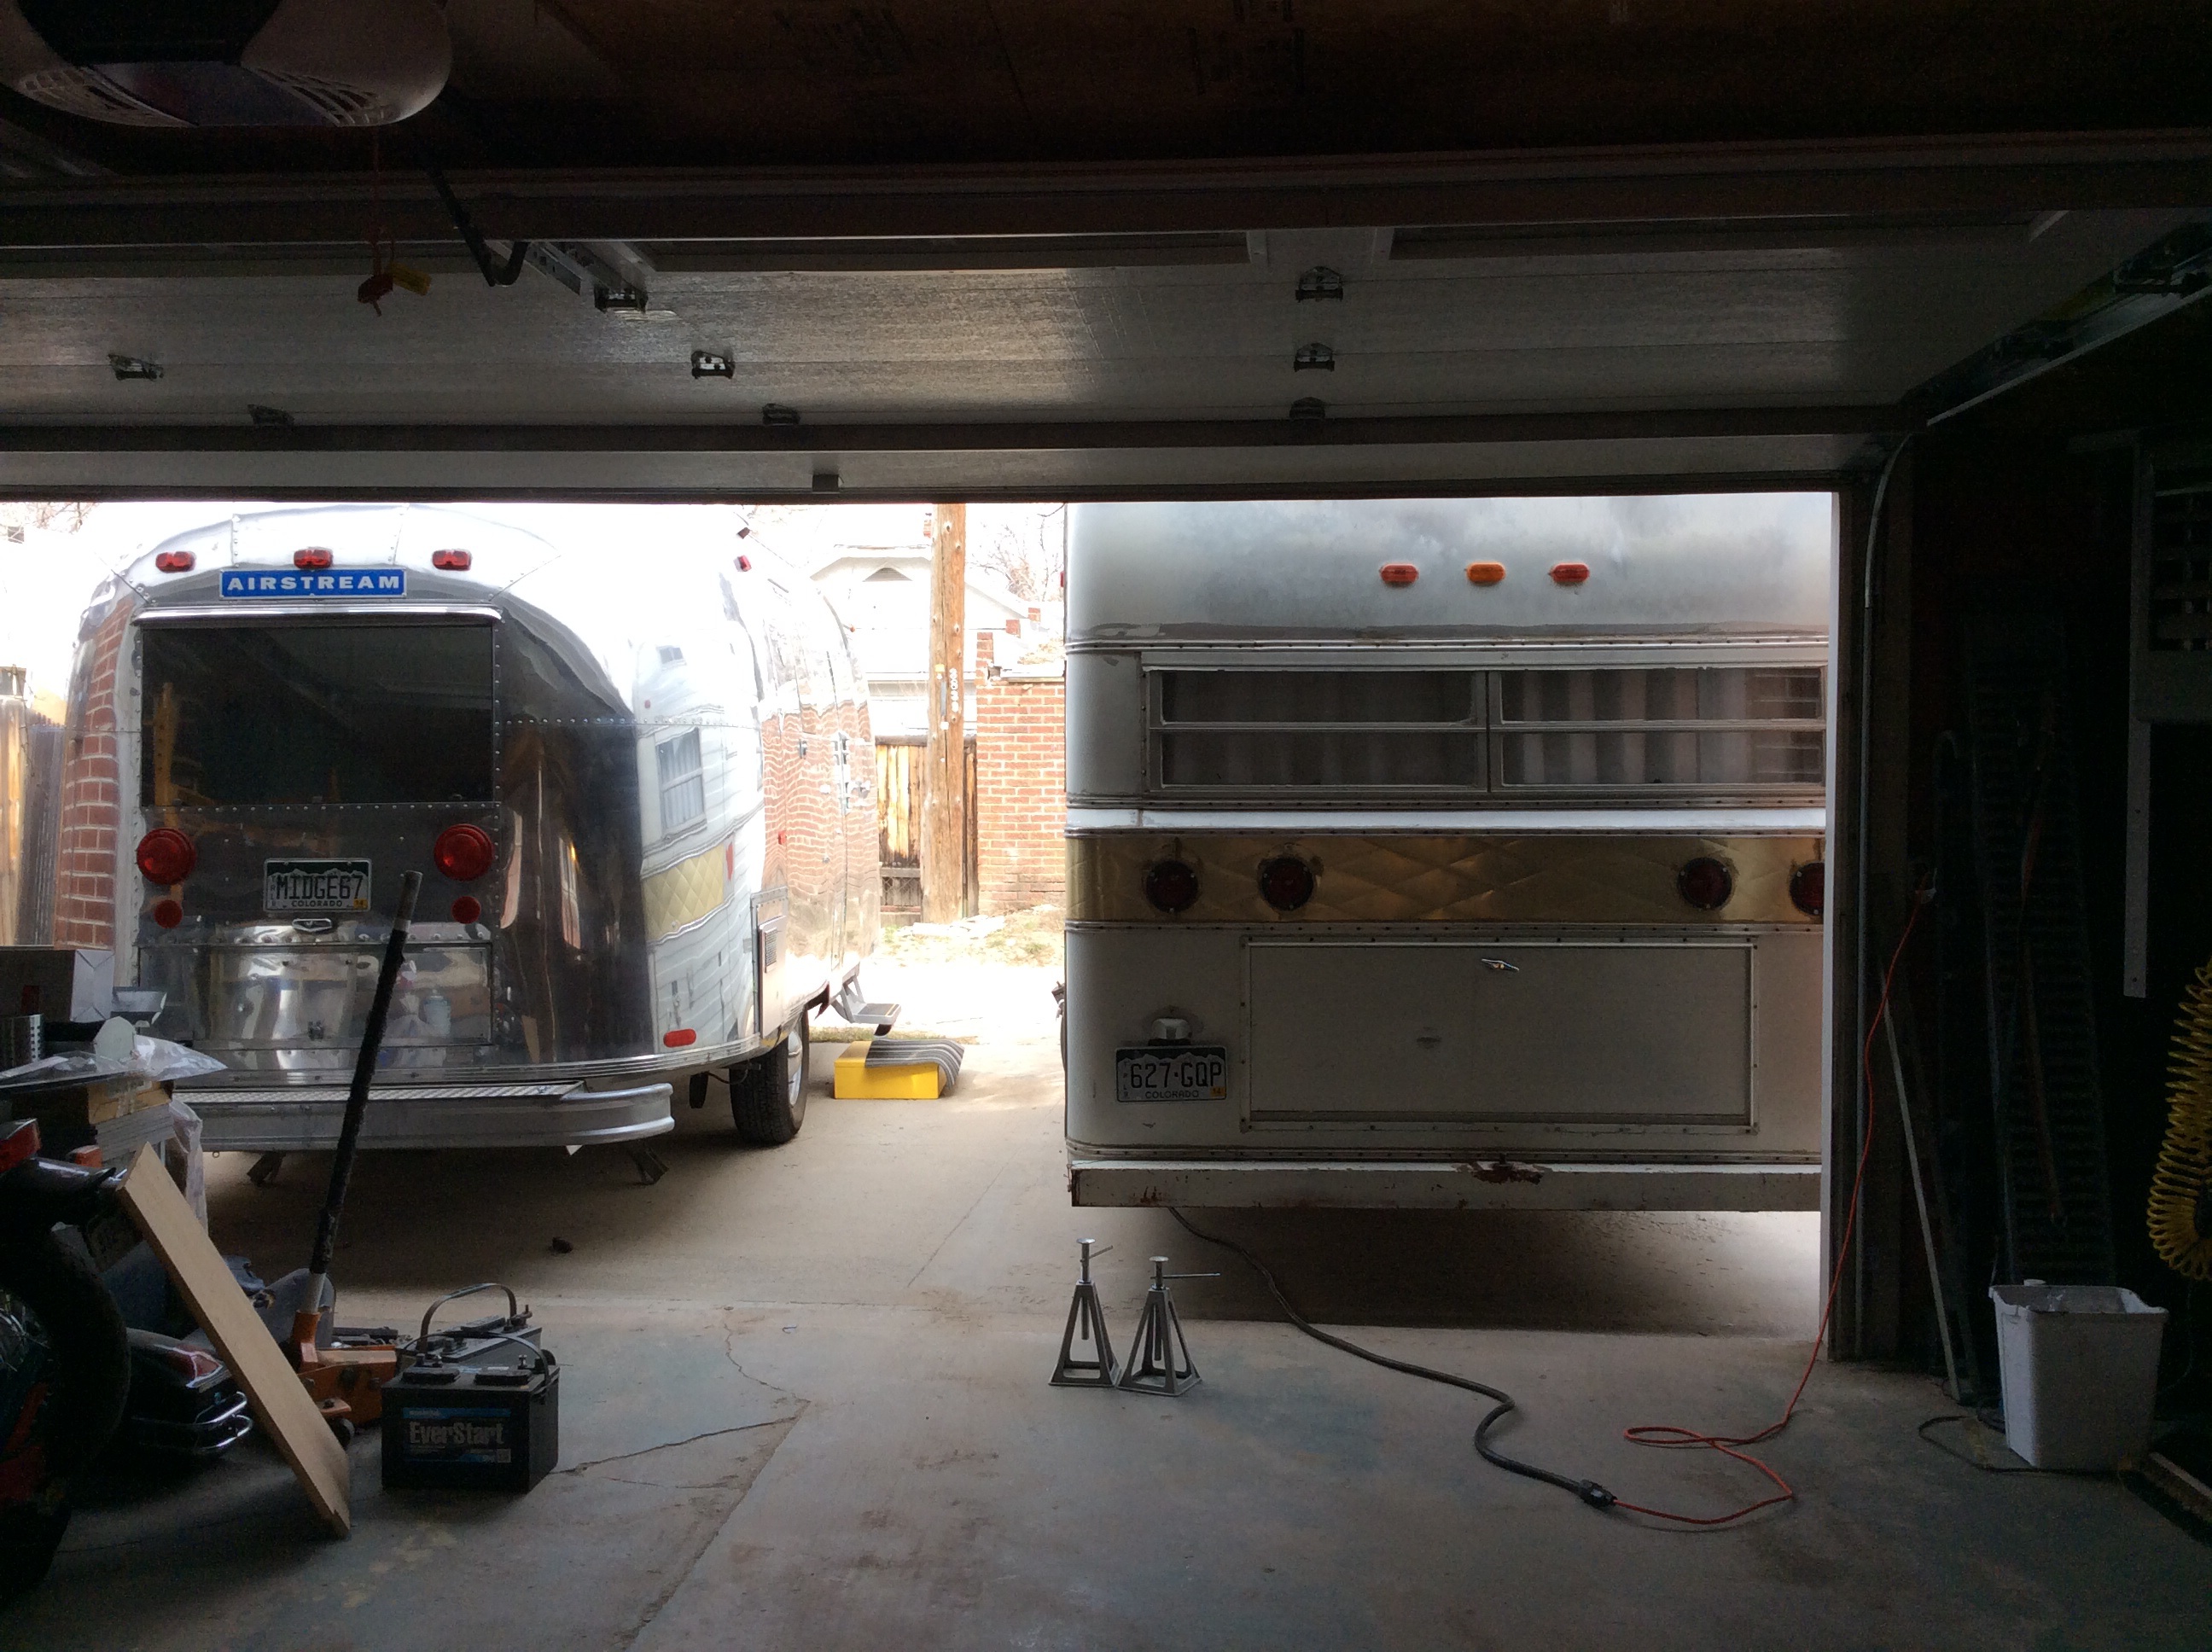
Quick update on Midge: we still need to repair the gas lines from our blow out last fall, but we’ve enjoyed a couple cocktails with her this winter, and she is doing fine :-). Dear Husband made the executive decision to get new (and expensive) tires for her, and while he was at it he had her wheels powder coated in a stunning yellow. She is going to turn some heads with those new shoes, let-me-tell-ya.

New shoes for Midge
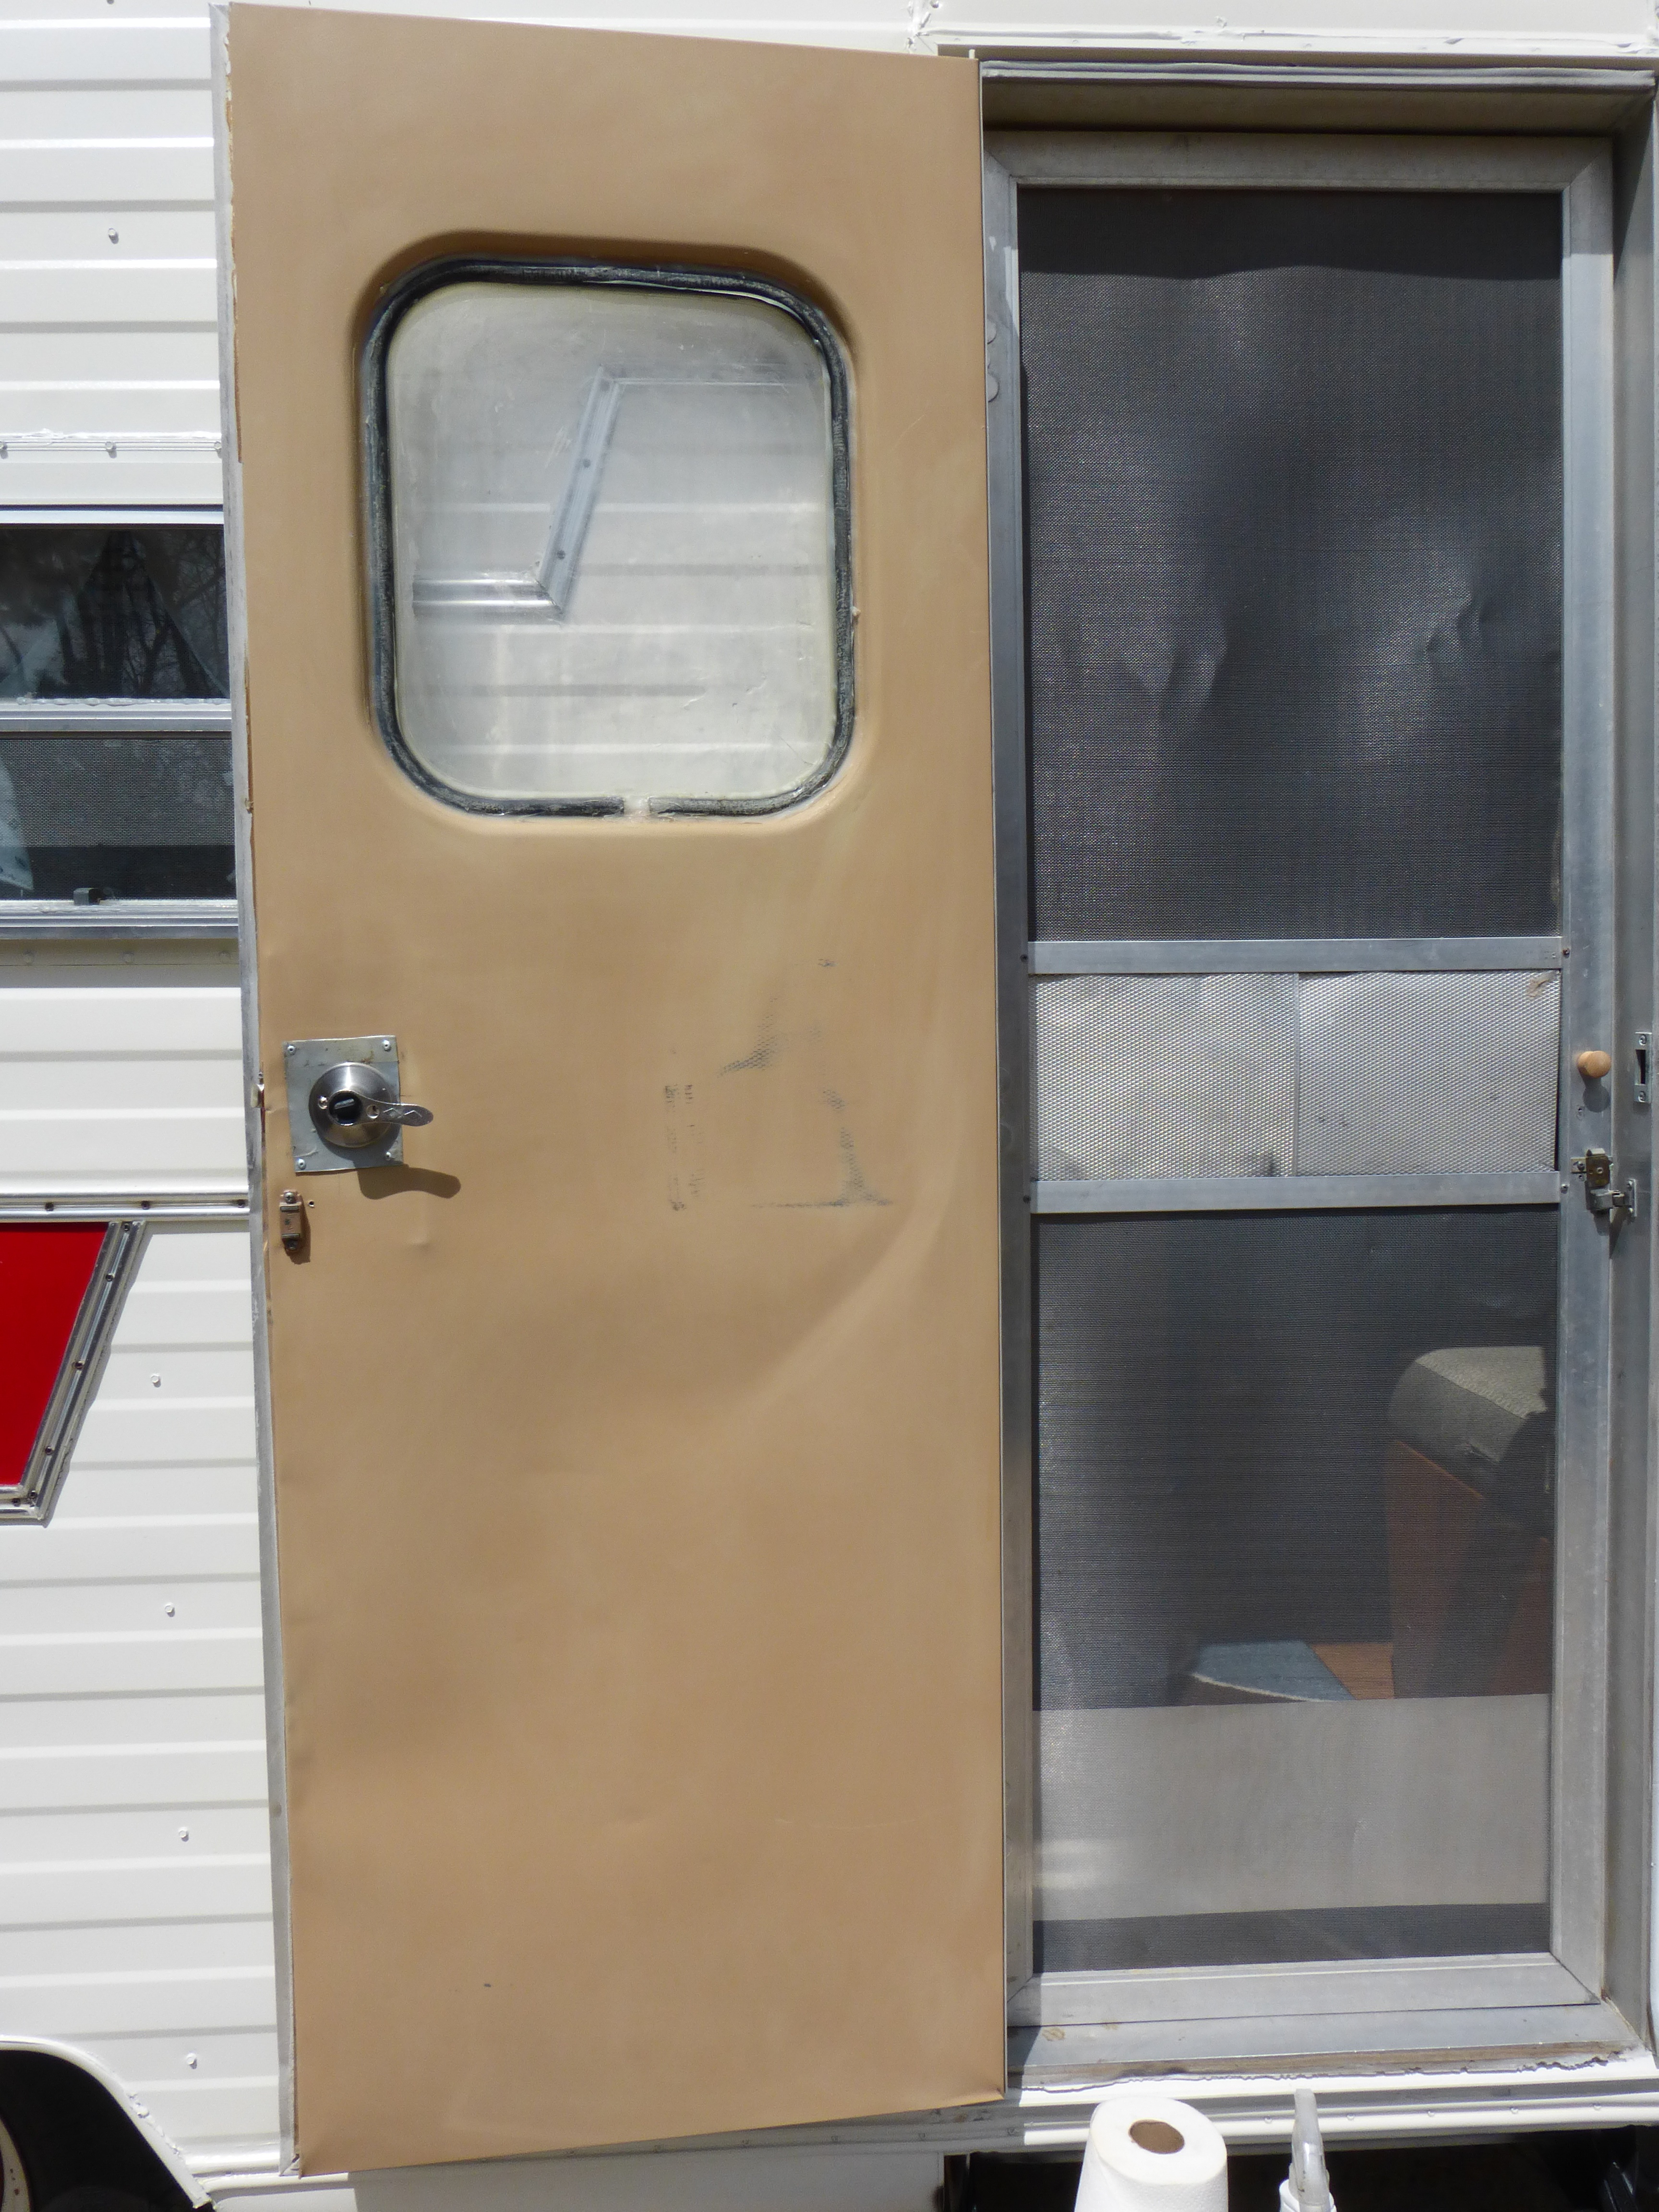
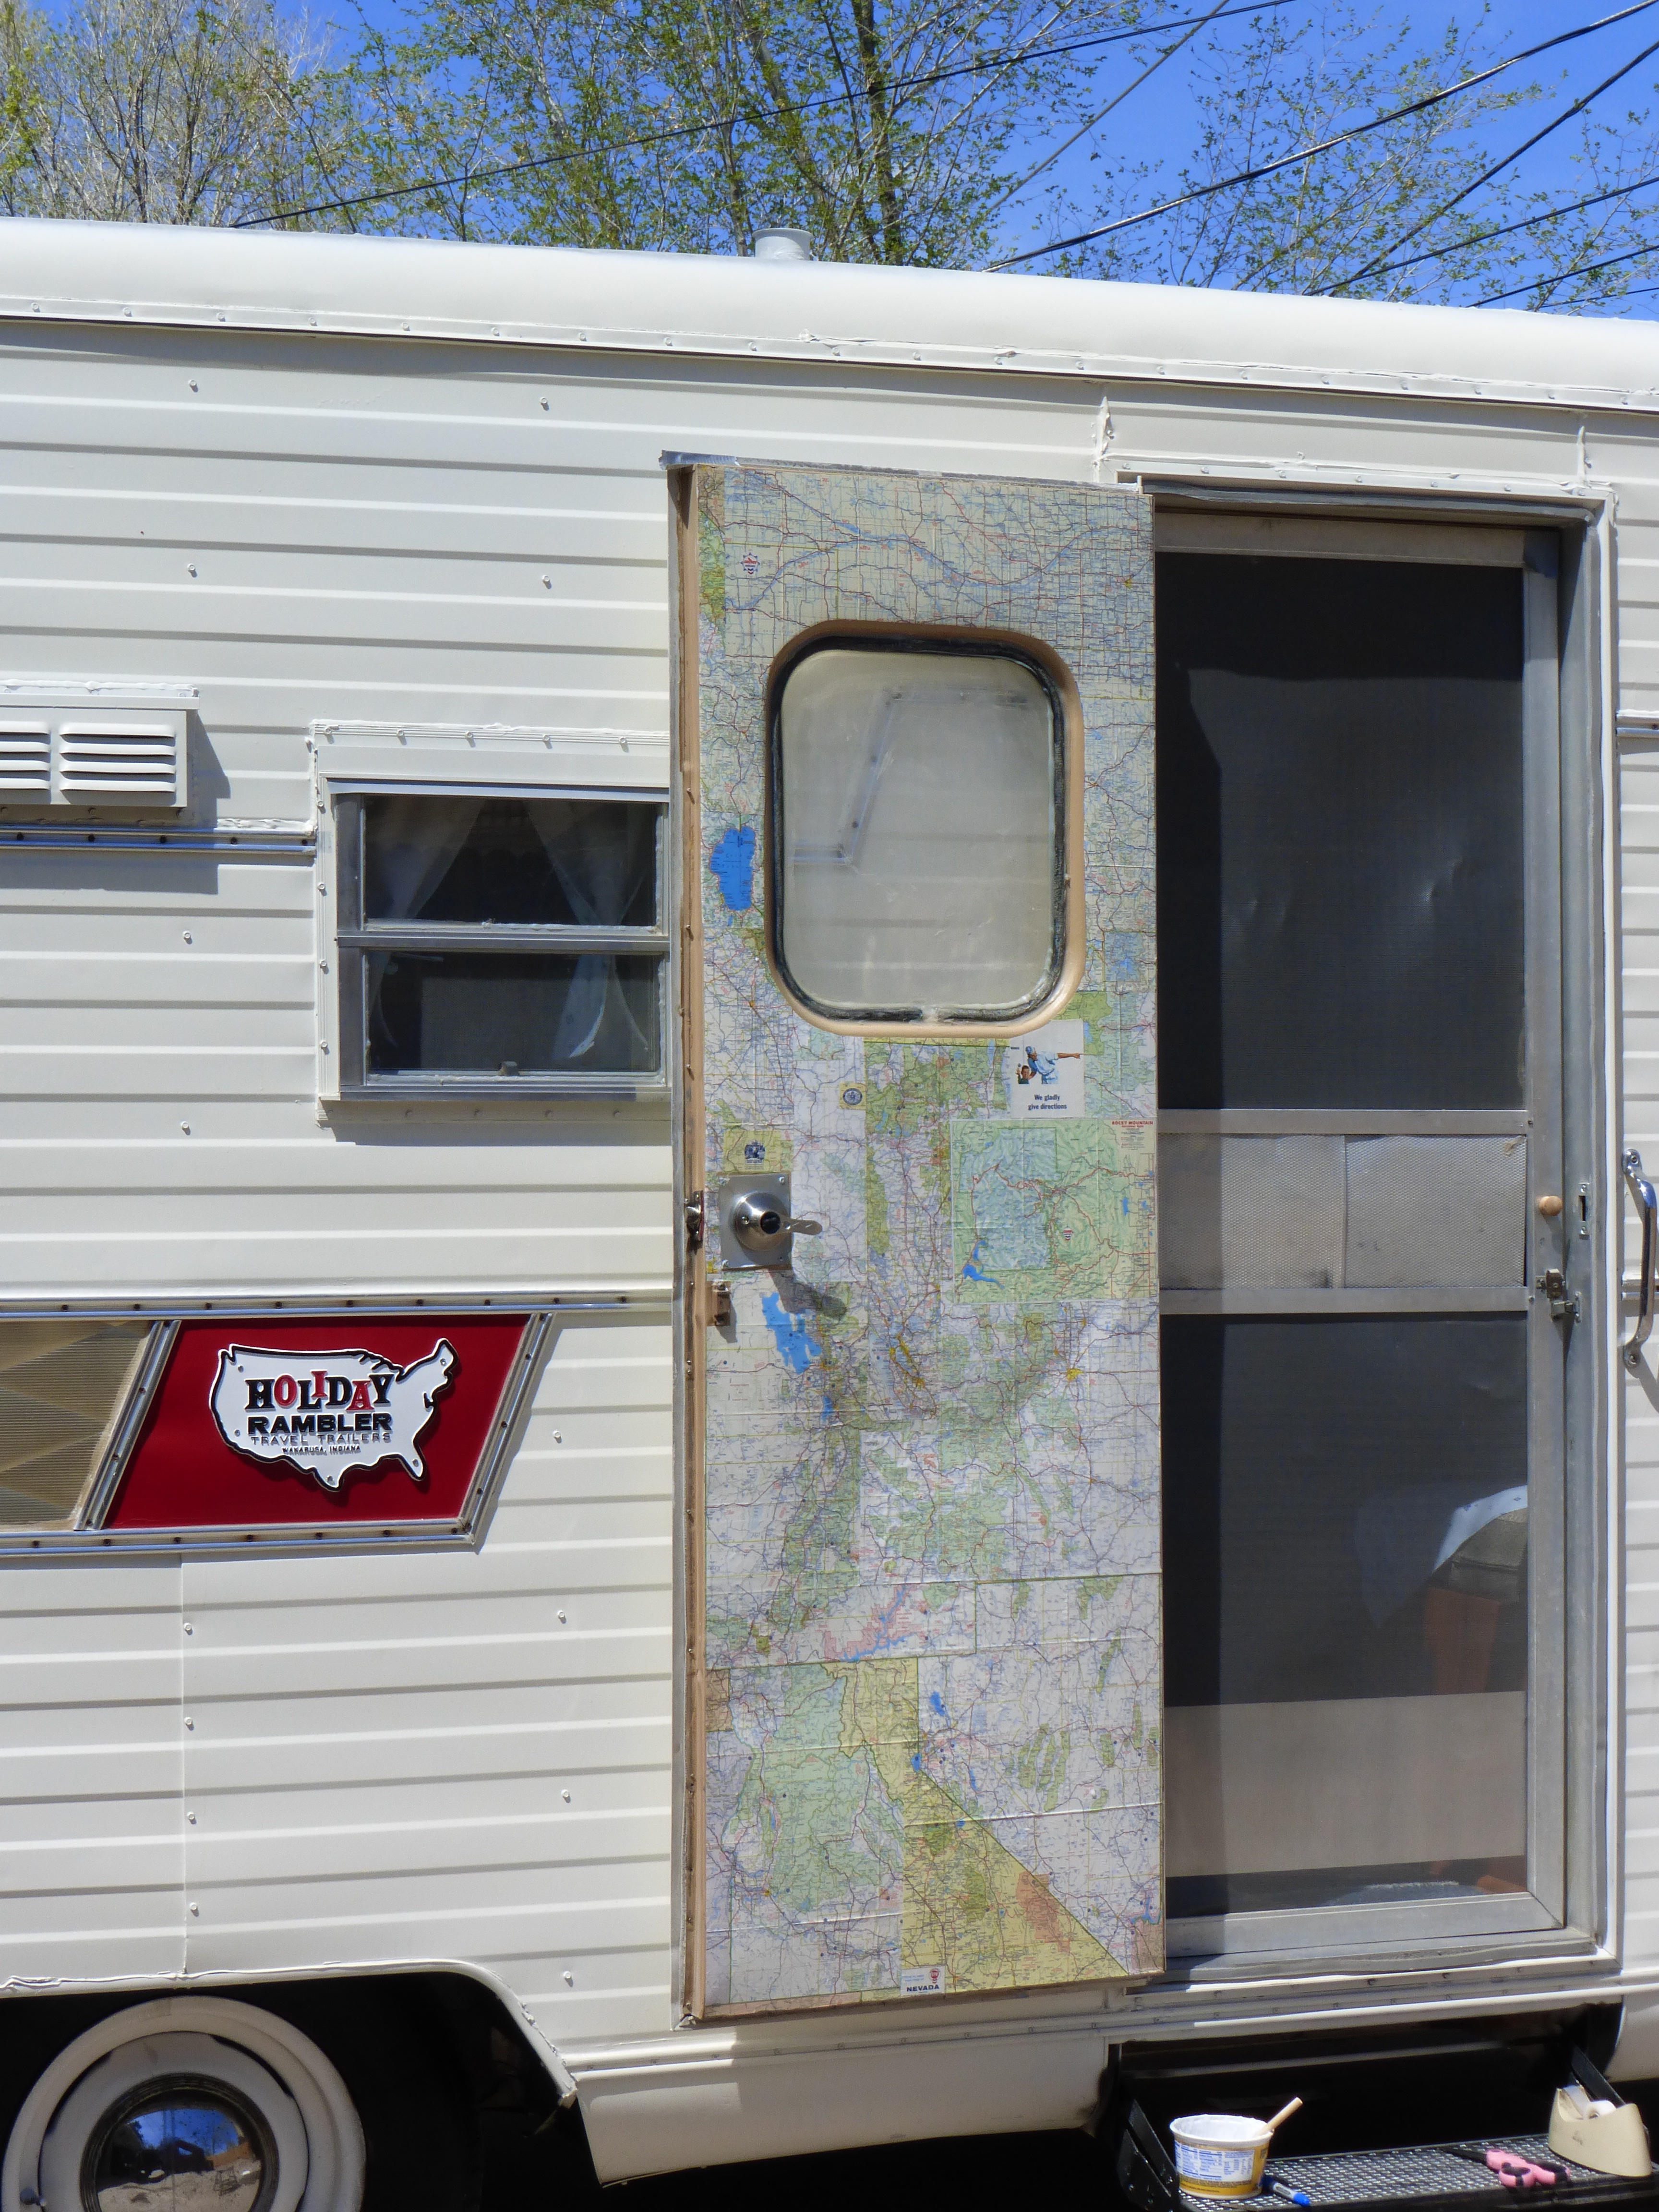
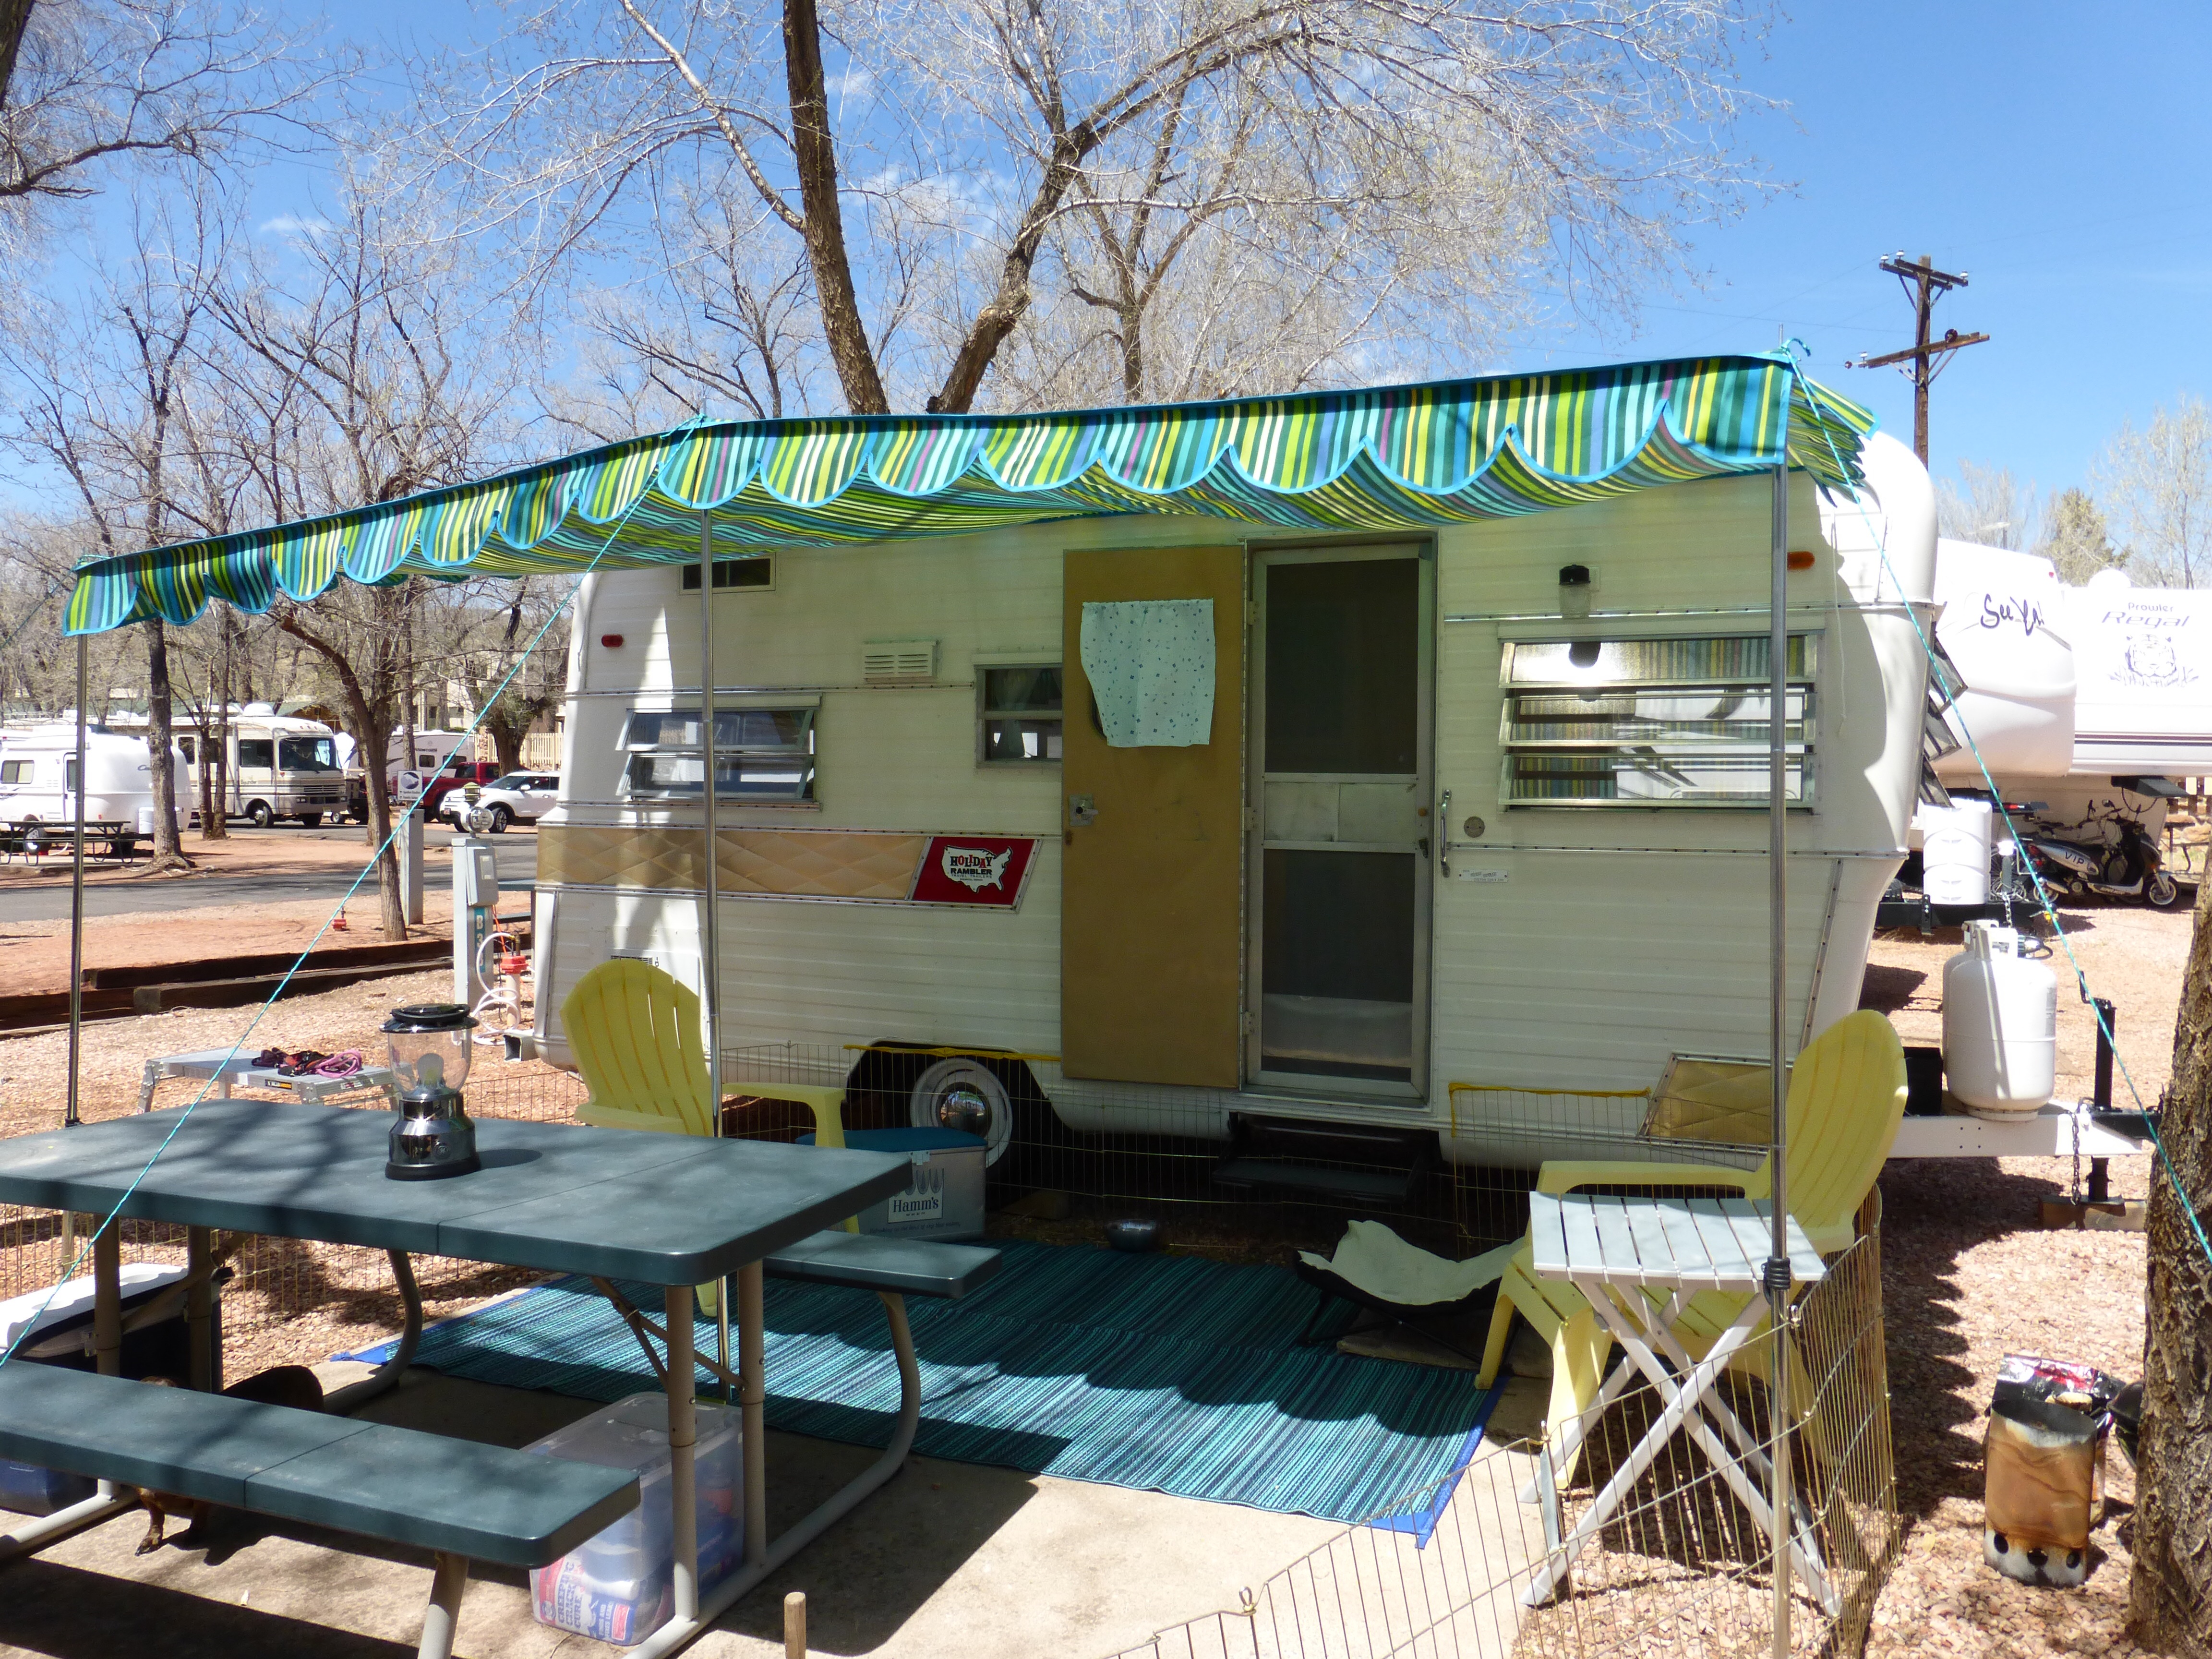
Quick update on the Holiday Rambler: we finally remembered to take the keys and could actually check on it. I swear….EVERY TIME Dear Husband would go to check on it, the keys were left on the kitchen counter. EVERY. DAMN. TIME. After a few months of that, we remembered the keys and I – cautiously – opened the door and kind of did the squinty-eyed thing (like when you are opening a can of Pillsbury Biscuits – you know, the ones that explode and scare you to death). OMG! The HR was fine. No mice, no water. And, dare I say….so GD cute. I think we are going to take her out for a spur of the moment camping trip very soon. She’s ready, as am I.

I just love my Holiday Rambler

Yes. That is my martini on the bumper.
Here is a bit of exciting news….my new trailer group – Friendly Average Campers of Colorado – will be displaying trailers at The Denver Modernism Show this year! We will have 12-15 trailers available for tours and the owners will be on hand to answer questions. We are VERY excited :-).
Please stay tuned 🙂