Well, you know how I mentioned I had a plan for our hideous door? I think it worked out well, and it is a huge improvement.
I bought a lot of vintage 1960’s road maps on EBay for $9.00, foam applicators and some Mod Podge at Walmart. I bought 2 of the large containers, but 1 was plenty. When it comes to Walmart trips, the fewer the better. I did not want to risk having to make an extra trip. I just really dread going there, and I’m not even sure why.
Supplies:

Door Supplies: Maps, Mod Podge, Scissors, Foam Applicators
This is what I started with:
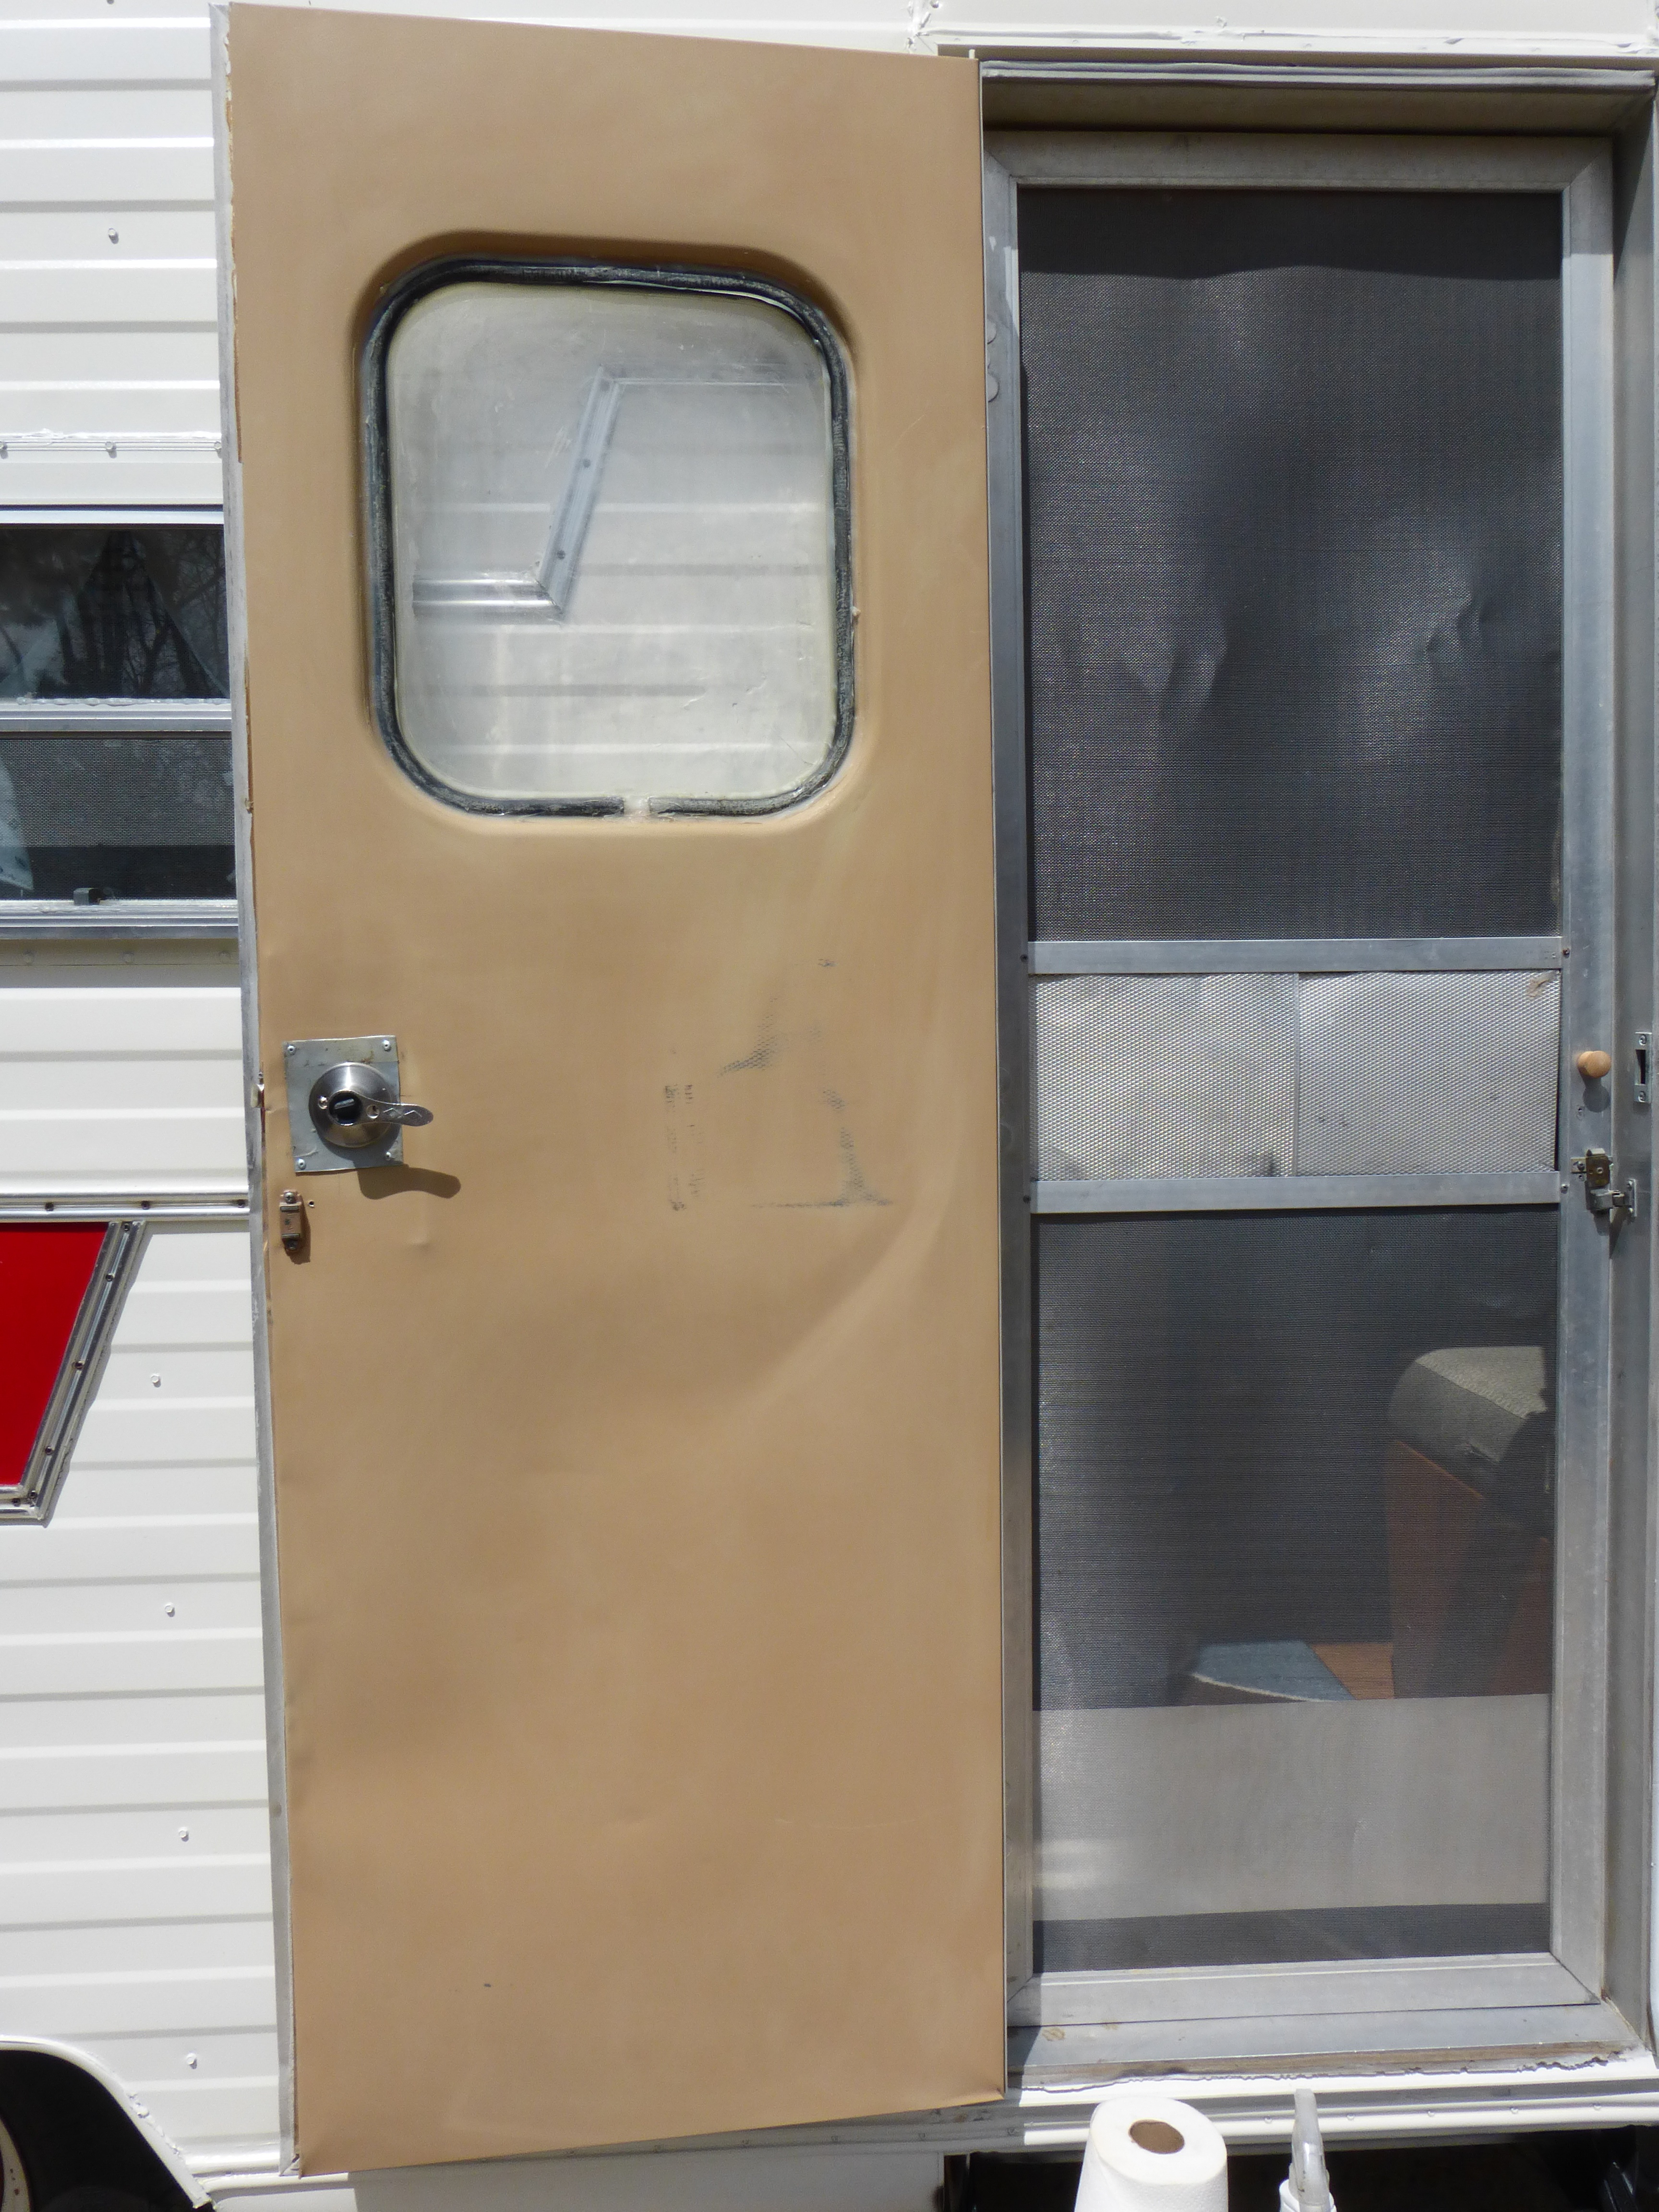
Ugly Door. I think I just threw up in my mouth a little.
I cleaned the door really well and scuffed it up with a cheap sanding block from Harbor Freight. I’m talking about the kind of sanding block that will irreparably harm anything it touches. It came in a pack of 10 for $3.00. Awful, awful sanding blocks. I am really pleased that I found a use for them! Scuffing up this eyesore of a door was really quite enjoyable. Once that was done, I played with the lay out of the maps and cut them into the pieces I needed. I then applied the Mod Podge and started placing the map pieces where I needed them. Do one piece at a time. When adhered, apply Mod Podge on top. Keep doing this until done. I know. That sounds so easy! And, it is really easy, but time consuming because of the positioning and cutting of the map pieces. I wanted certain parts of the map to show…..like the entire Colorado map (where we live), the Nebraska map (where I am from), the Rocky Mountain National Park map (where we like to camp), etc…you know what I mean.
This is 1/2 way done:

Door 1/2 done
I had a bit of trouble getting the bubbles out of the larger map pieces. After wrestling with them, and cursing my unborn children, I realized the bubbles looked kind of neat. Like TOPOGRAPHY! Once that realization hit me, things proceeded much quicker.
This is where I finished up today:
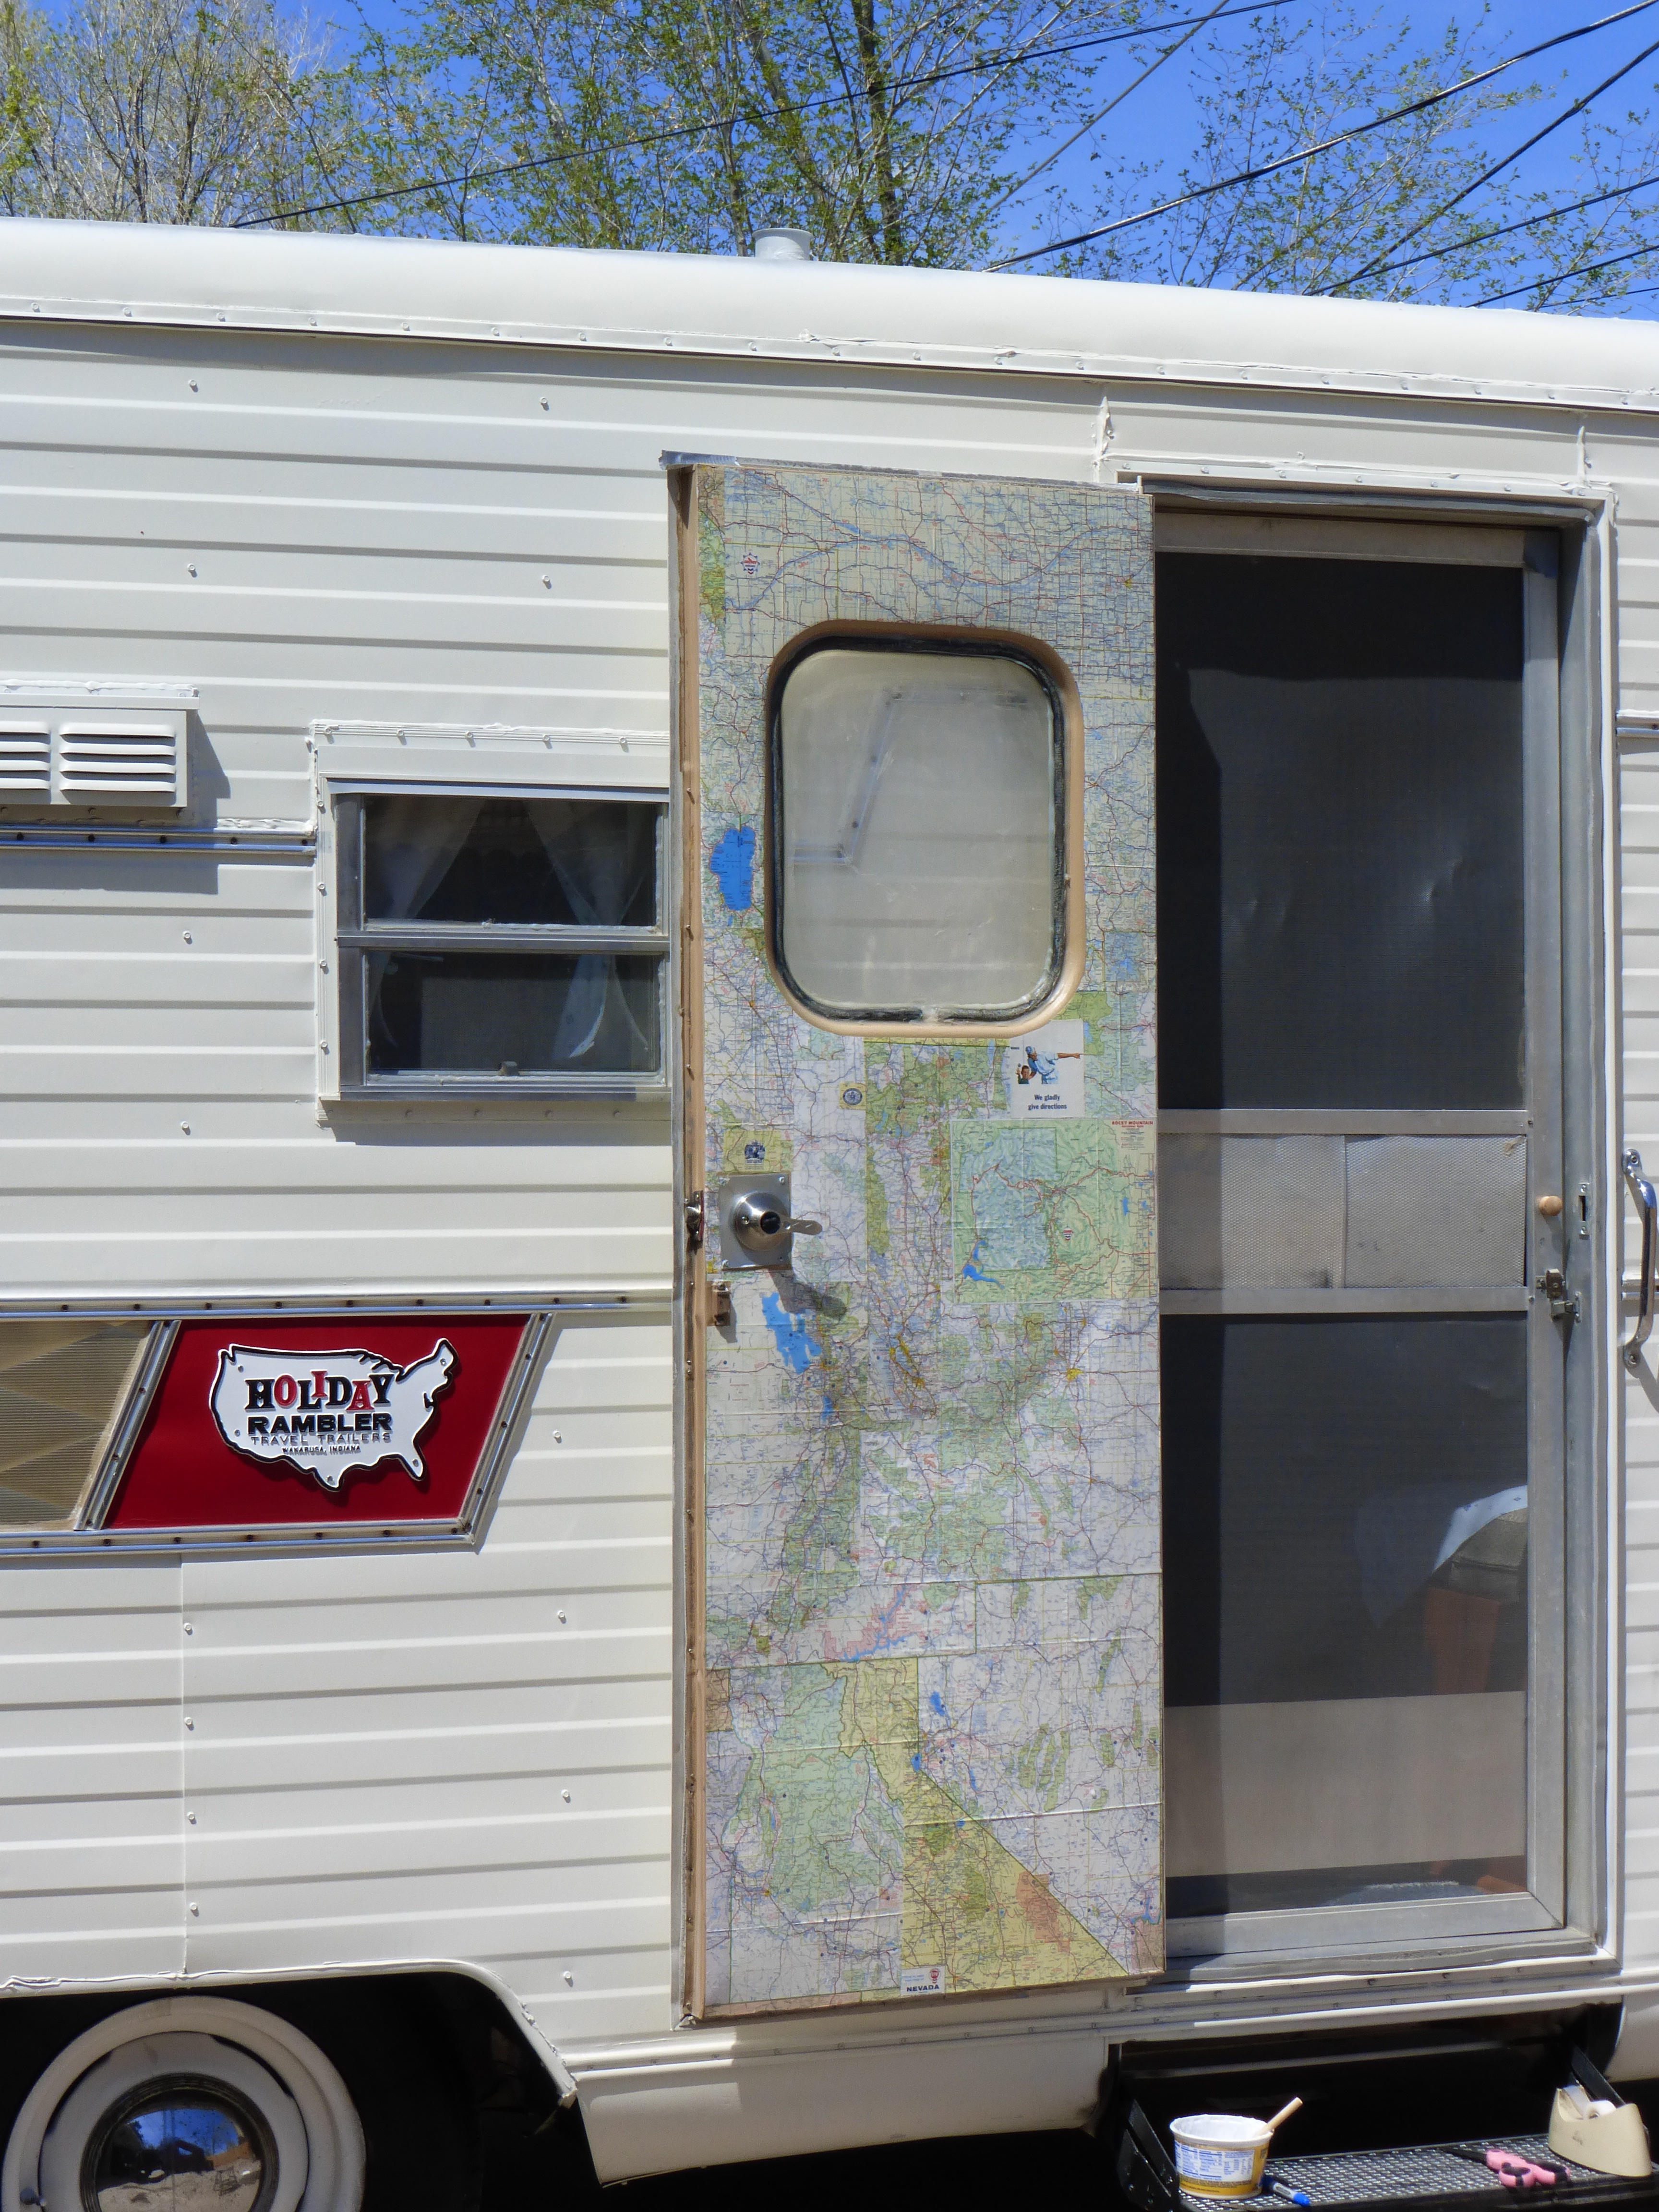
Door almost done, just needs a few more coats.

Closer view of door.
I need to apply several more coats of Mod Podge. I might seal it with polyurethane. Not sure yet. Dear Husband has not replaced the window yet. obviously, I got impatient. When the new window is in, it will look great! Once completely finished, I will post a picture. The door is not perfect, but I can live with it, and now we don’t need to worry abouIt buying a new one any time soon.
We have some little projects for Midge that we are working on, too. We have not forgotten about her! I will update with her updates as soon as they are done. I love her so.
Addendum: I meant to add these pictures last summer, but forgot! These are from our trip to Mt. Princeton. I made a screen protector out of some left over aluminum and Mod Podged the remnants of my maps to it. My little rug rat dogs really enjoy destroying screen doors. It serves a great purpose and is crazy cute, if I do say so. My husband is kind of worried about the Mod Podge crush I have going on.

Mod Podged Screen Protector

Mod Pdged Screen Protector

You must be logged in to post a comment.