Disclaimer: I do not have pictures of ALL THE STEPS. I did not think about blogging this until a fellow HR gal asked me to (thanks, Margaret). Needless to say, a portion of the work was not photographed.
Anyhow…….
Dear Husband and I were out running errands last week, and I STRONGLY SUGGESTED that we should go to the Habitat For Humanity ReStore as we were driving by (in Denver, Santa Fe and Ellsworth). Heck! You never know what great deal your going to find in there! It doesn’t matter that you “DON’T NEED ANYTHING”…..geez. Thought I trained him better than that.
True to form, they had a bazillion VCT tiles in a myriad of colors! I have always loved VCT tiles. We have used them in our own bathroom remodels, in a rental property, and in Midge. They just make me happy. Probably a throw back to elementary school or something. It had to be elementary school….I am fairly certain I did not notice the floor tiles in junior high and high school. Just sayin’.

VCT Tiles at Habitat ReStore
So, we grabbed a couple boxes of light turquoise tiles for the Holiday Rambler. It took about an hour to decide what we wanted. We were thinking about doing checkerboard or a multi colored pattern, but decided the space is just too small to get all funky and crazy (fun as that would be!). And, let me say…..what a deal! .30 per tile! Total $27.00. I love Habitat ReStore :).
Dear Husband brought the Rambler home this past weekend and it is residing next to Midge in our driveway once again. We (he) spent a couple days installing a new 1/4″ subfloor. We took out the Pergo flooring that someone lovingly installed. Seriously. Whoever did that needs a medal. The trim work was outstanding! We salvaged most of it and will reinstall it. We were going to take the original vinyl tiles out, but they are 9″, and that means they are probably asbestos. The floor was in good condition, so we kept it and put the subfloor on top of it. I did not mind the Pergo floor…..until we found these turquoise tiles. Then it became hideous. I’m so fickle.

Pergo floor before tear out

Removing Pergo Floor

Original Tile Floor
Hear me now, listen to me later…..there is a correct way to lay VCT tile. Something about the center axis and work out from there, or some such nonsense. In a very small trailer with a limited number of tiles, you do it in a way that means fewer cuts. Professionals are shaking their heads, and exiting out of this blog at record speed. I’m OK with that.
Start by applying VCT glue, available at Home Depot or Lowes. Apply it with a notched trowel.

VCT Glue
Make sure it is a thin and even layer. If you have globs or thicker areas, the tiles will not lay flat. Let the glue set up for a couple hours or overnight. We put a heater on and let it set up over night. The glue will remain tacky. Be sure of the positioning of the tile as you lay it! This glue is amazingly strong stuff. If you have to remove one, use a hair dryer to loosen the glue and slowly lift the tile. It will more than likely break, but it’s worth a shot. We laid the tiles and all went smoothly. There were a few cuts that made Dear Husband drop a few “F” bombs, but overall it went well.

Install

Install
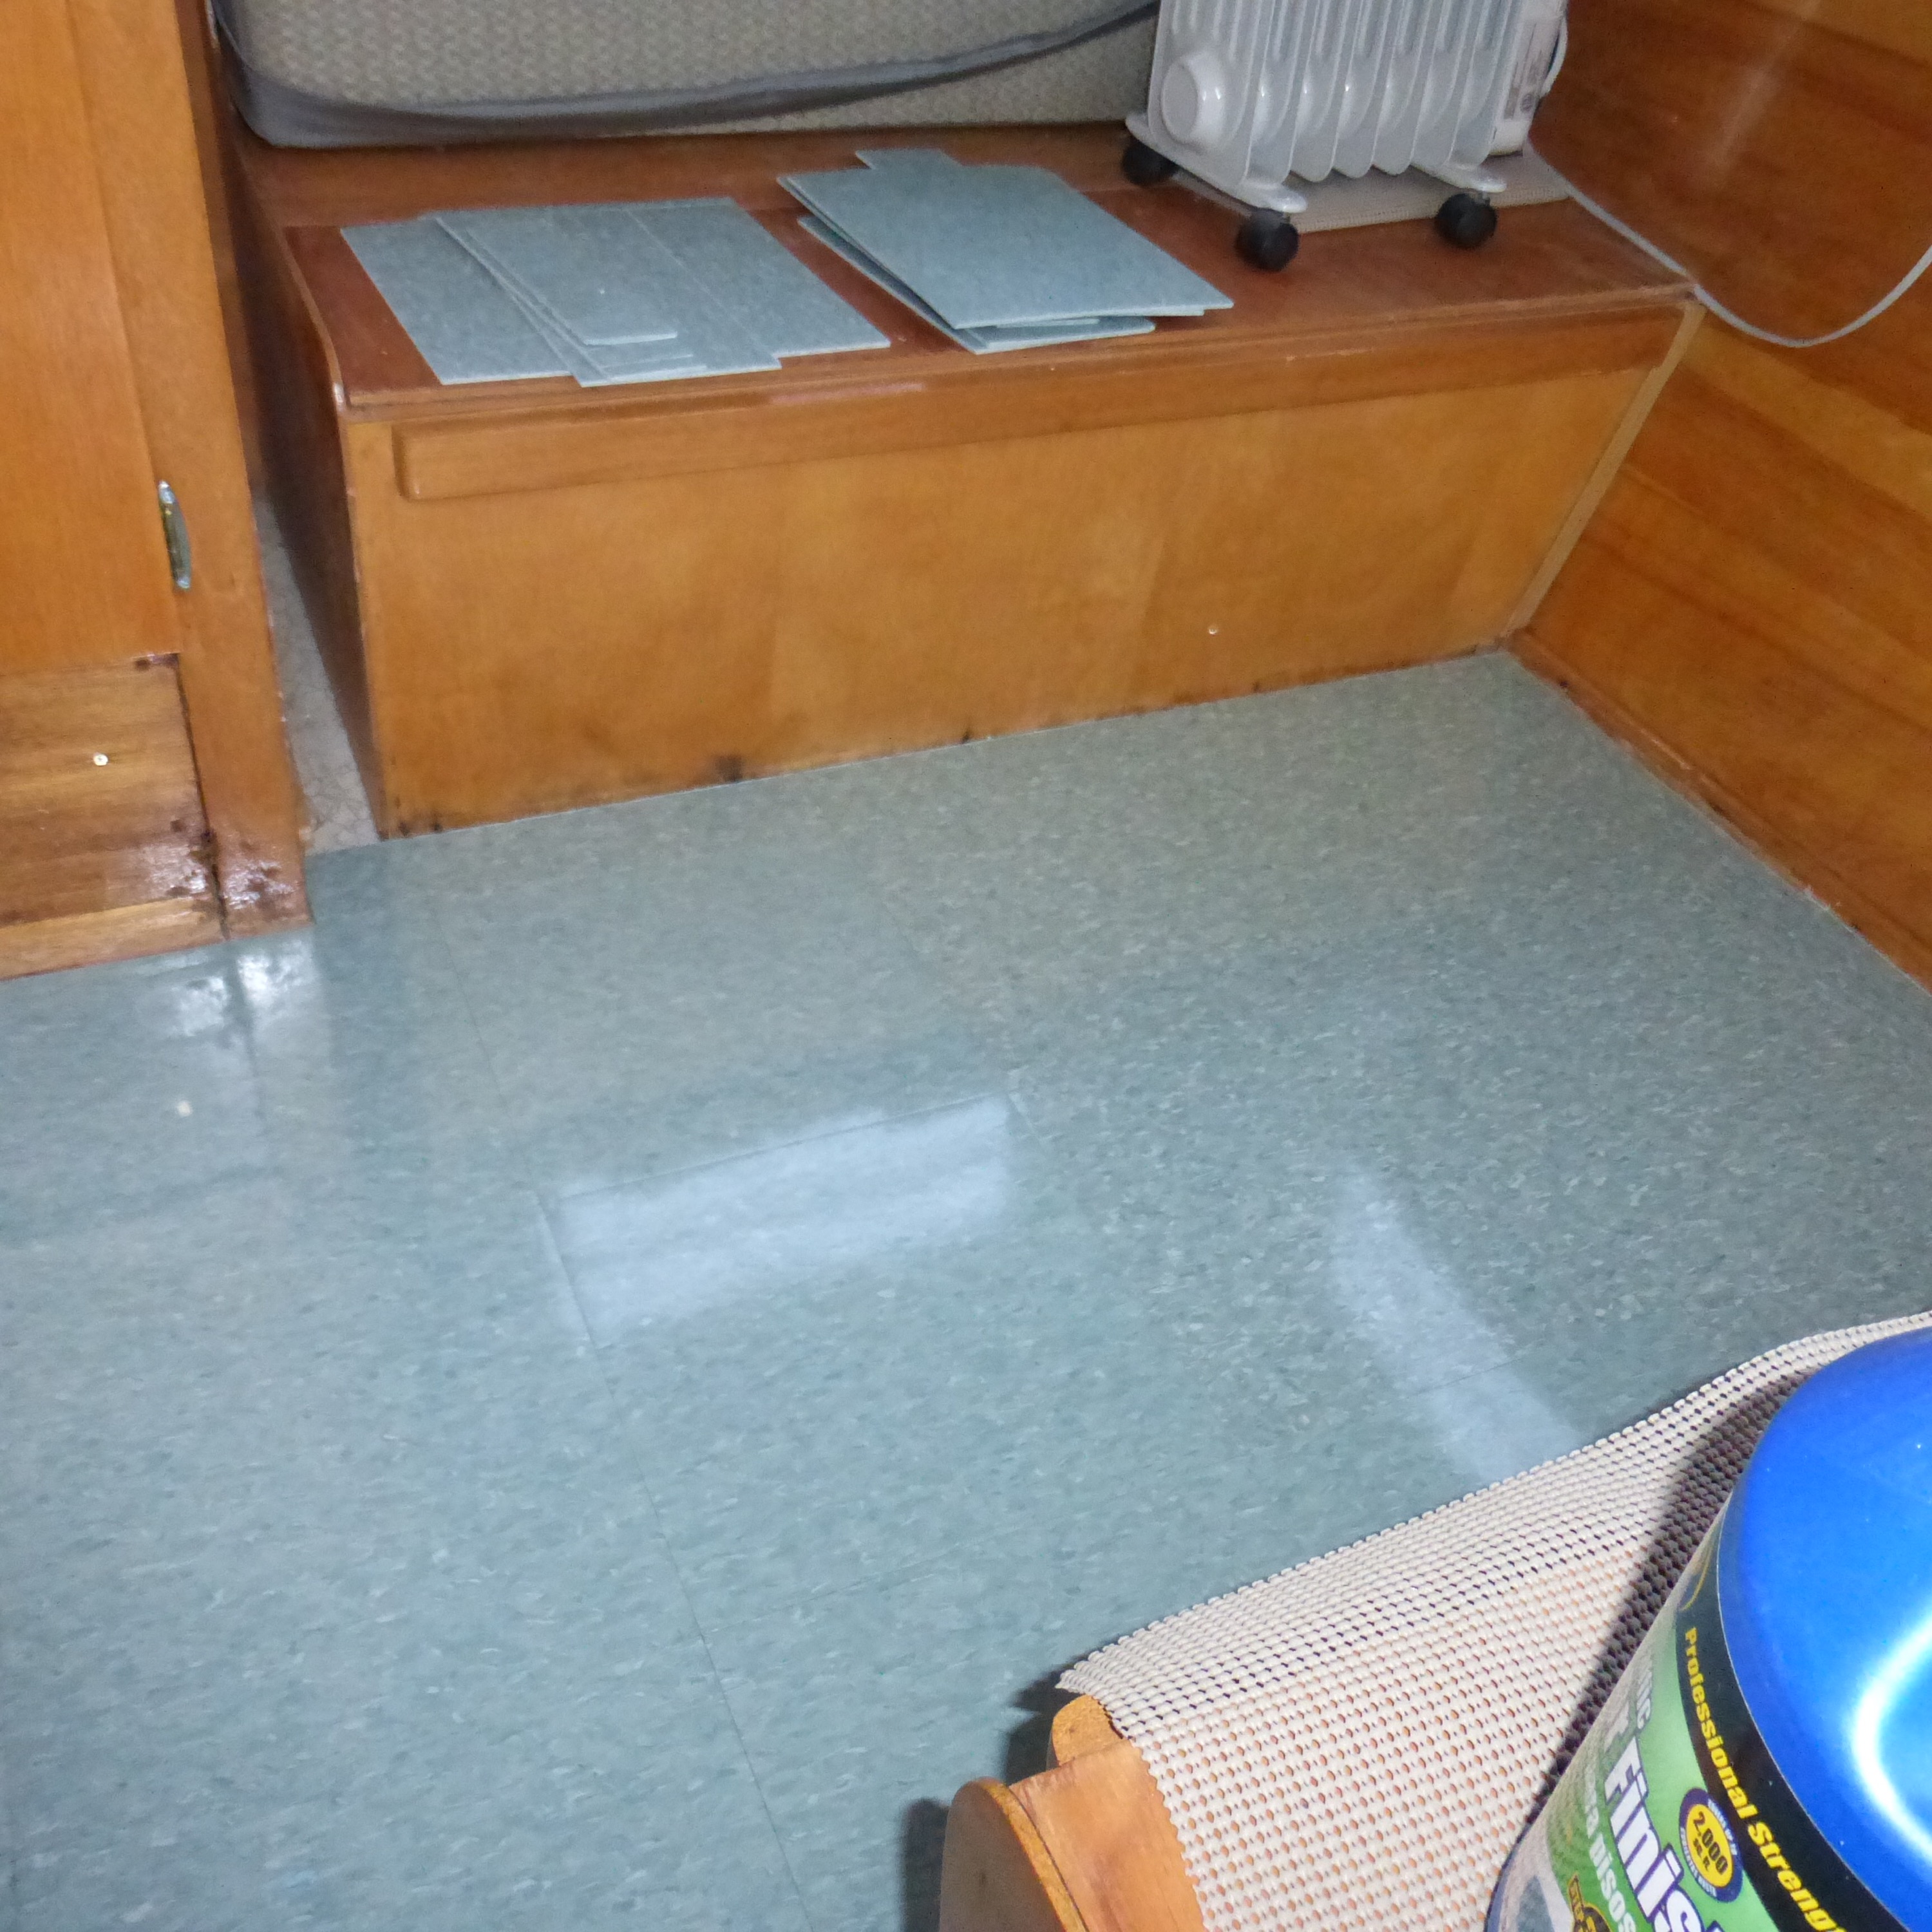
Done! (before polish)
The best way to cut VCT tiles: Make sure they are not too cold! IE: don’t leave them in the garage or the bed of your pickup in the winter and then try to cut them. When they are cold, they are very difficult to “score” with a utility knife. They will splinter and break and just plain piss you off. Ask me how I know. Anyway….what we did is put them in the direct sun. They get pliable enough, but not too pliable. Score your cut line with a sharp utility knife SEVERAL TIMES, then snap it along the score. It is really that easy. It works well with intricate cuts, too. It is always a good idea to have a few extras for the inevitable screw up, though. Be sure to have extra blades. They dull quickly.
I will tell you a little-known secret: if you decide on a checkerboard pattern with various colors, any slight variation in the seams will not show. Inevitably, with the temperature fluctuations in these campers, the tiles move ever so slightly. It’s not a huge problem, and no one has noticed the minuscule gaps between tiles. I have noticed, but then I am a huge pain in the ass. Had we gone with a checkerboard pattern instead of all one color, the hairline seams would not be an issue. Alas, we have all one color, but it looks fantastic, and I can live with it.
Apply floor polish. We use ZEP. IT is available at Home Depot and Lowes. It says to apply with a rayon, non shedding string mop. We have done it that way before, but honestly, they are a mess and a pain in the butt. I use a Swiffer type floor mop with a non shedding pad. You apply several thin coats, letting it dry for 30 to 60 minutes between coats. I applied four coats, buffed, 2 more coats, buffed. Be very sure your floor is clean and free of lint, dust, or hairs. All that crap will get sealed in the floor polish and you will be miserable every time you see it. Again, ask me how I know. You may be tempted to just leave the VCT tiles without polishing. After all, it looks great! Be aware, though, VCT tiles will stain and are somewhat porous. The polish protects against scratches and stains.

ZEP Floor Finish

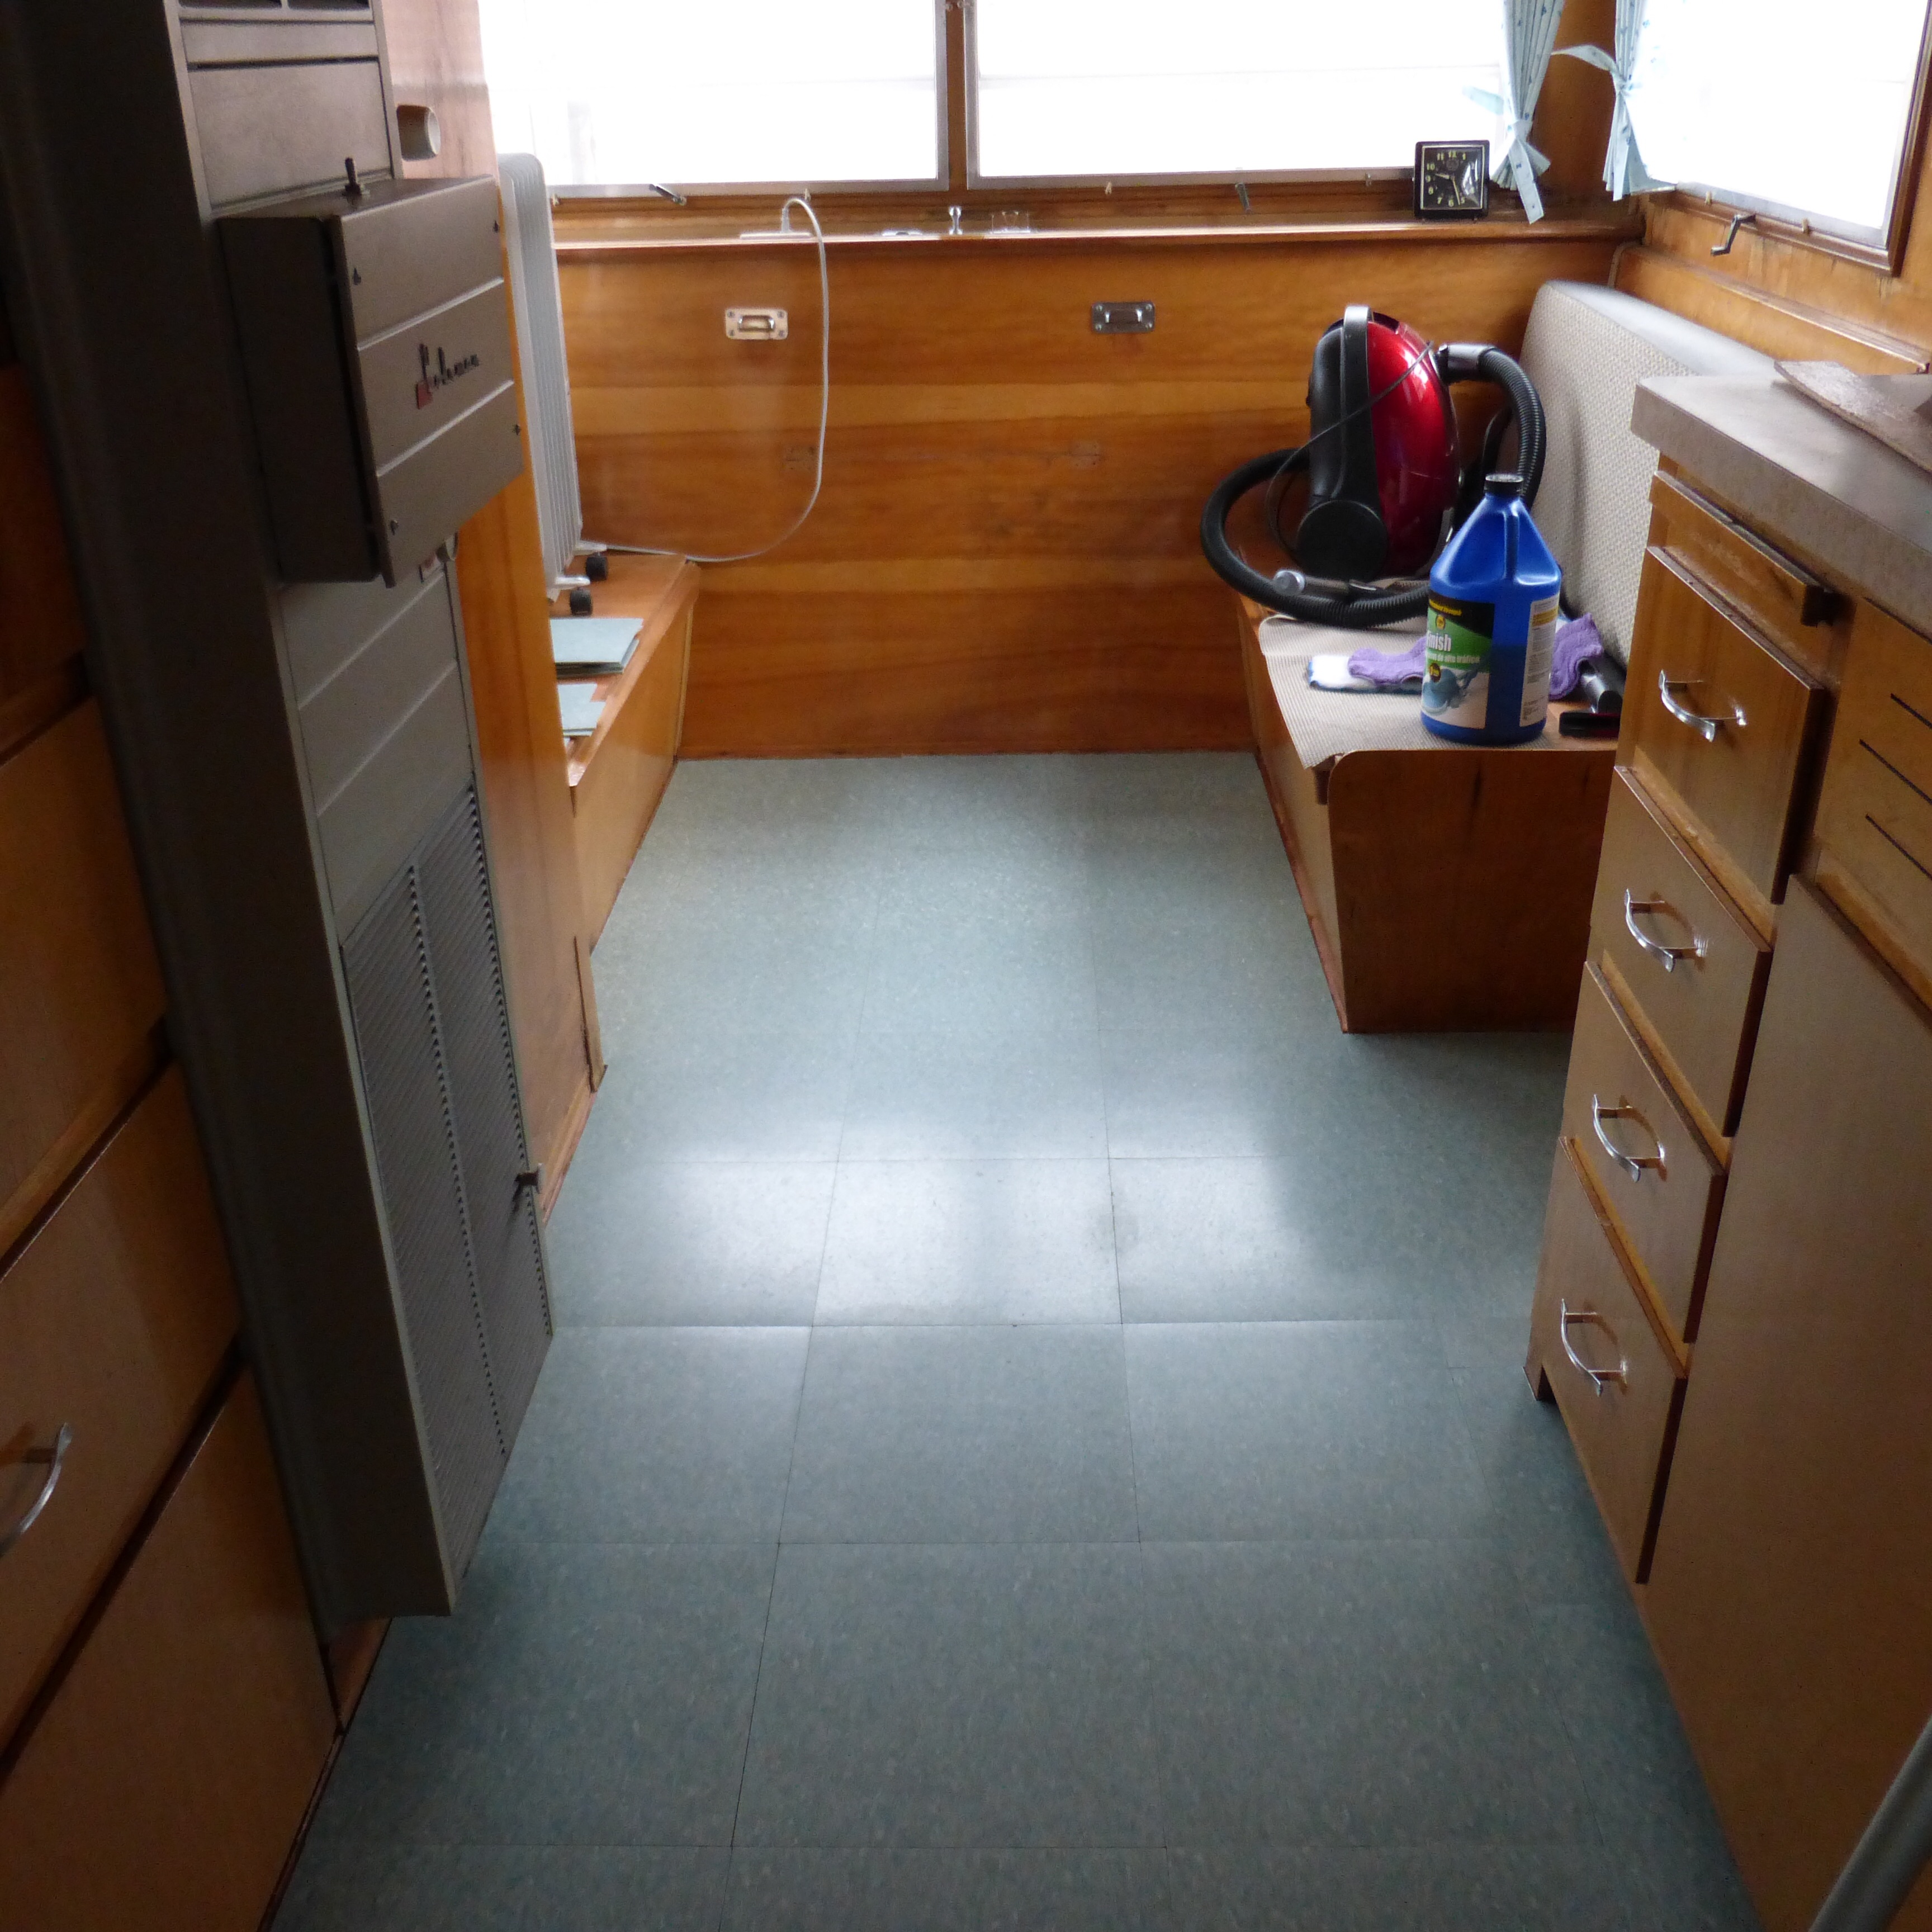
Preparing to apply floor polish
Polish Applied (4 coats)
I spent a day pulling trim nails out of the quarter round floor trim and gluing together a few pieces that Dear Husband had abused. If we can figure out where each piece goes, it will look great! (Tip: if you are going to re-use floor trim, label the pieces as you take them out. Duh.) The master craftsman that initially installed it was amazing. Seriously. The corner work was thrilling to behold. If you’ve ever tried to do trim work, you know what I’m talking about.
Dear Husband was gone the day we were to buff the floor. I waited and waited and hemmed and hawed until I finally decided to get the buffer and do it myself. Last time I tried to buff a hard wood floor, I got dragged around the room like a rag doll. I had visions of being flung through one of my camper windows. No worries. I buffed like a pro, with no accidents or injuries. The floor is GLOWING!

Oreck Buffer
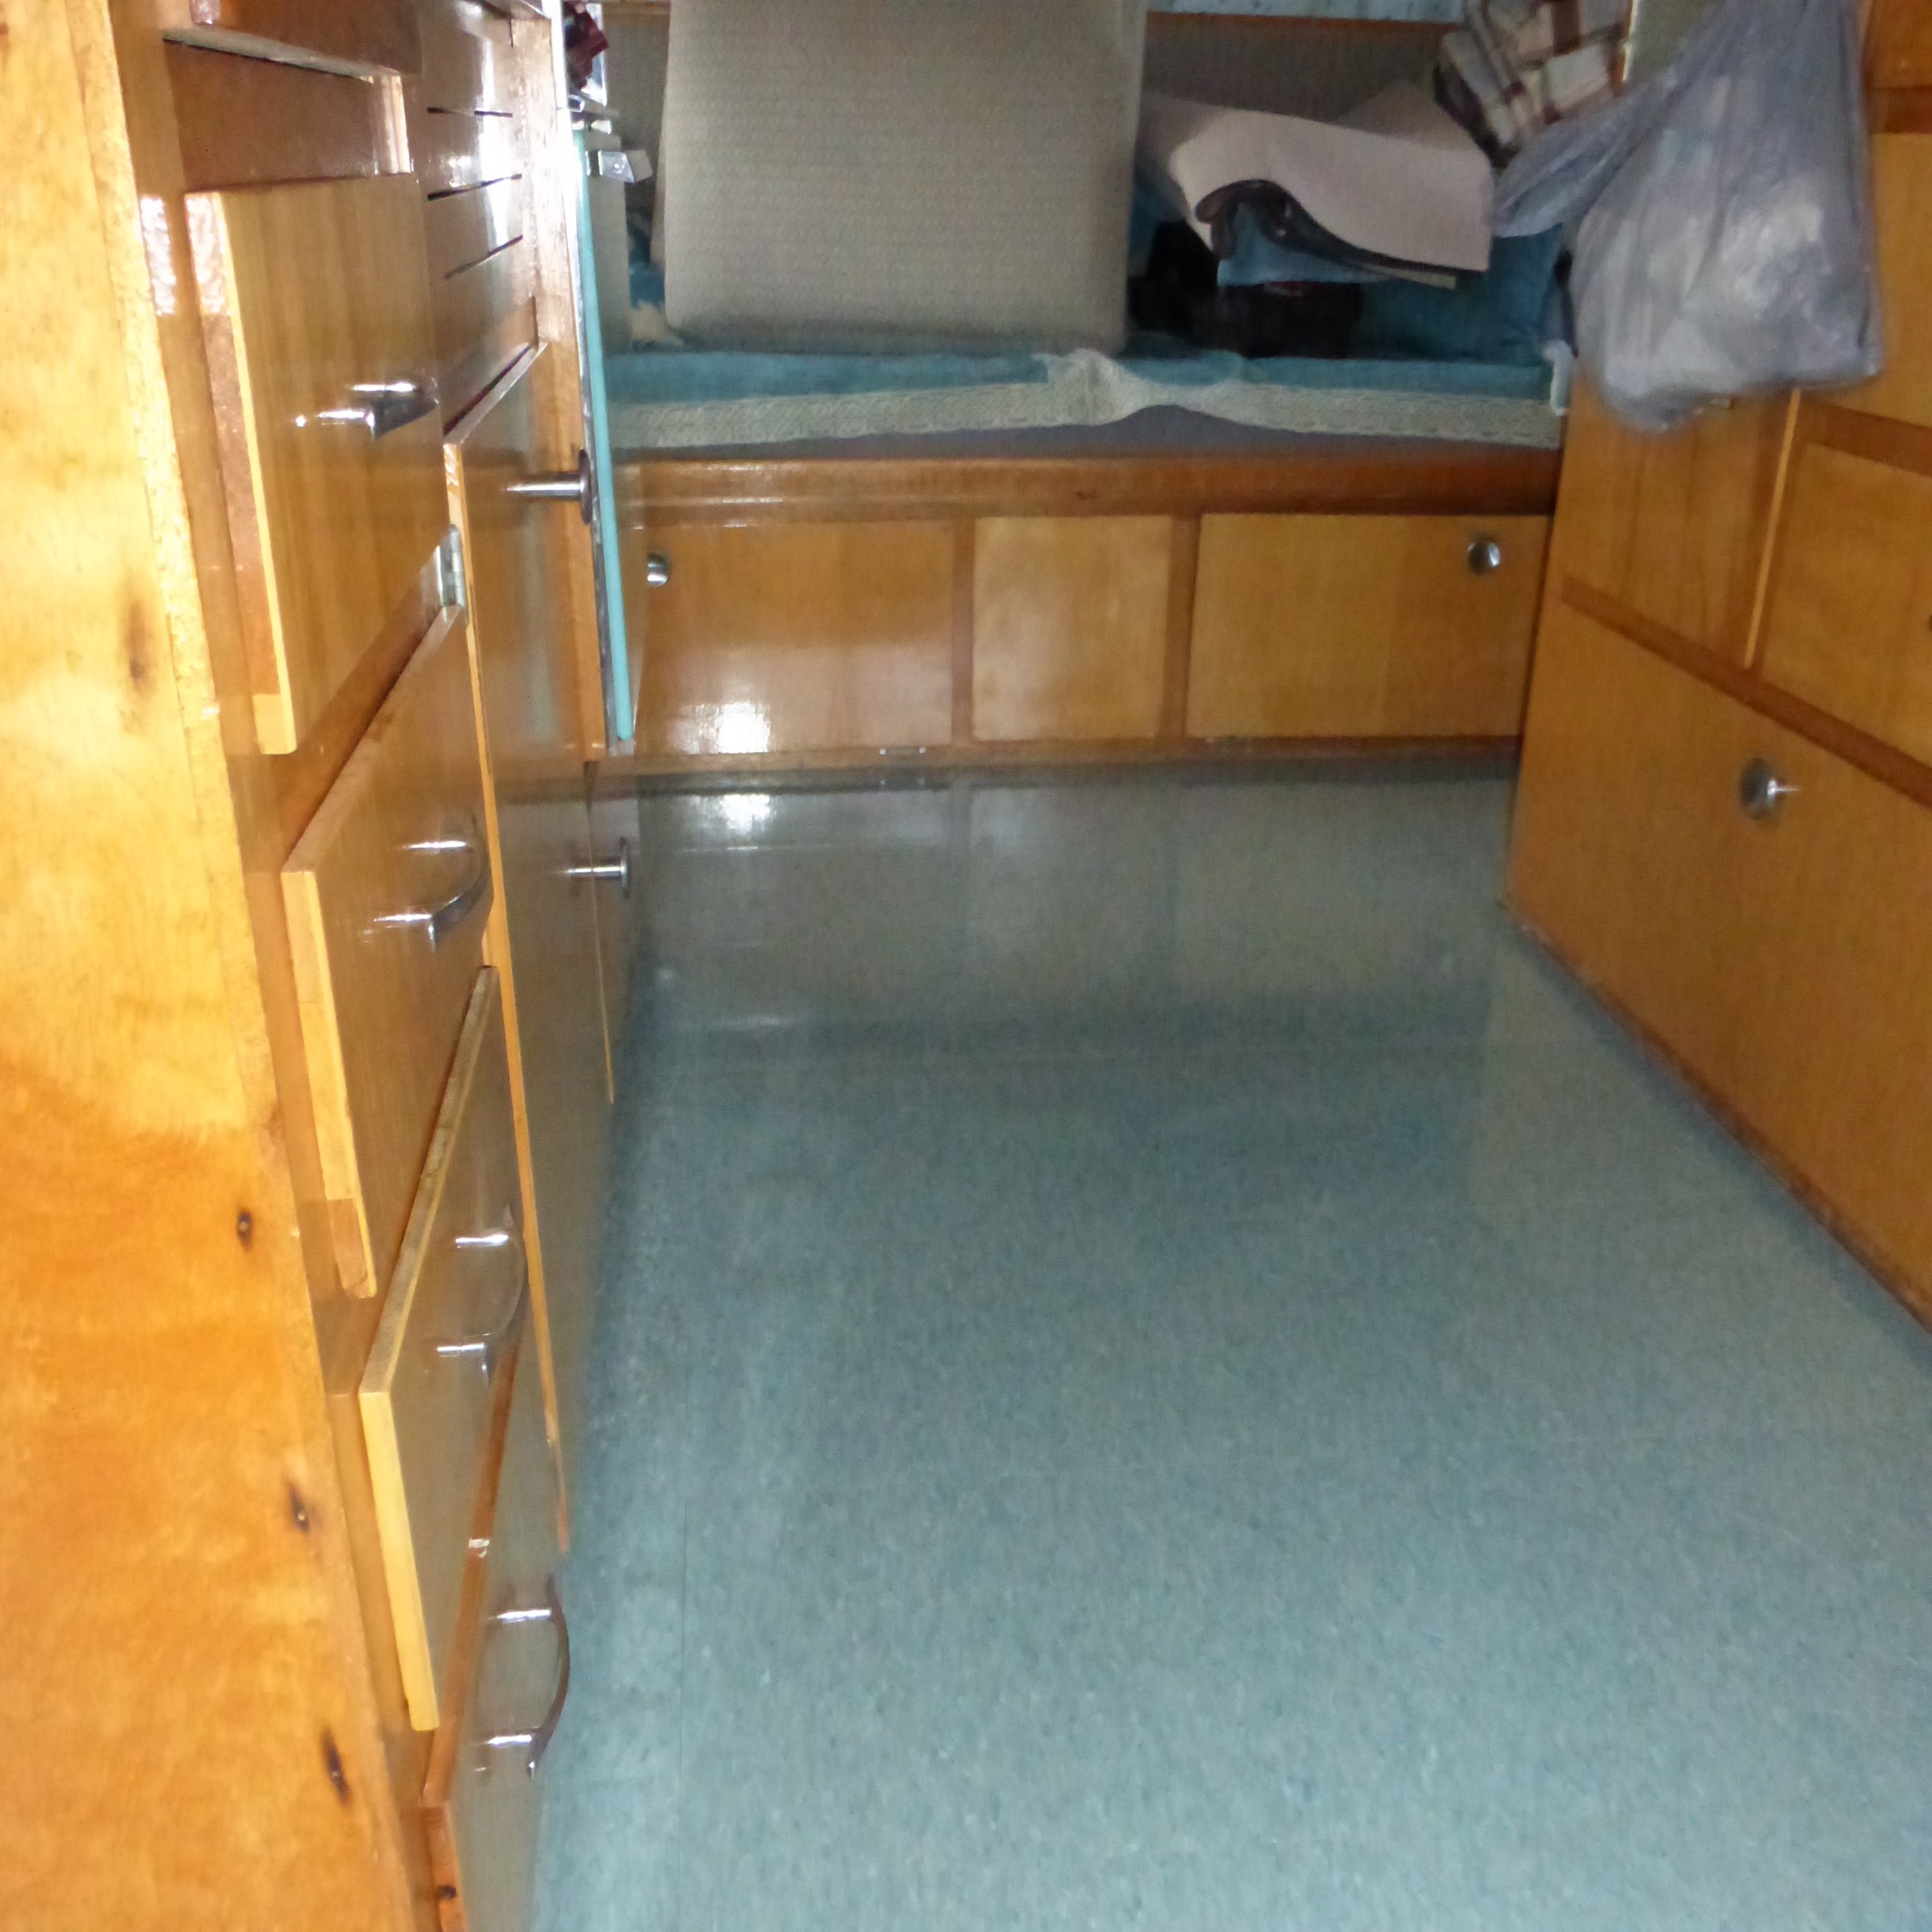
Buffed and Shiny!

Buffed and Shiny!
Maintenance is pretty easy. Just damp mop regularly and every few times use a floor cleaner/polish. I’ve found the best one is “Holloway House Quick Shine”, but it can be difficult to find. Pledge makes a floor cleaner/polish that works well, too. Every few years pull out the buffer and re-apply the ZEP.

Floor Maintenance
Once we get the trim installed, and the trailer put back together I will post pics. Hopefully in the next couple days :).
Trim installed and floor is done! It is so cute and really brightens up the interior.


Dottie approves 🙂

