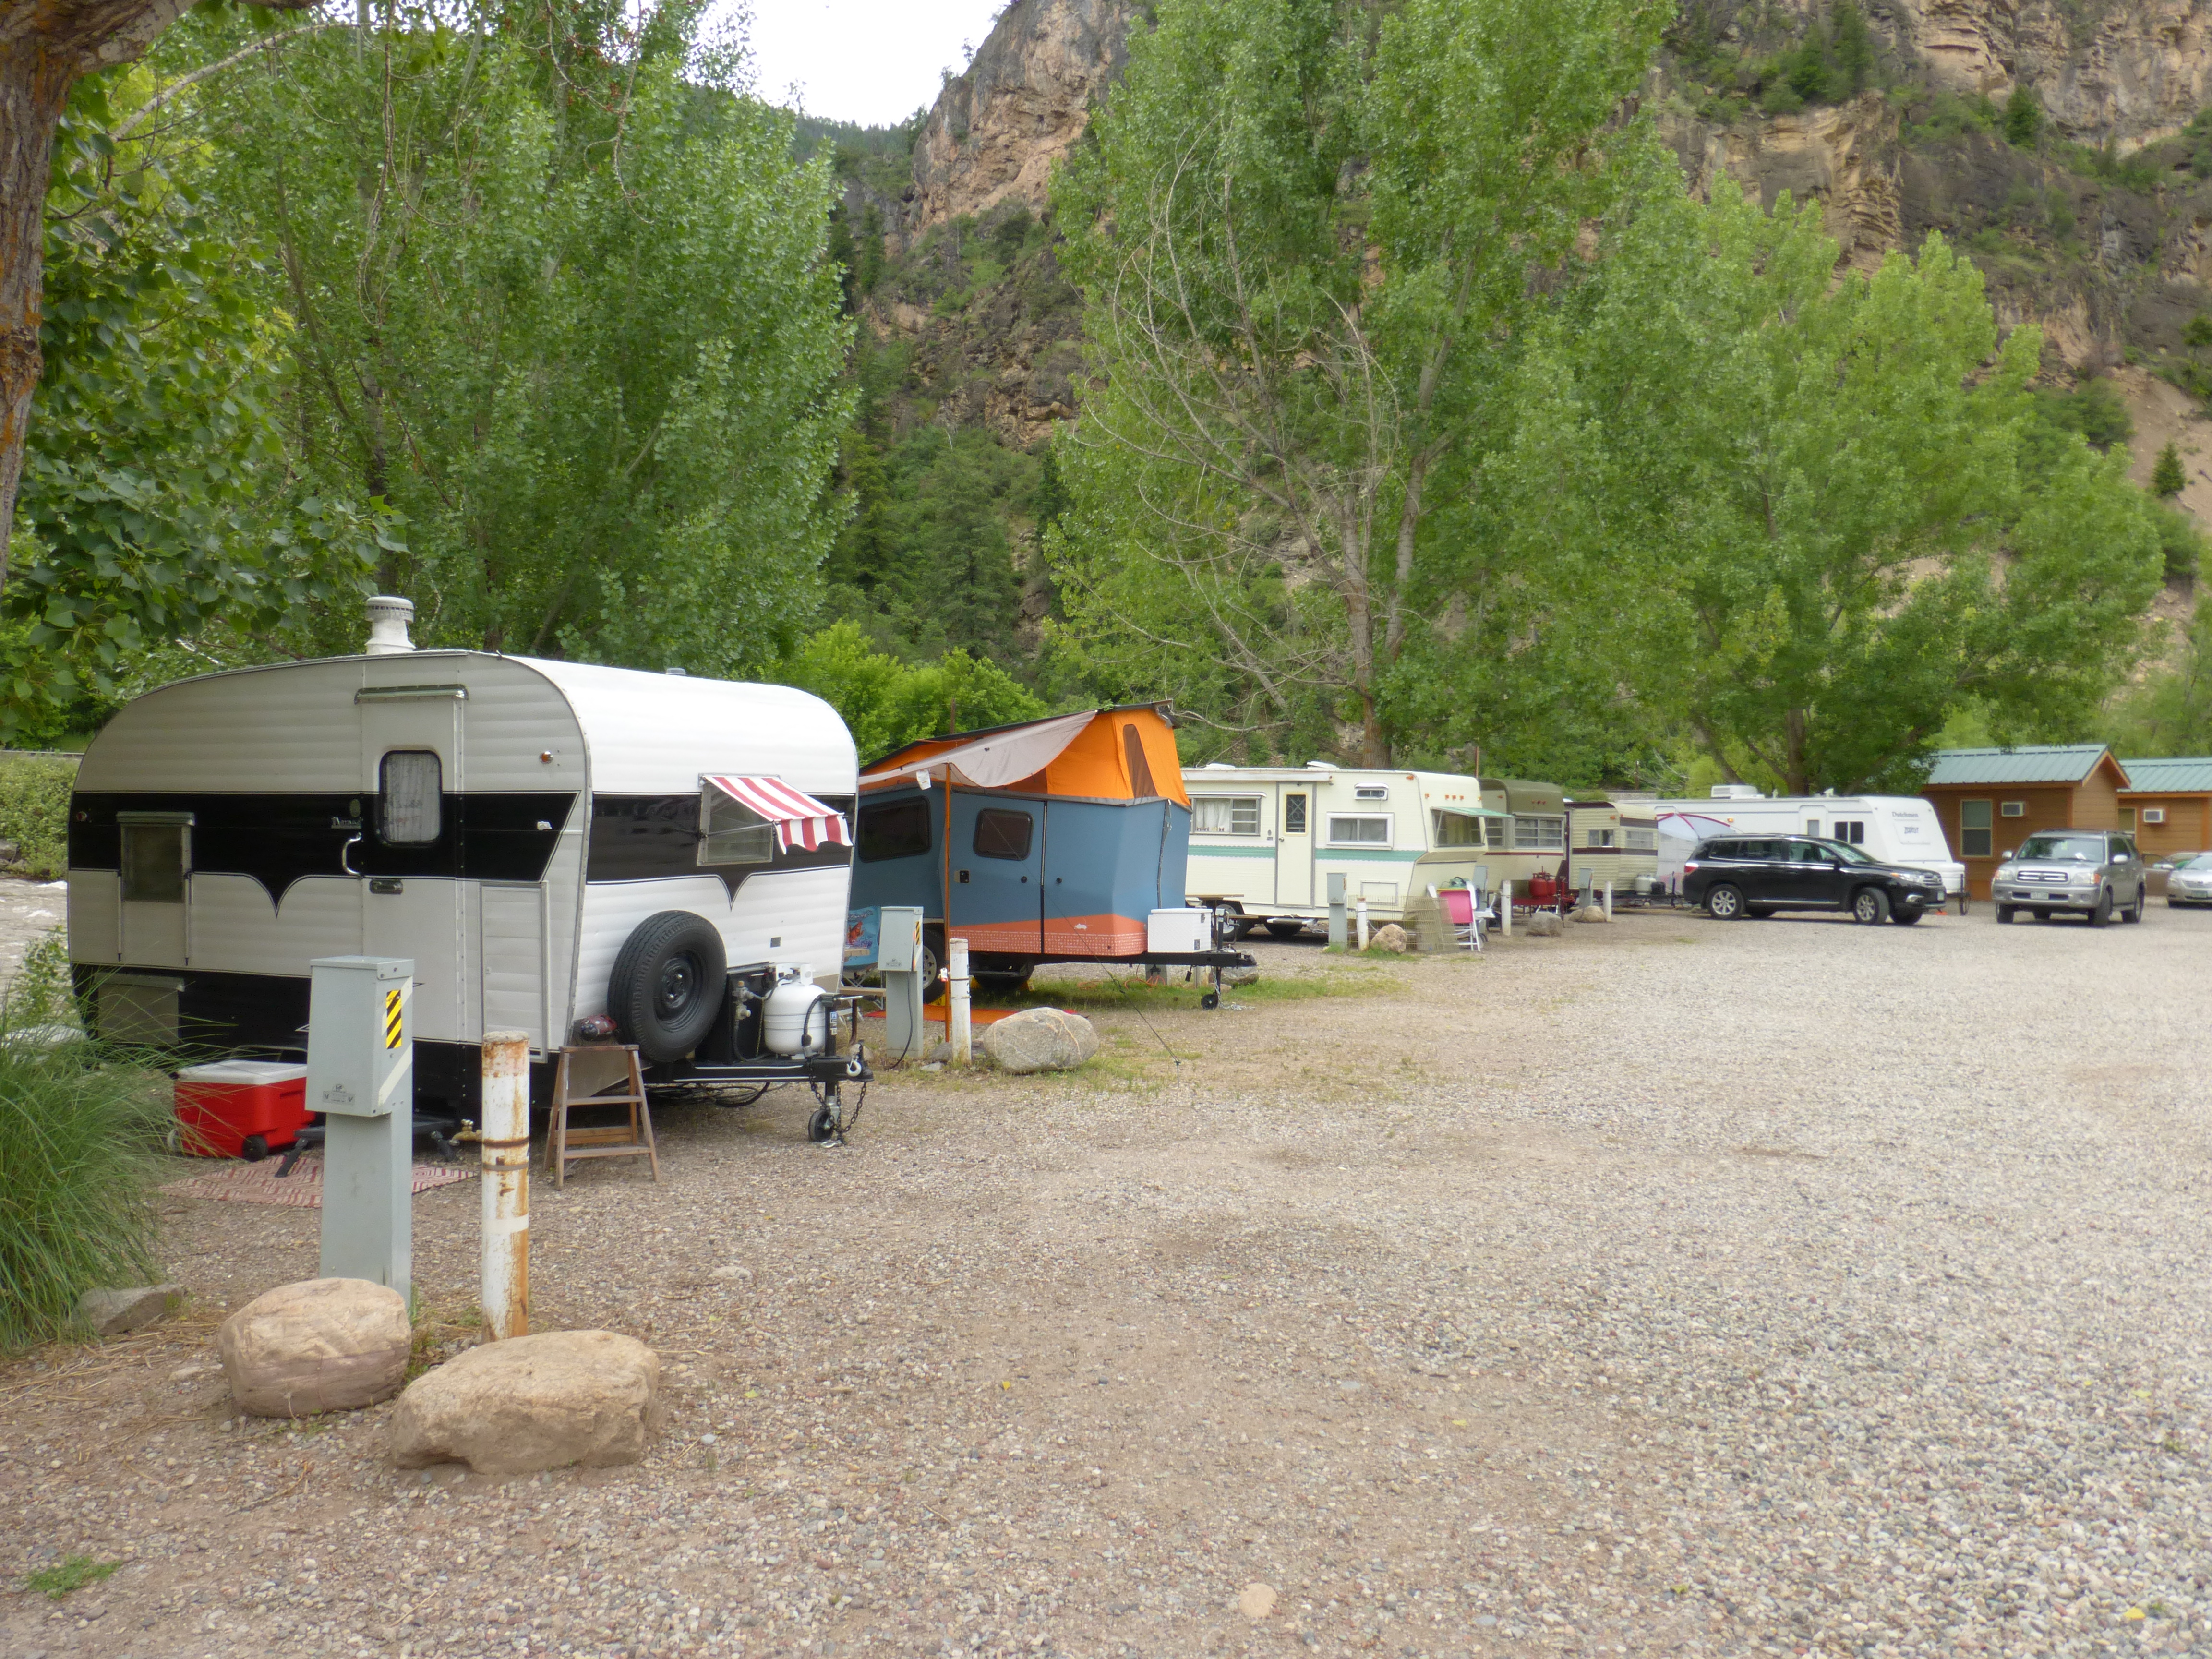
Since my last blog post, we have had an exciting couple of months! So many camping trips – Paonia State Park with the Holiday Rambler; Leadville and LaVeta with Midge; and Leadville again with Midge AND the Silver Streak (we took both trailers and camped with my brother and his family); Salida with Midge (my first solo trip!). It’s been a fun summer!
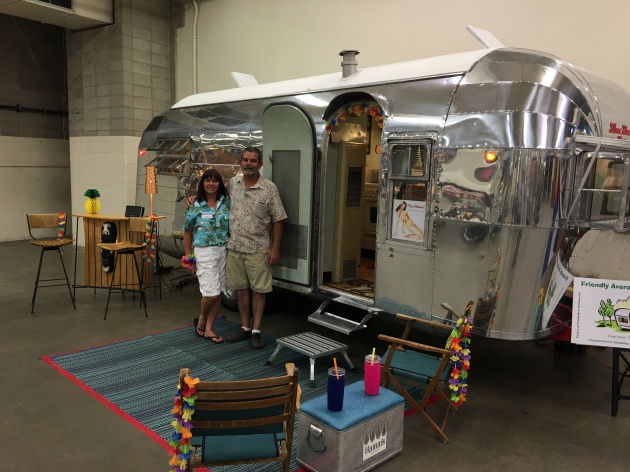
To top it all off – my merry band of misfits, the Friendly Average Campers of Colorado, exhibited several trailers at The Denver Modernism Show, August 26th and 27th!
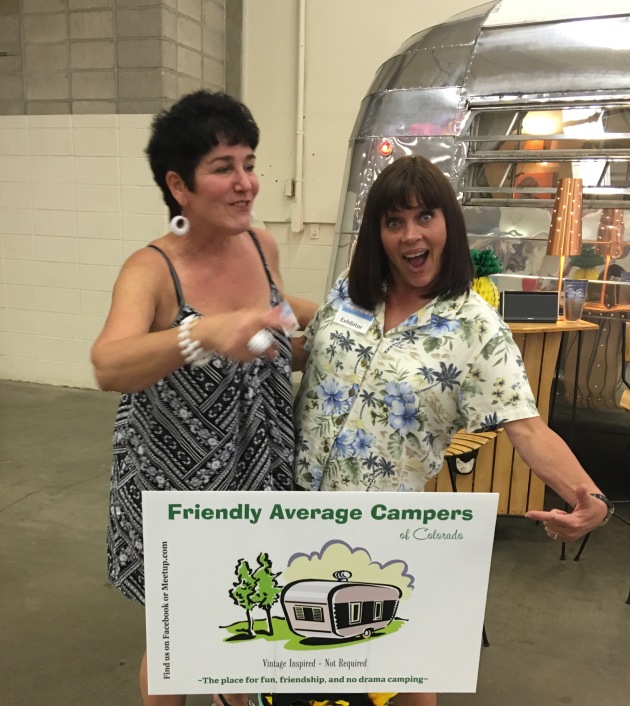
All is can say is…..WOW! This group has some amaze-balls trailers. Holy cow! I will post pics of them all….they were so beautiful! And, I must say…..we were THE HIT of the Show. So many people! Everyone was so nice, and truly appreciated being able to tour the beautiful trailers and visit with the owners. It was a great experience. In fact, we got several new members over the weekend :-). One of the attendees touring trailers Friday night asked if they could bring their vintage Shasta on Saturday morning and display it! Of course, we said yes! I did not get a picture of them with their trailer, but it is the red/polished aluminum Shasta in the pics below. We will be back next year with even more fantastic trailers!
(If you click on the pictures below, they will enlarge.)


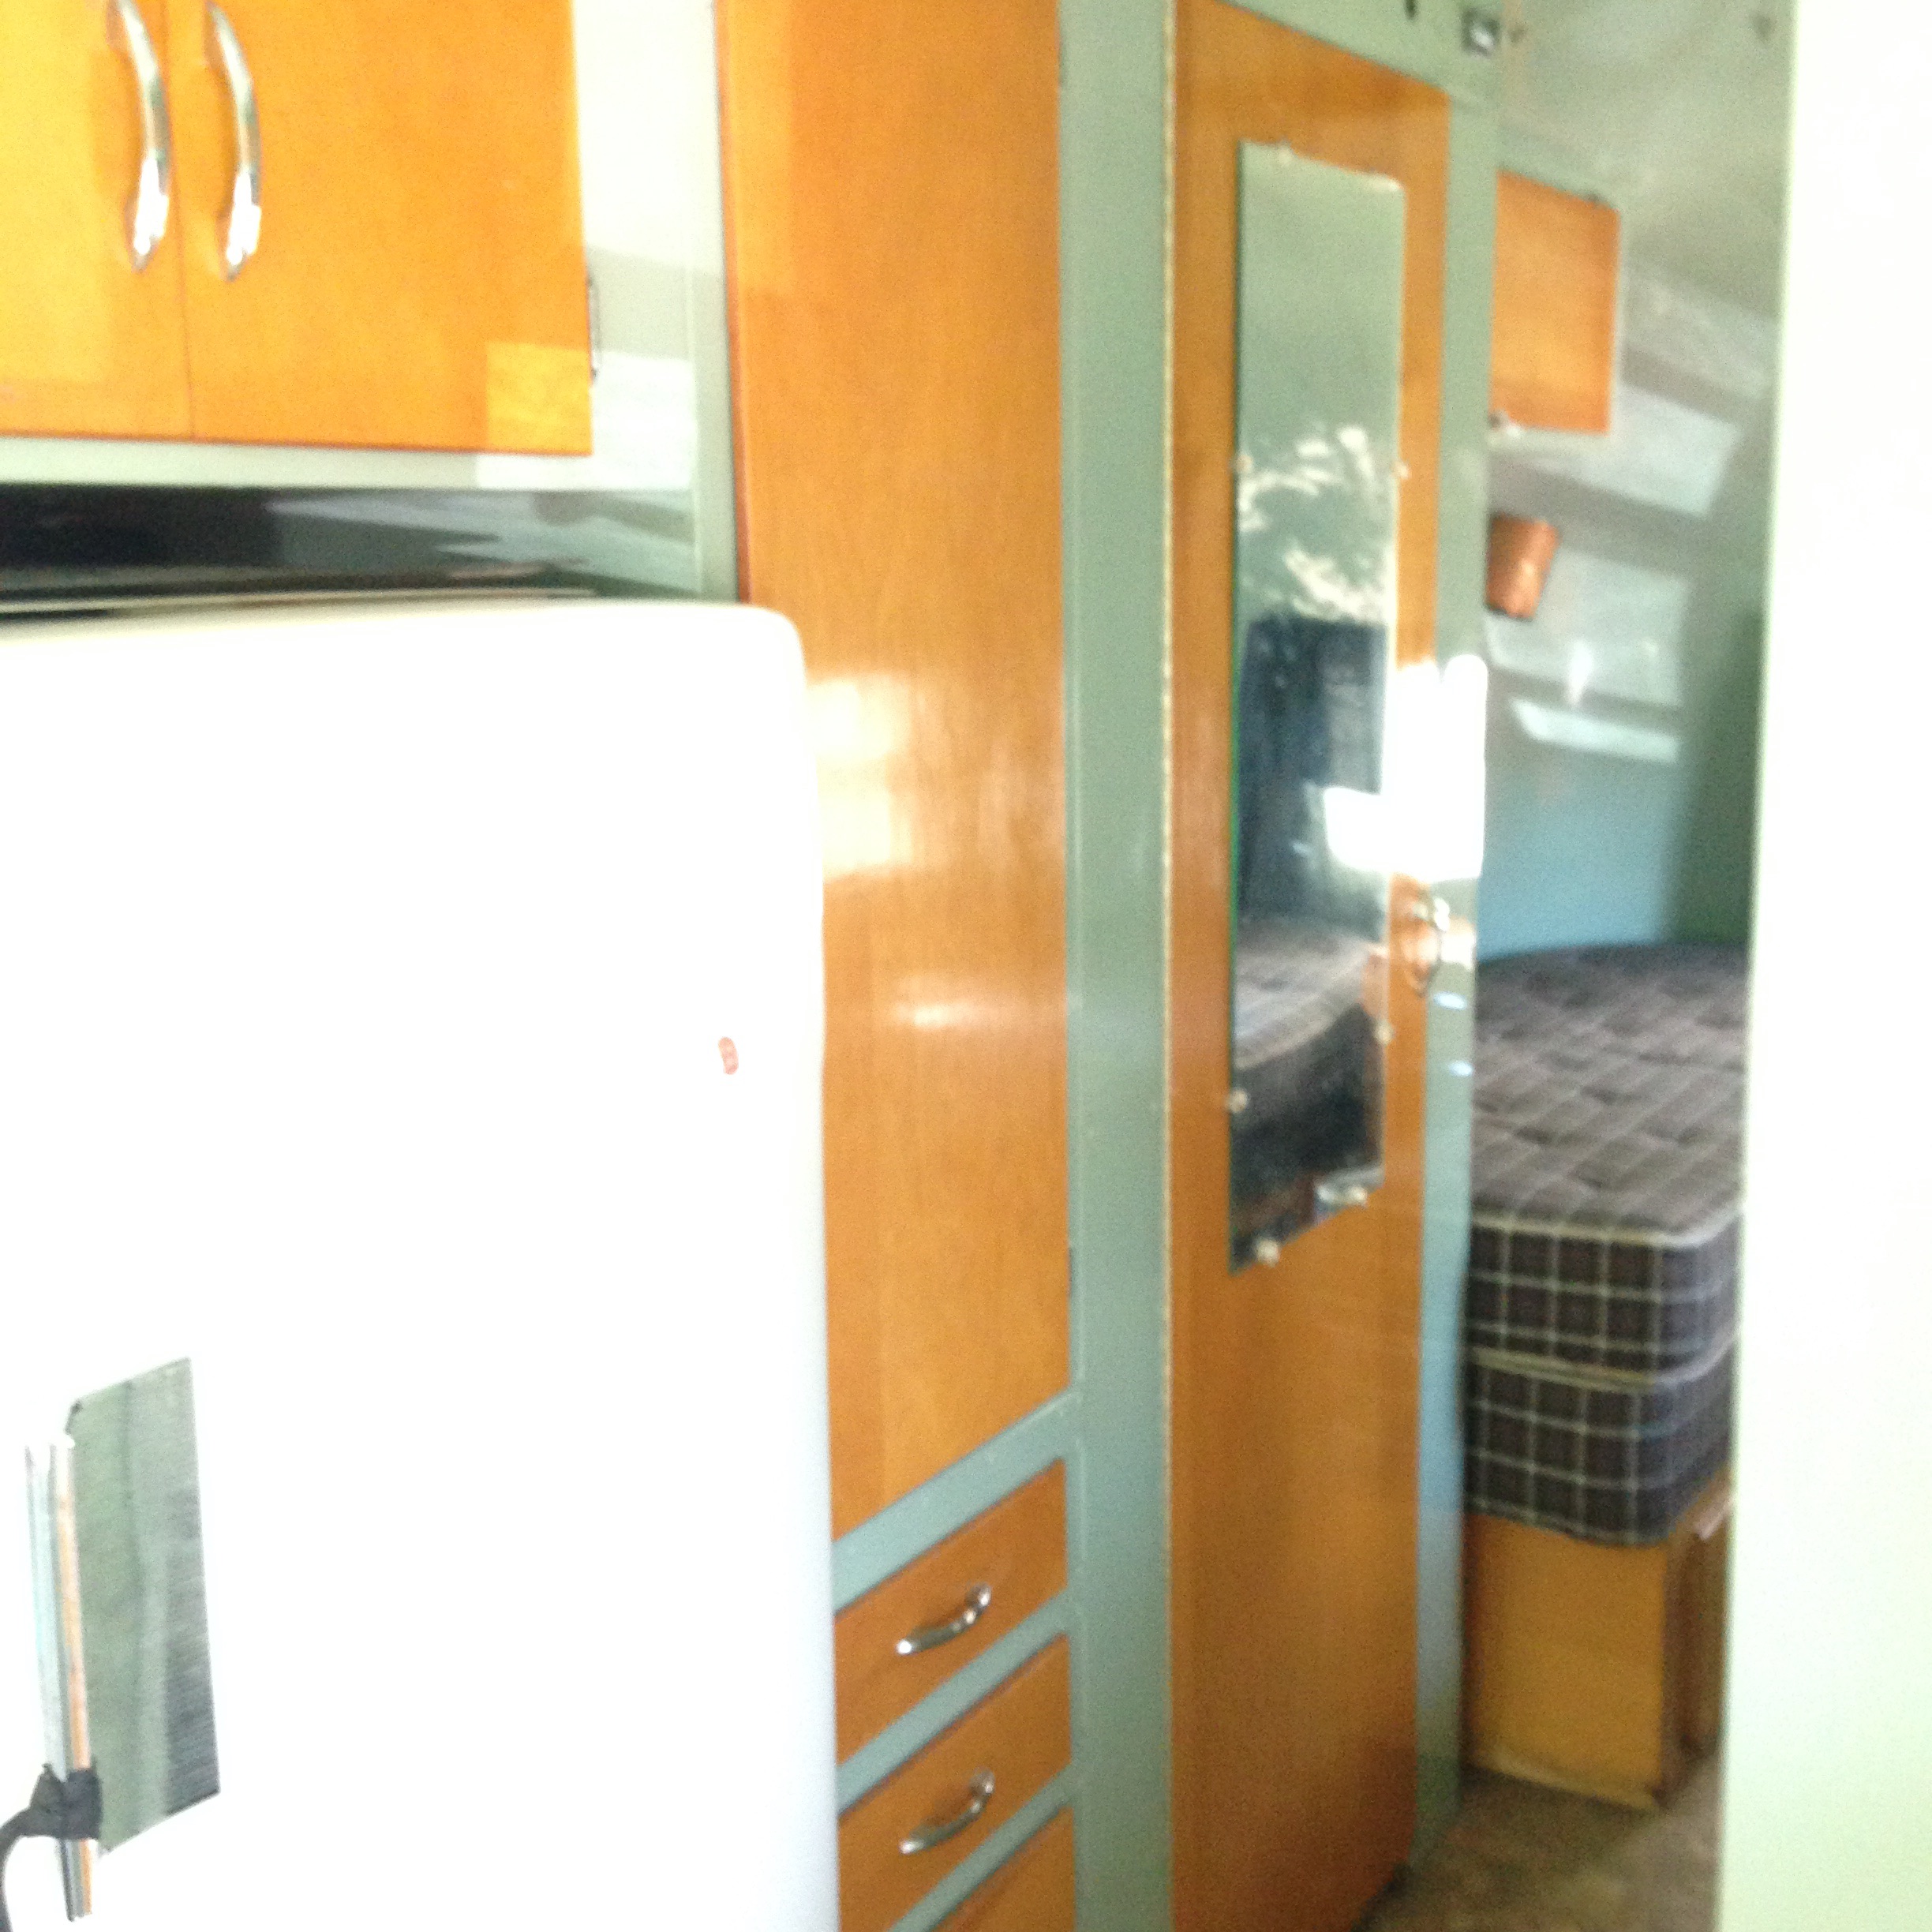
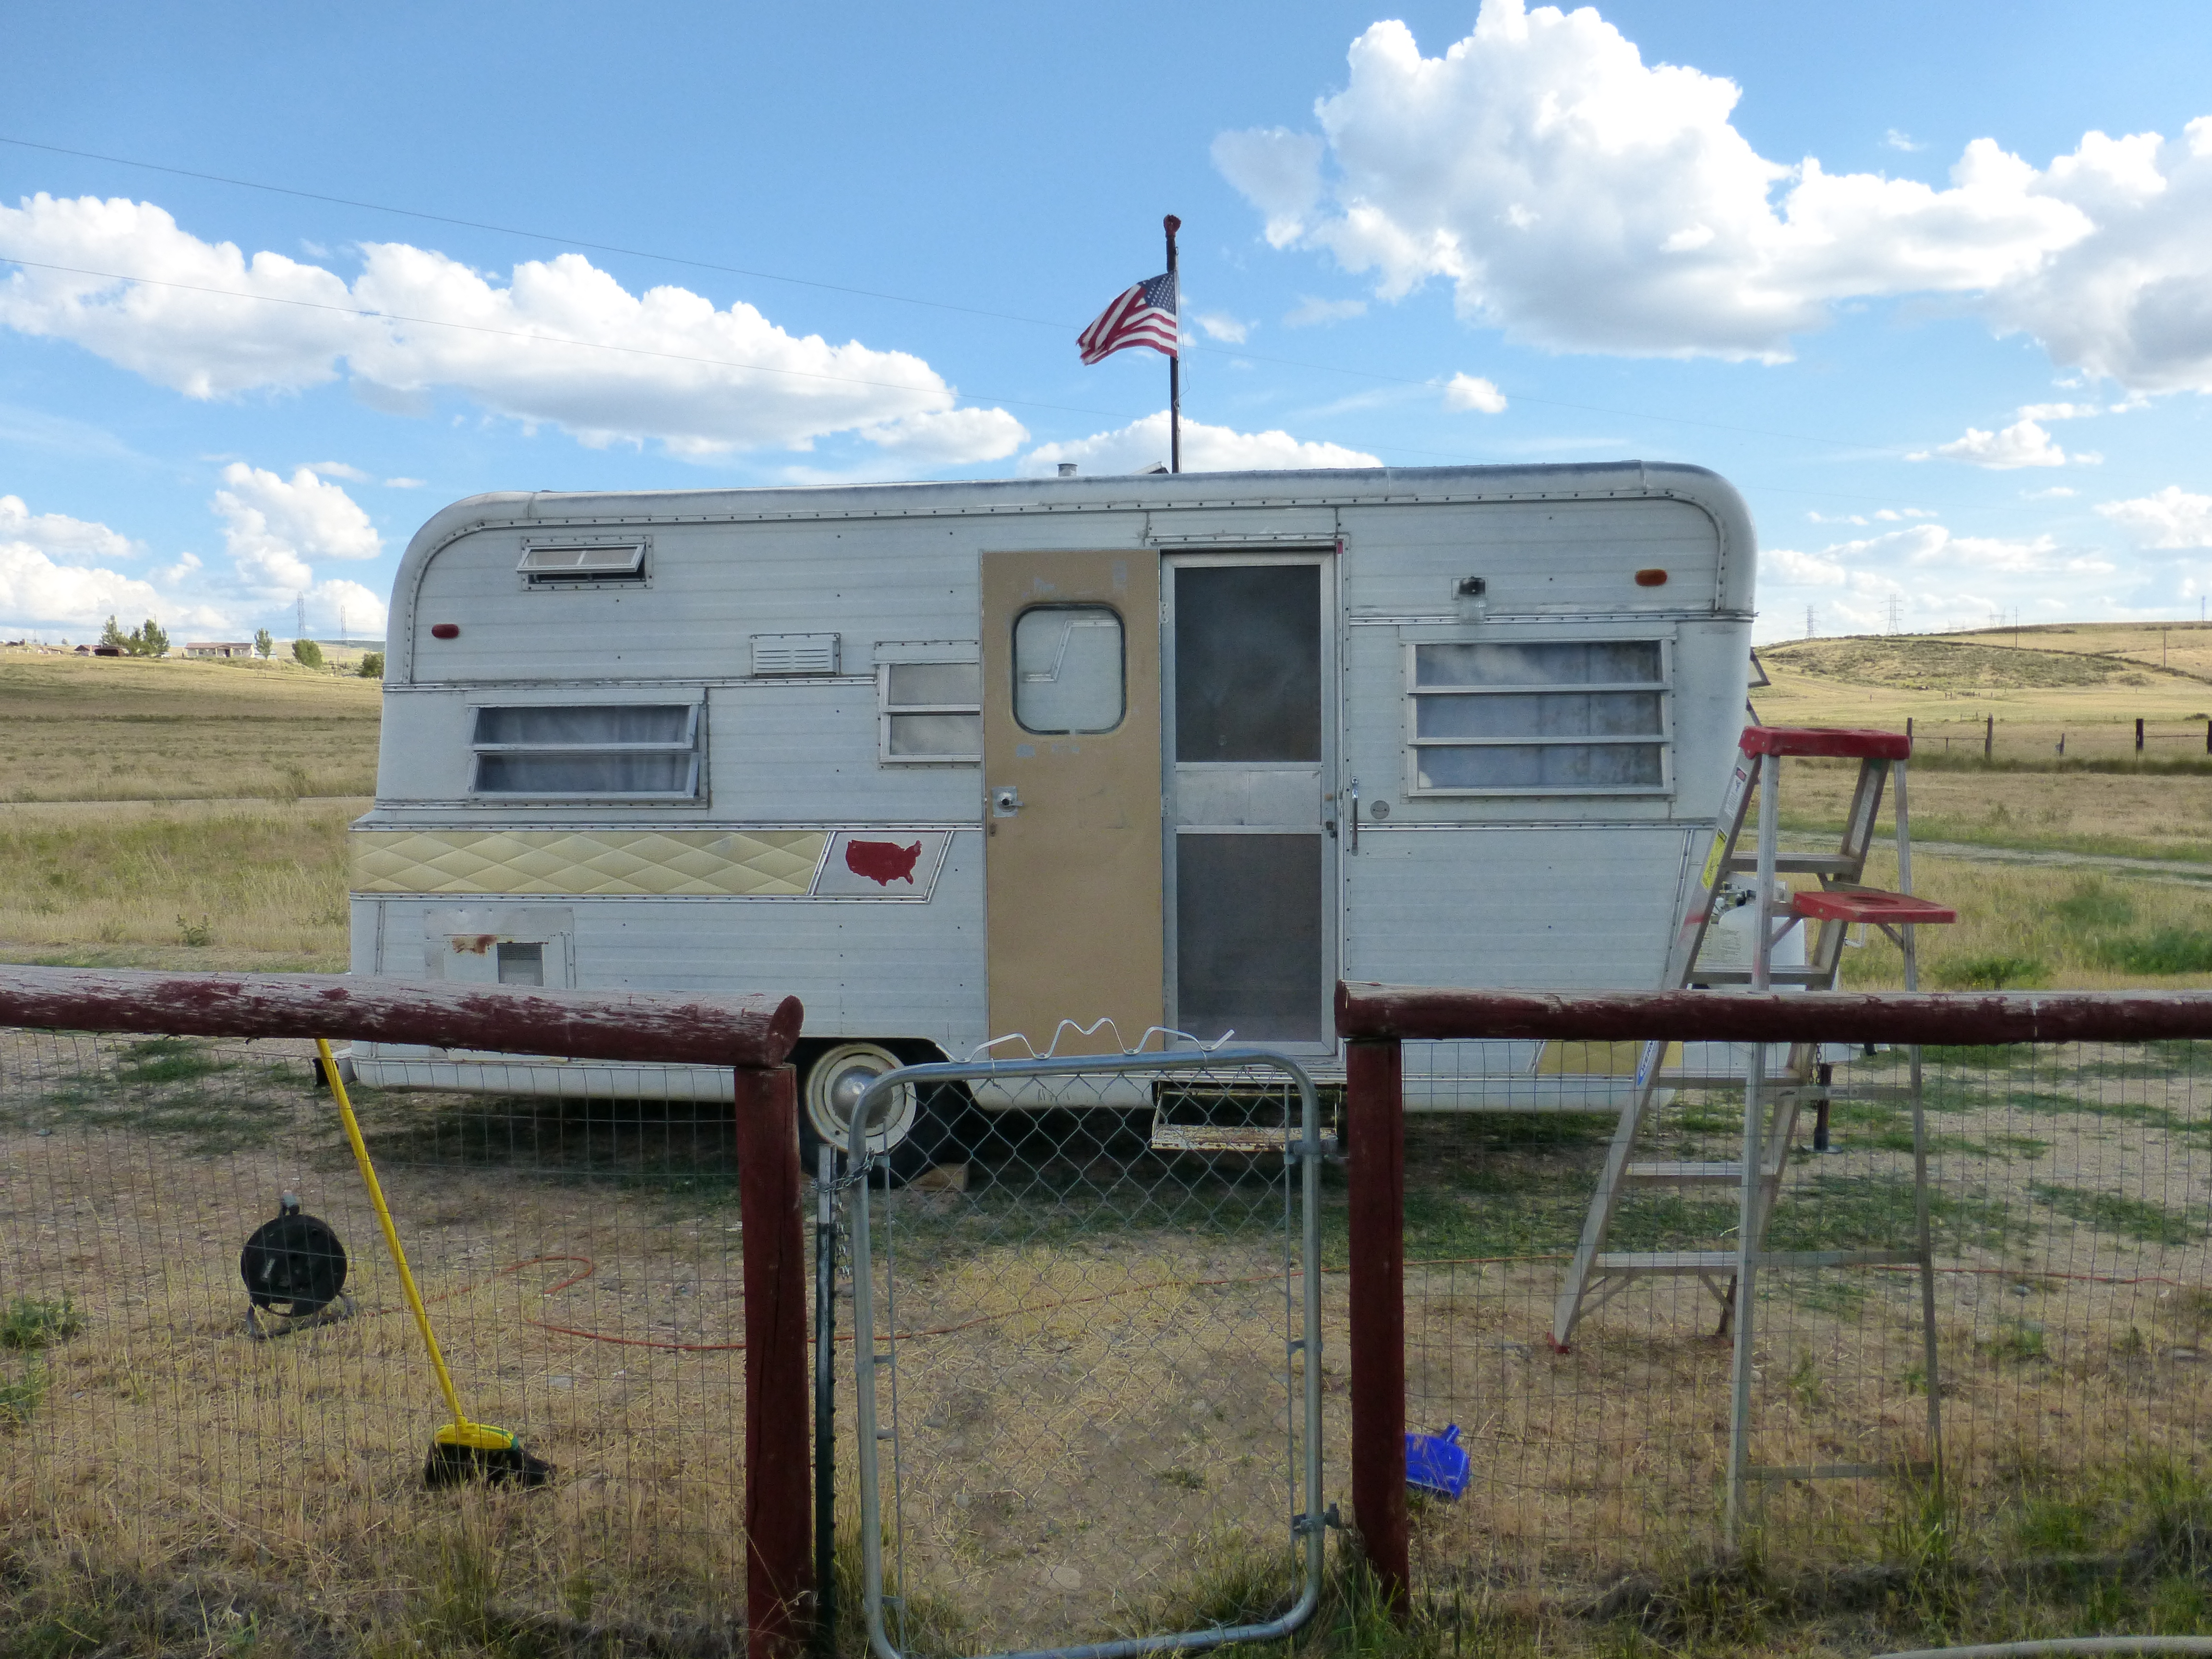
In case you didn’t notice, we displayed the Holiday House (AS-IS!!! Ewwww!) Dear Husband thought it would be a great idea. He thought people would really get a kick out of it. I thought….”um…NO. It’s gross! It’s falling apart! No one wants to see that!” Well, he was right and I was wrong. Yeah. I just admitted that. (SIGH).
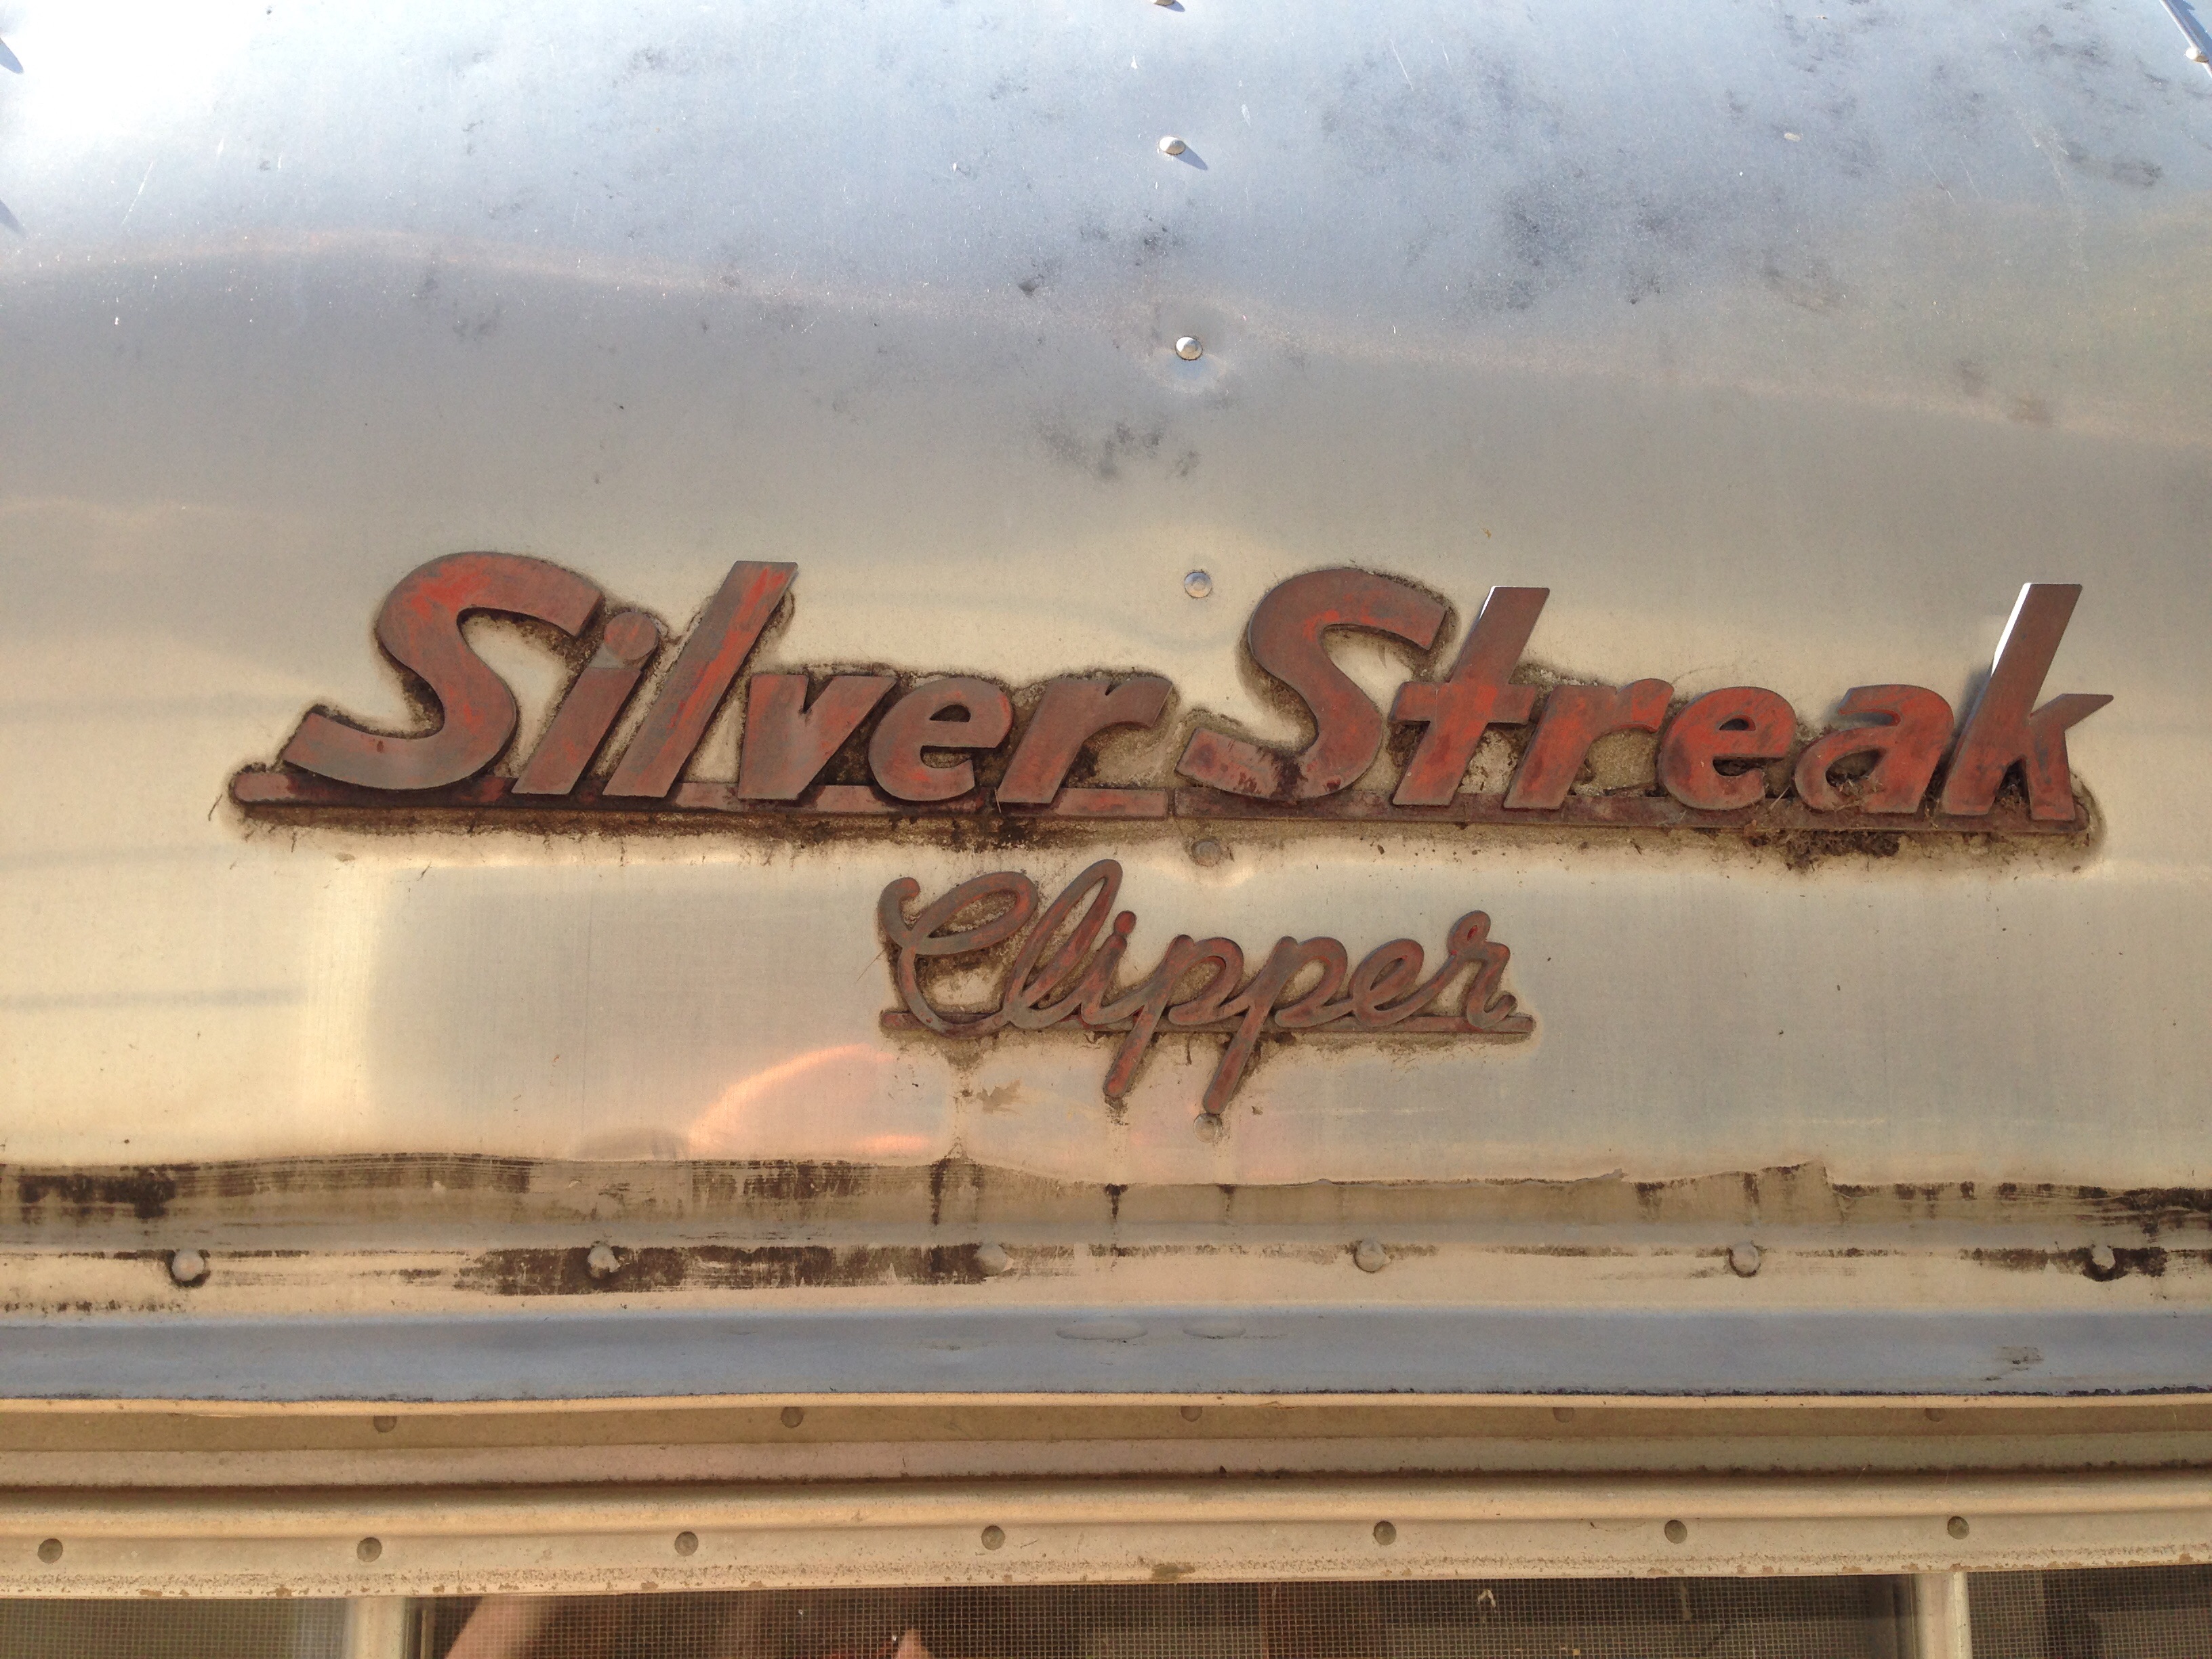
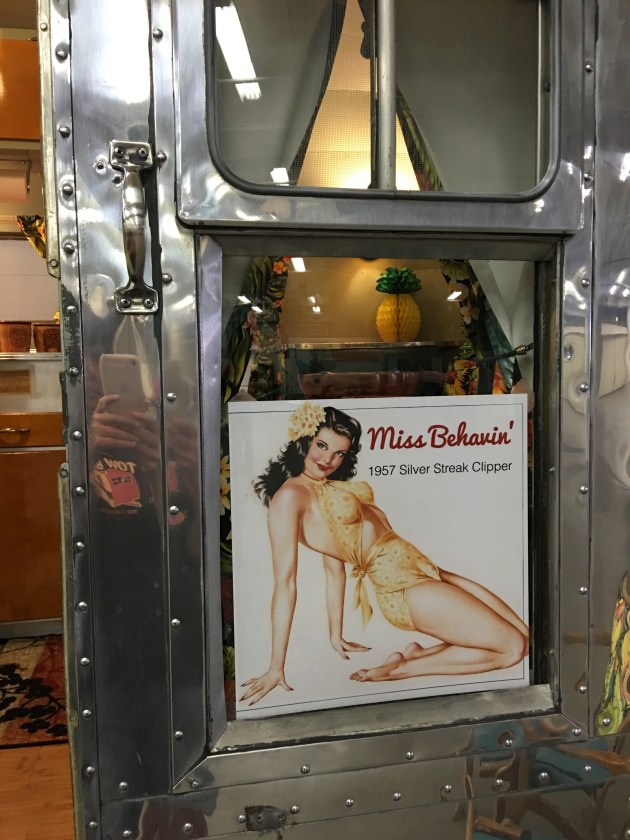
We polished the Silver Streak, and she looked drop dead gorgeous. (I’ve put some “before” and “after” pics at the bottom) It’s amazing what some spit and polish can do for these old gals (ok, ok…..we didn’t spit on her). All the ugly black marks are gone, and she is sparkly! Oh, and, obviously, “it” is a “she” and her name is “Miss Behavin'”.
RubyLane.com was there and did a live feed tour of our beautiful girl:
The trailers were displayed Friday night and all day Saturday. The vintage car show moved in on Sunday morning, so the trailers had to pull out Saturday night. I was asked to leave my trailer for the car show, which I didn’t mind one bit….saved me from hauling a trailer home after a very long couple of days. Well….as luck would have it, there was a “trailer” category in the car show, and little “Miss Behavin'” won!! (Um, yes…..she was the ONLY trailer there, but still!). The car guys told me she would’ve won anyway, and I choose to believe them ;-).


Our next trip is in a couple days! We are heading to Estes Park for Scotfest! It is so much fun! I’m pretty excited. We are taking Miss Behavin’ this time. She is all prettied up and ready to roll.
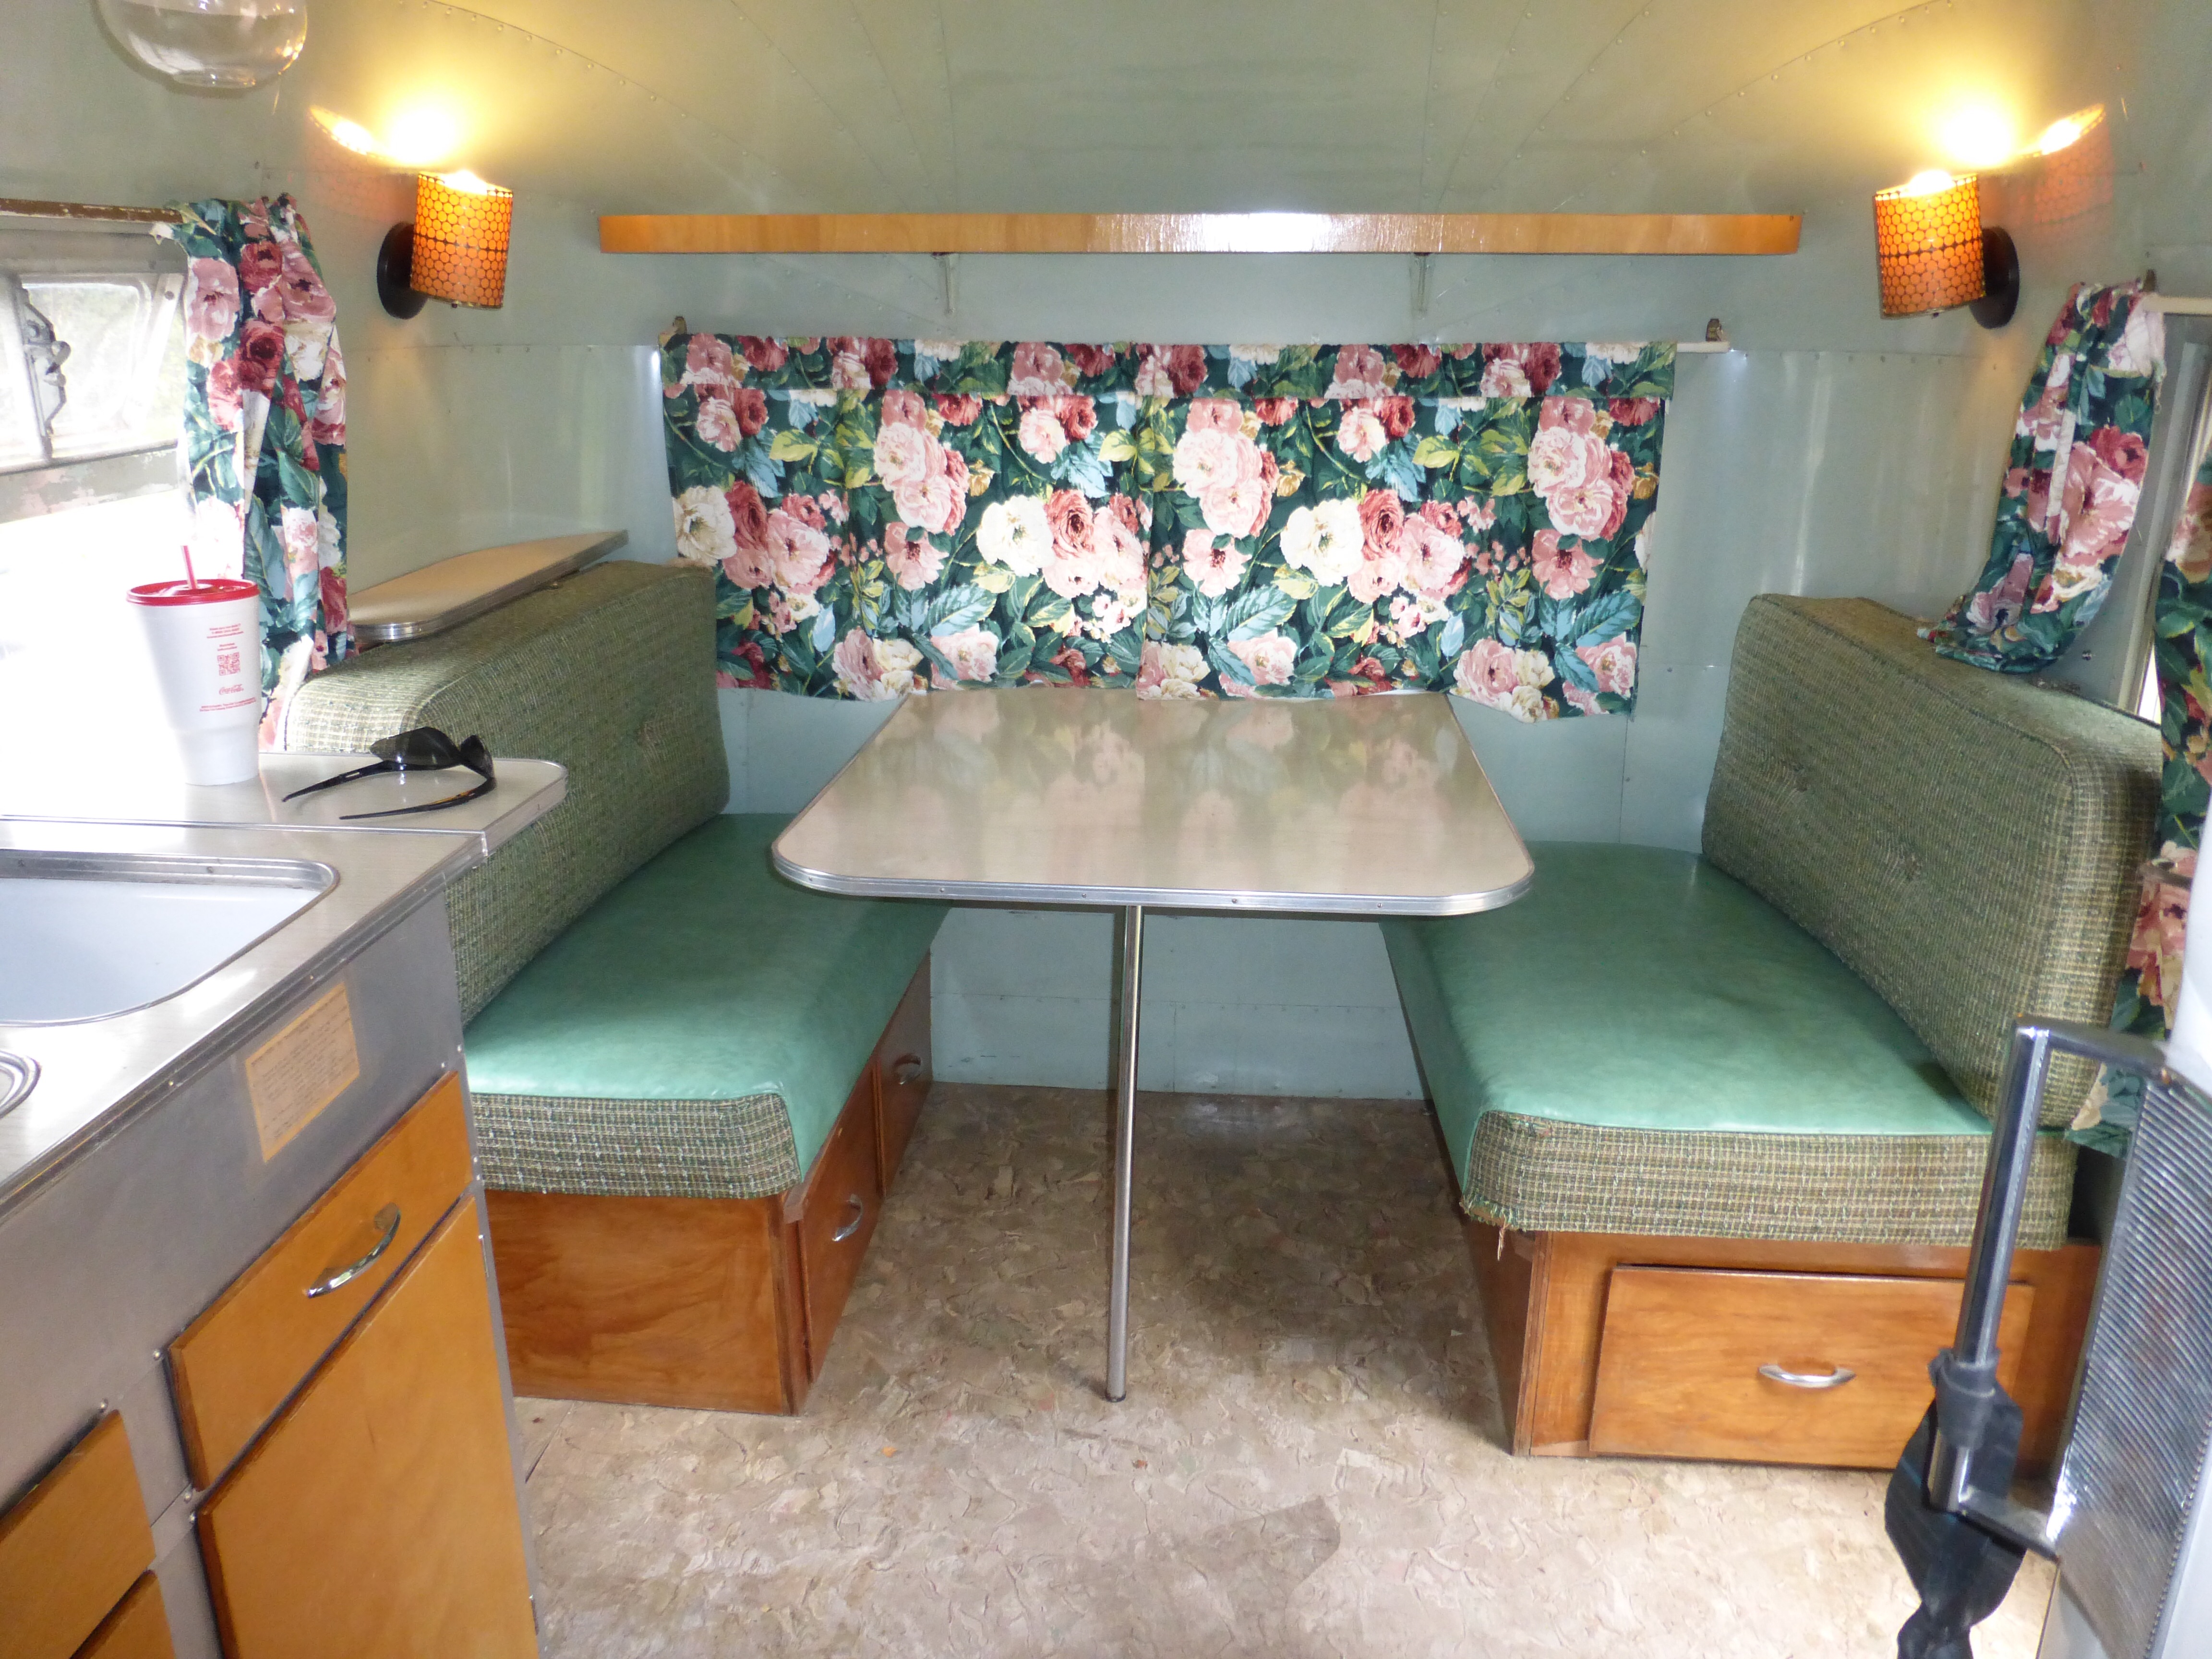
We winterized Midge after our last trip to Salida. I don’t think we’ll be taking her out any more this year, which makes me kind of sad. I do love her.
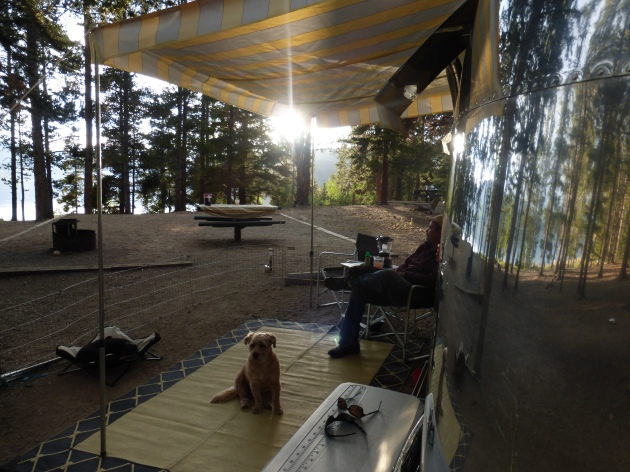
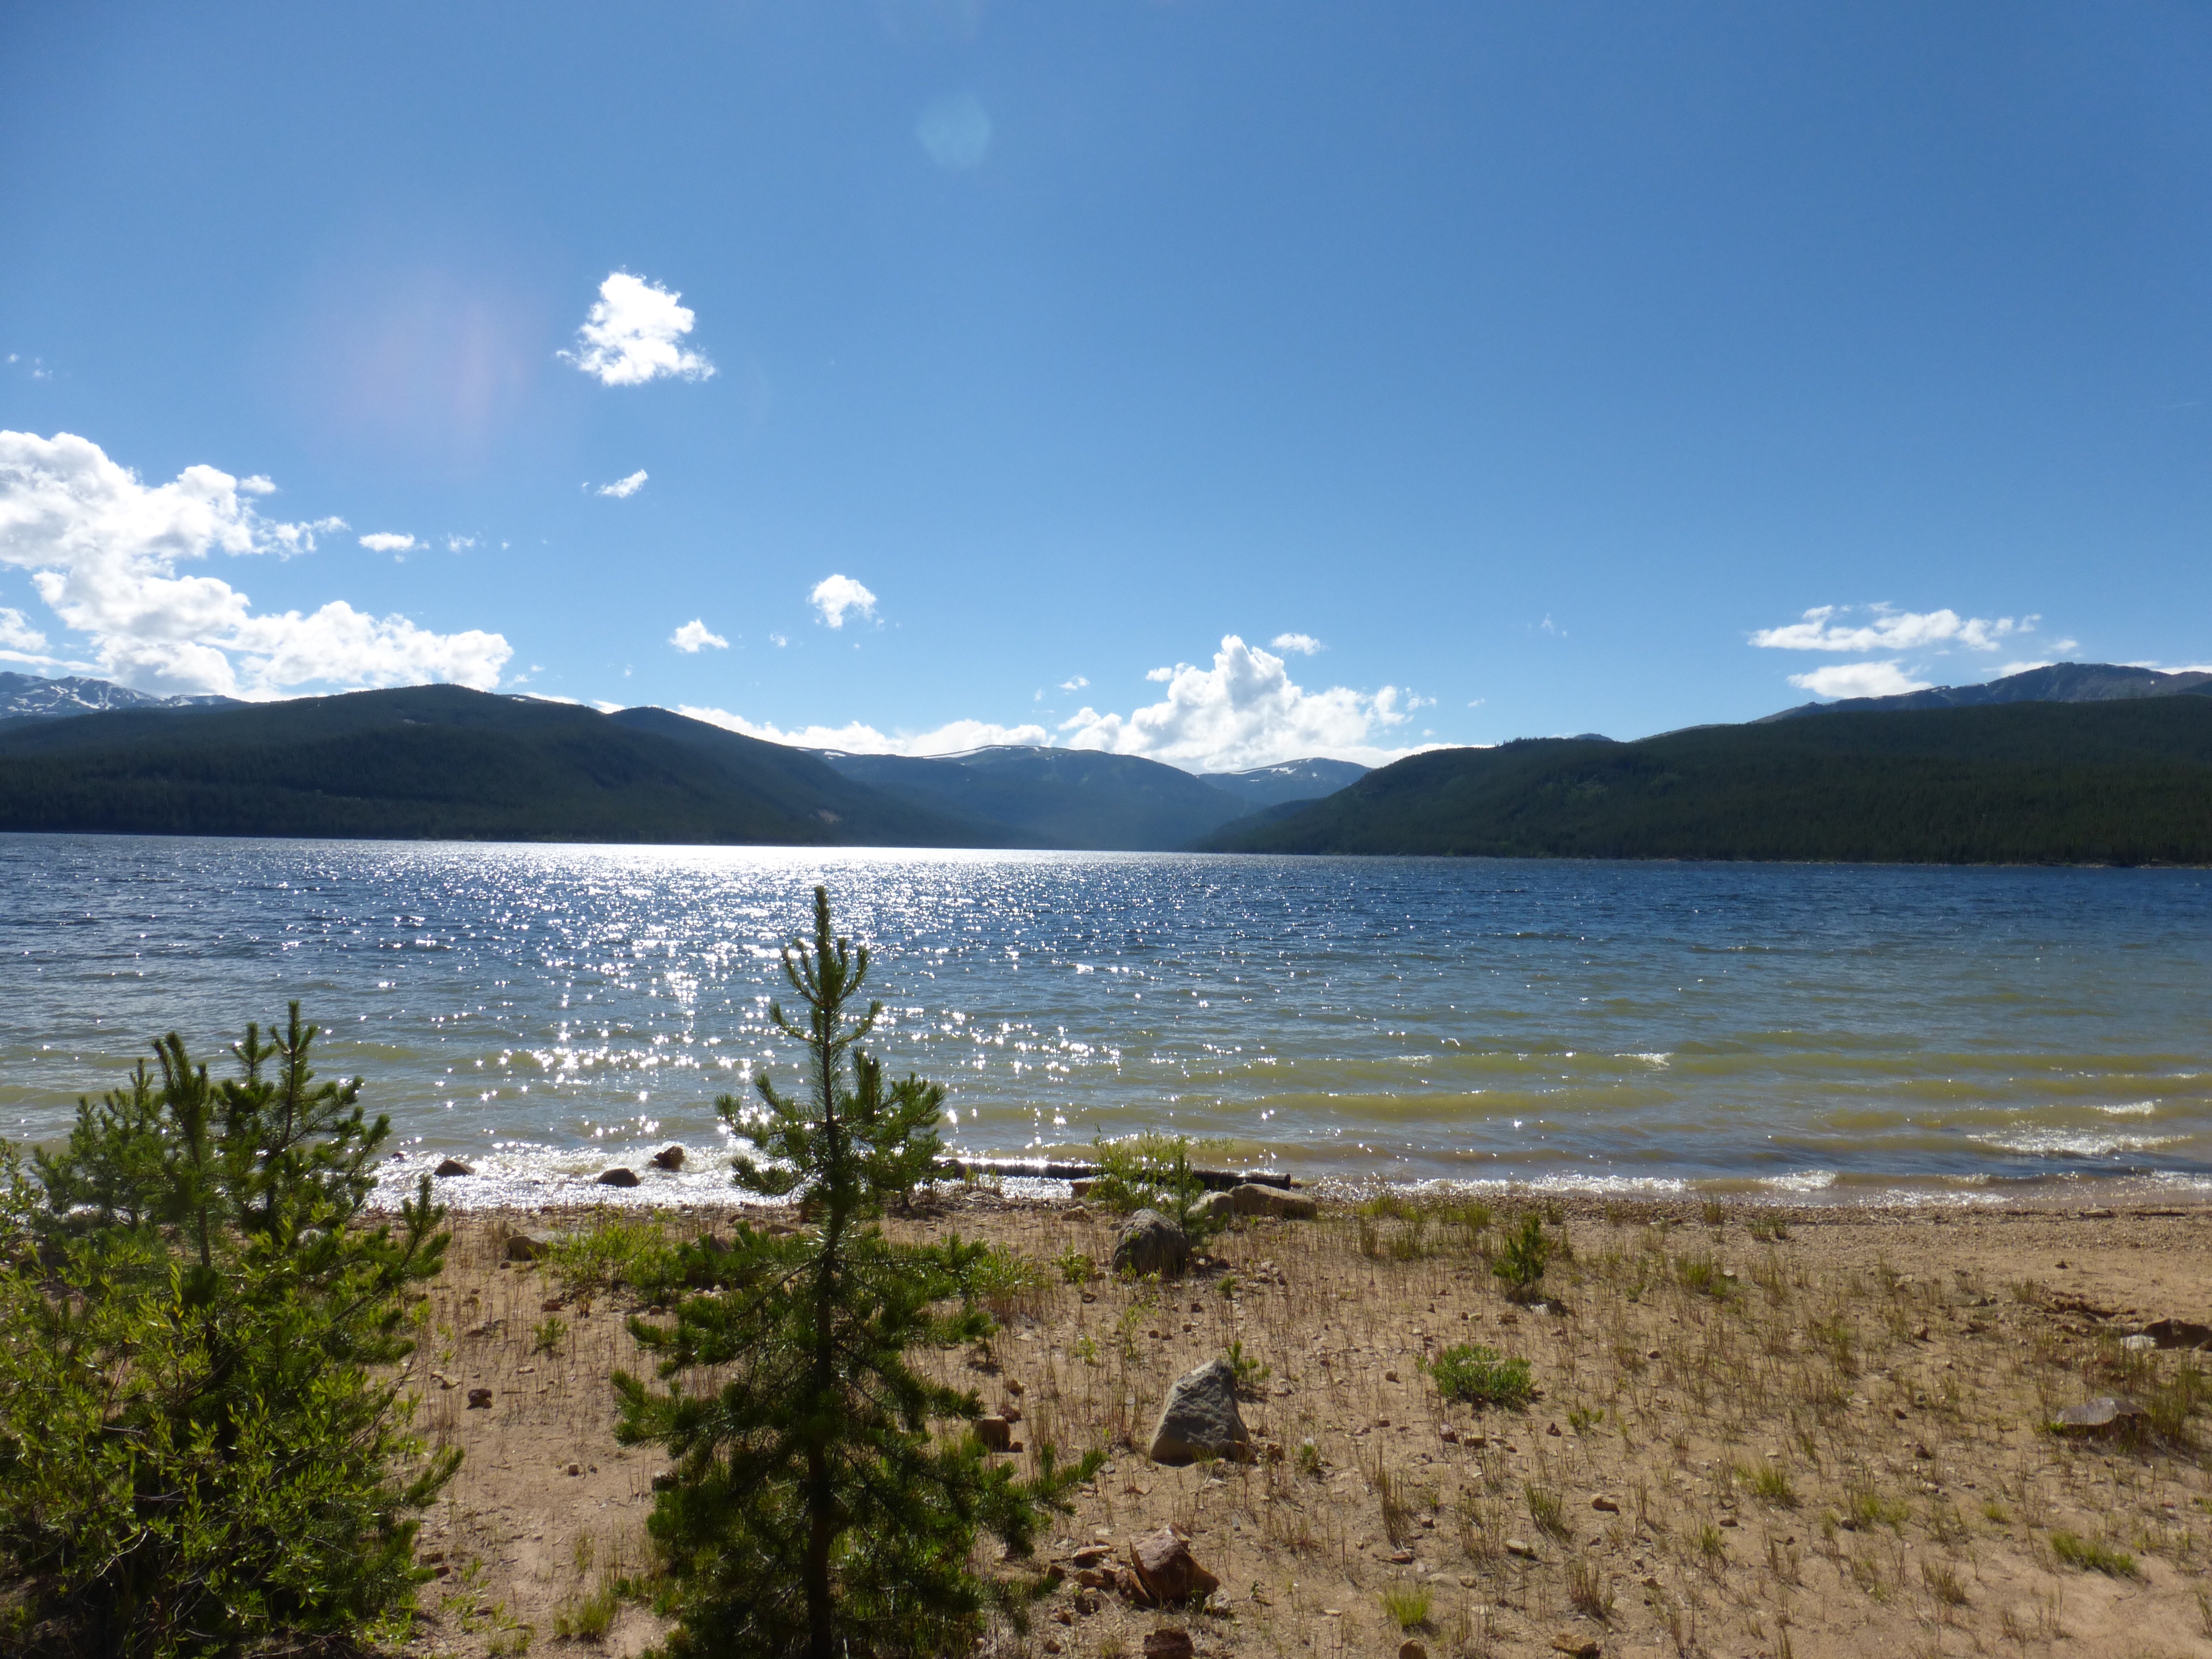
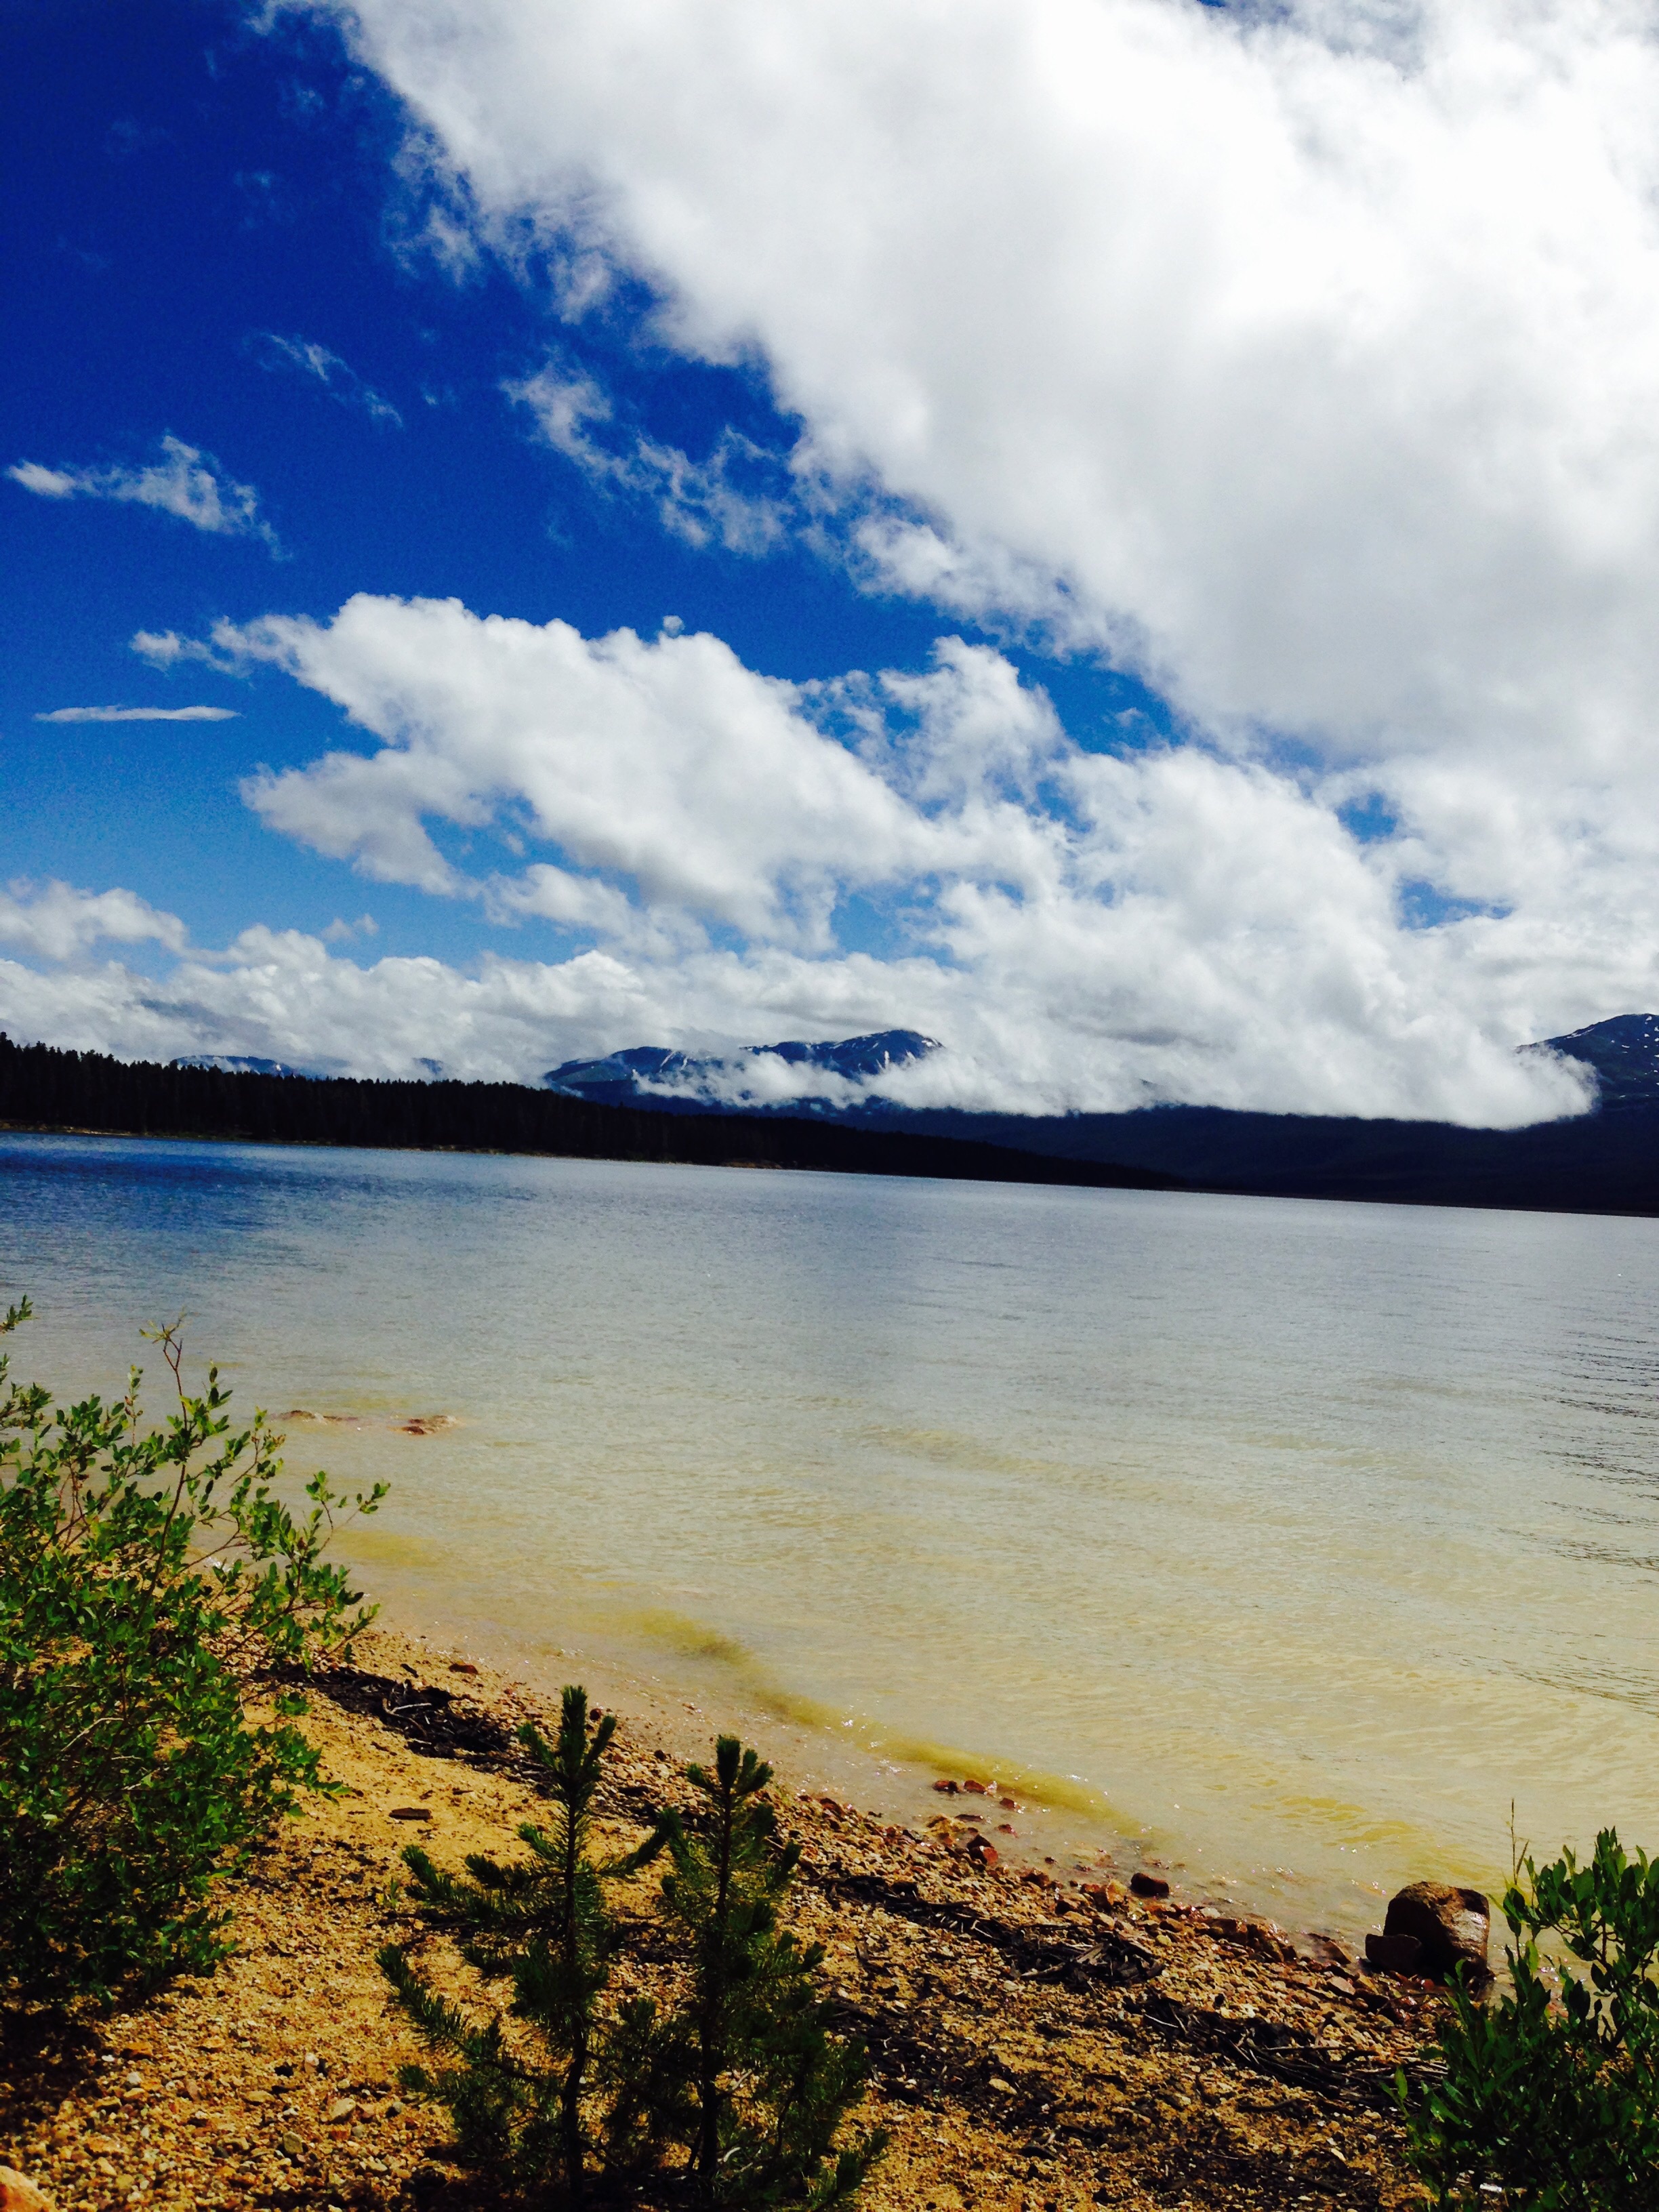
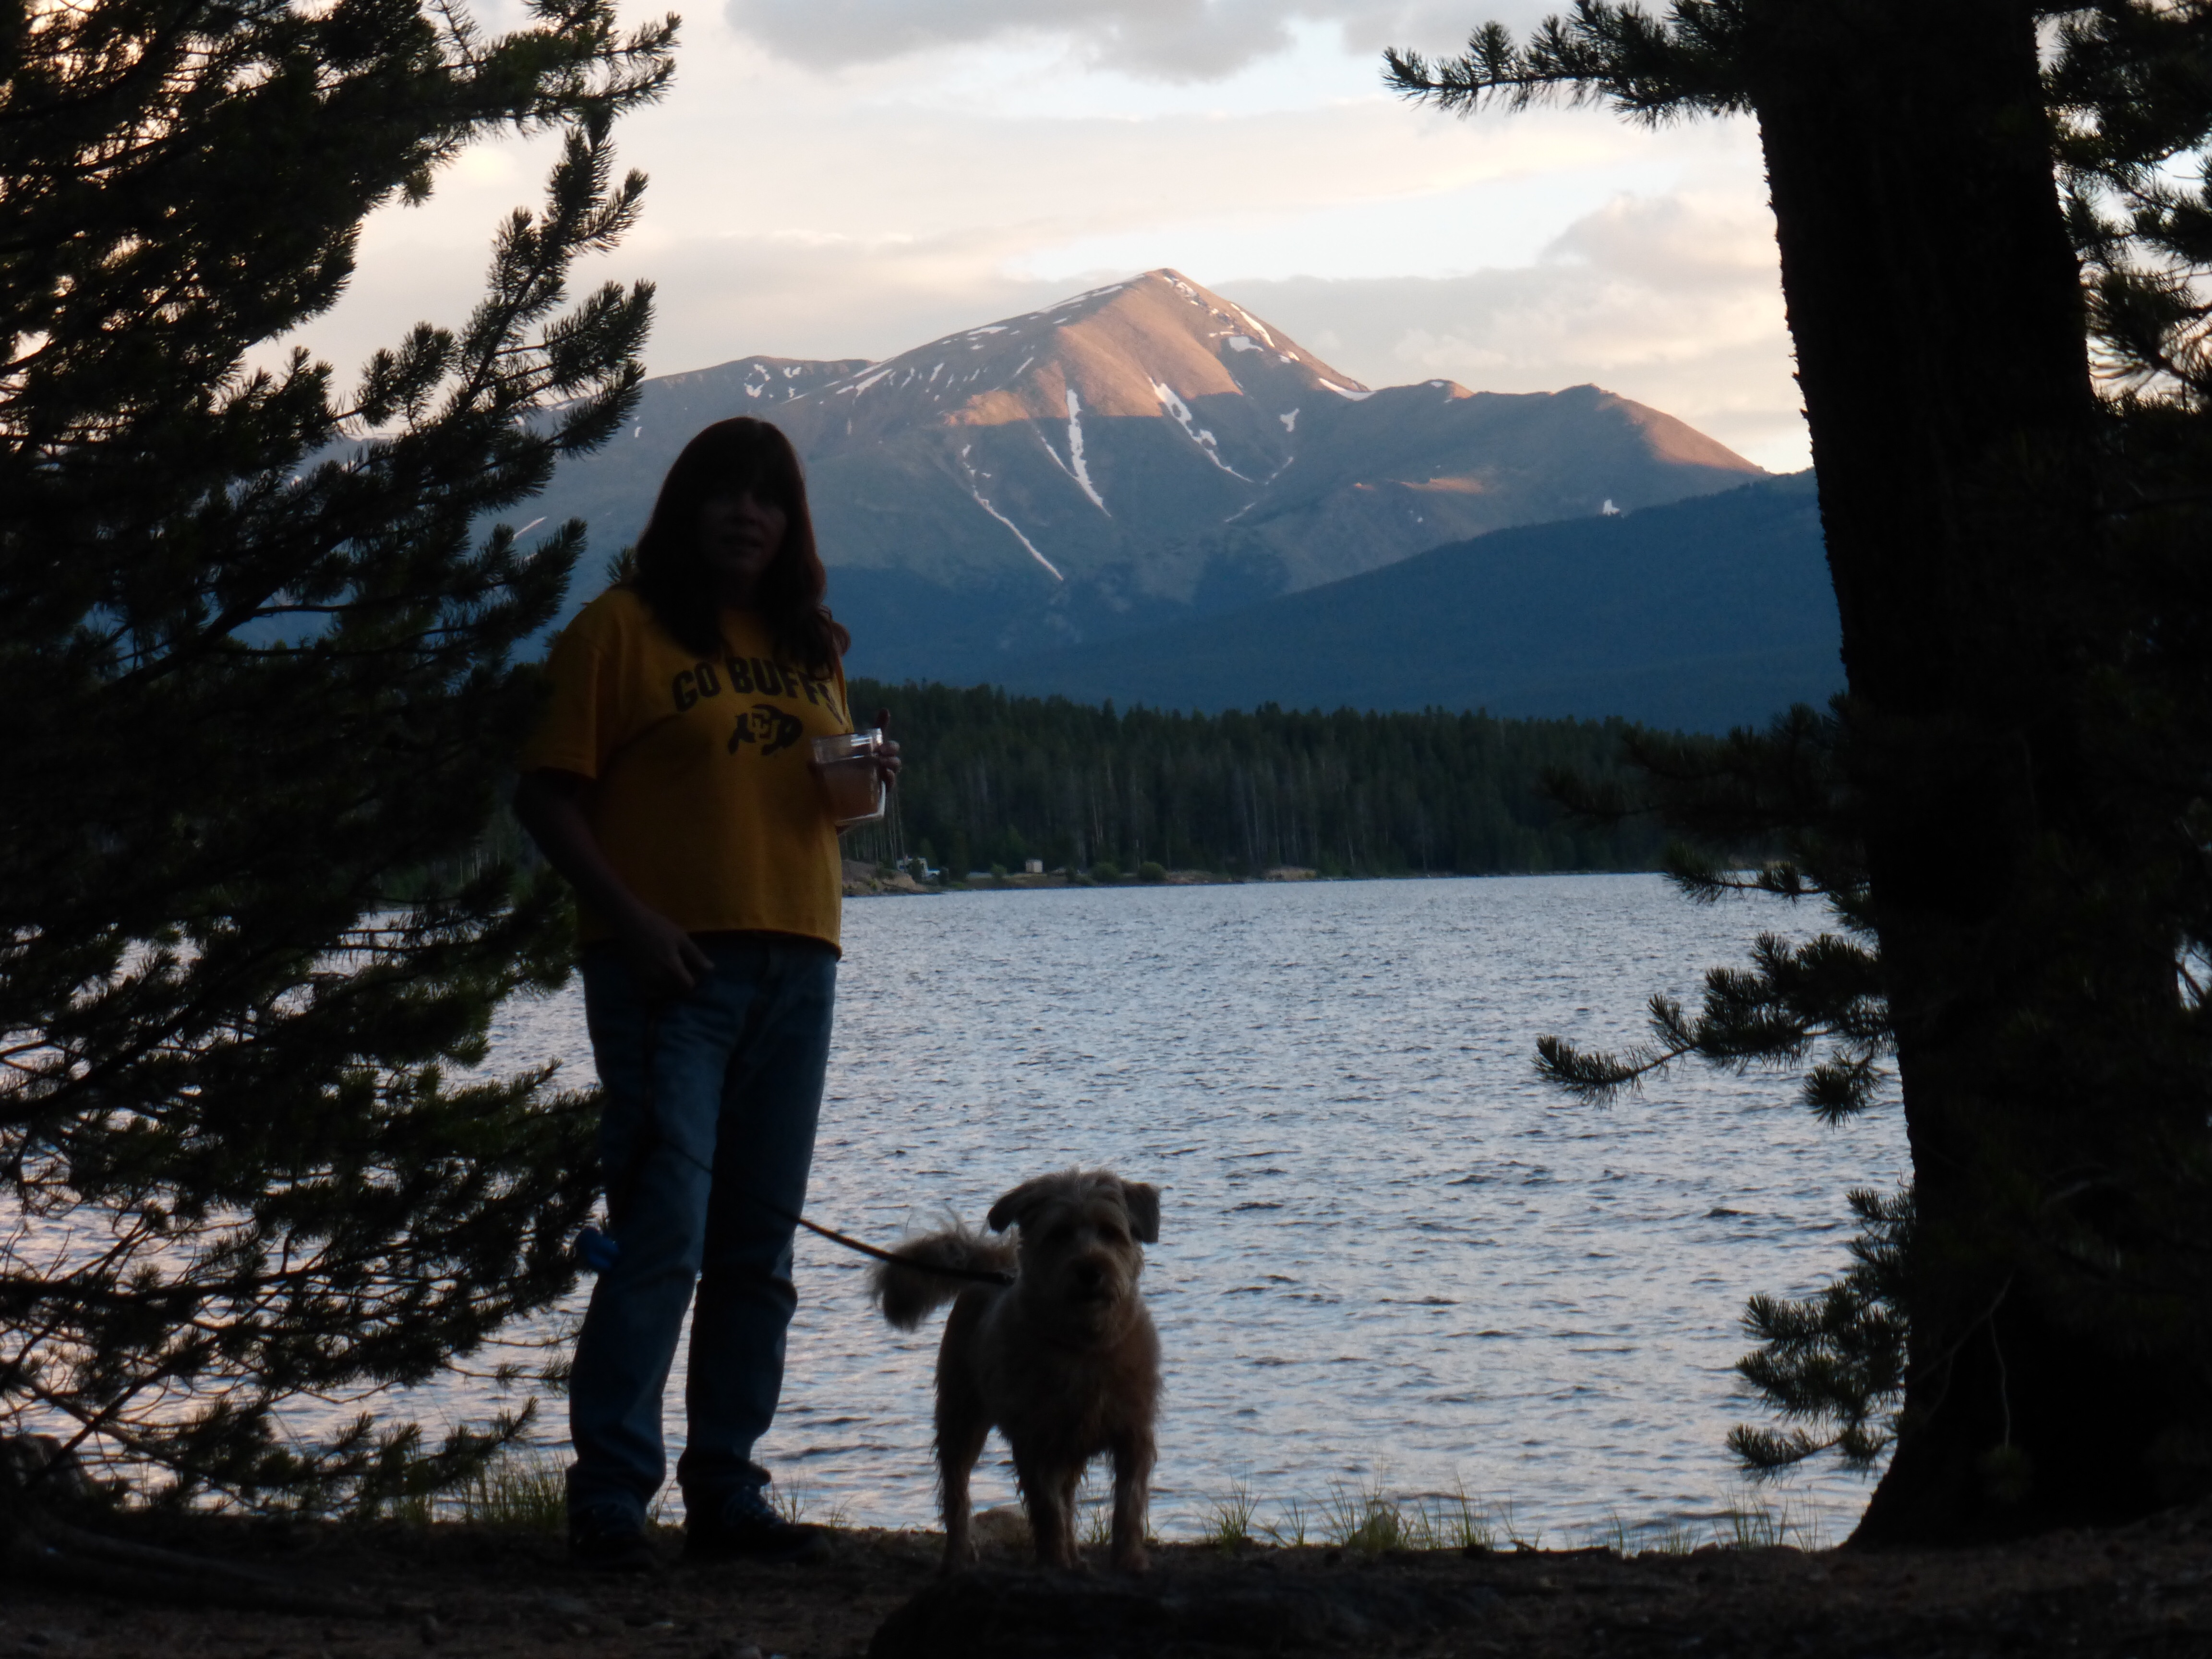
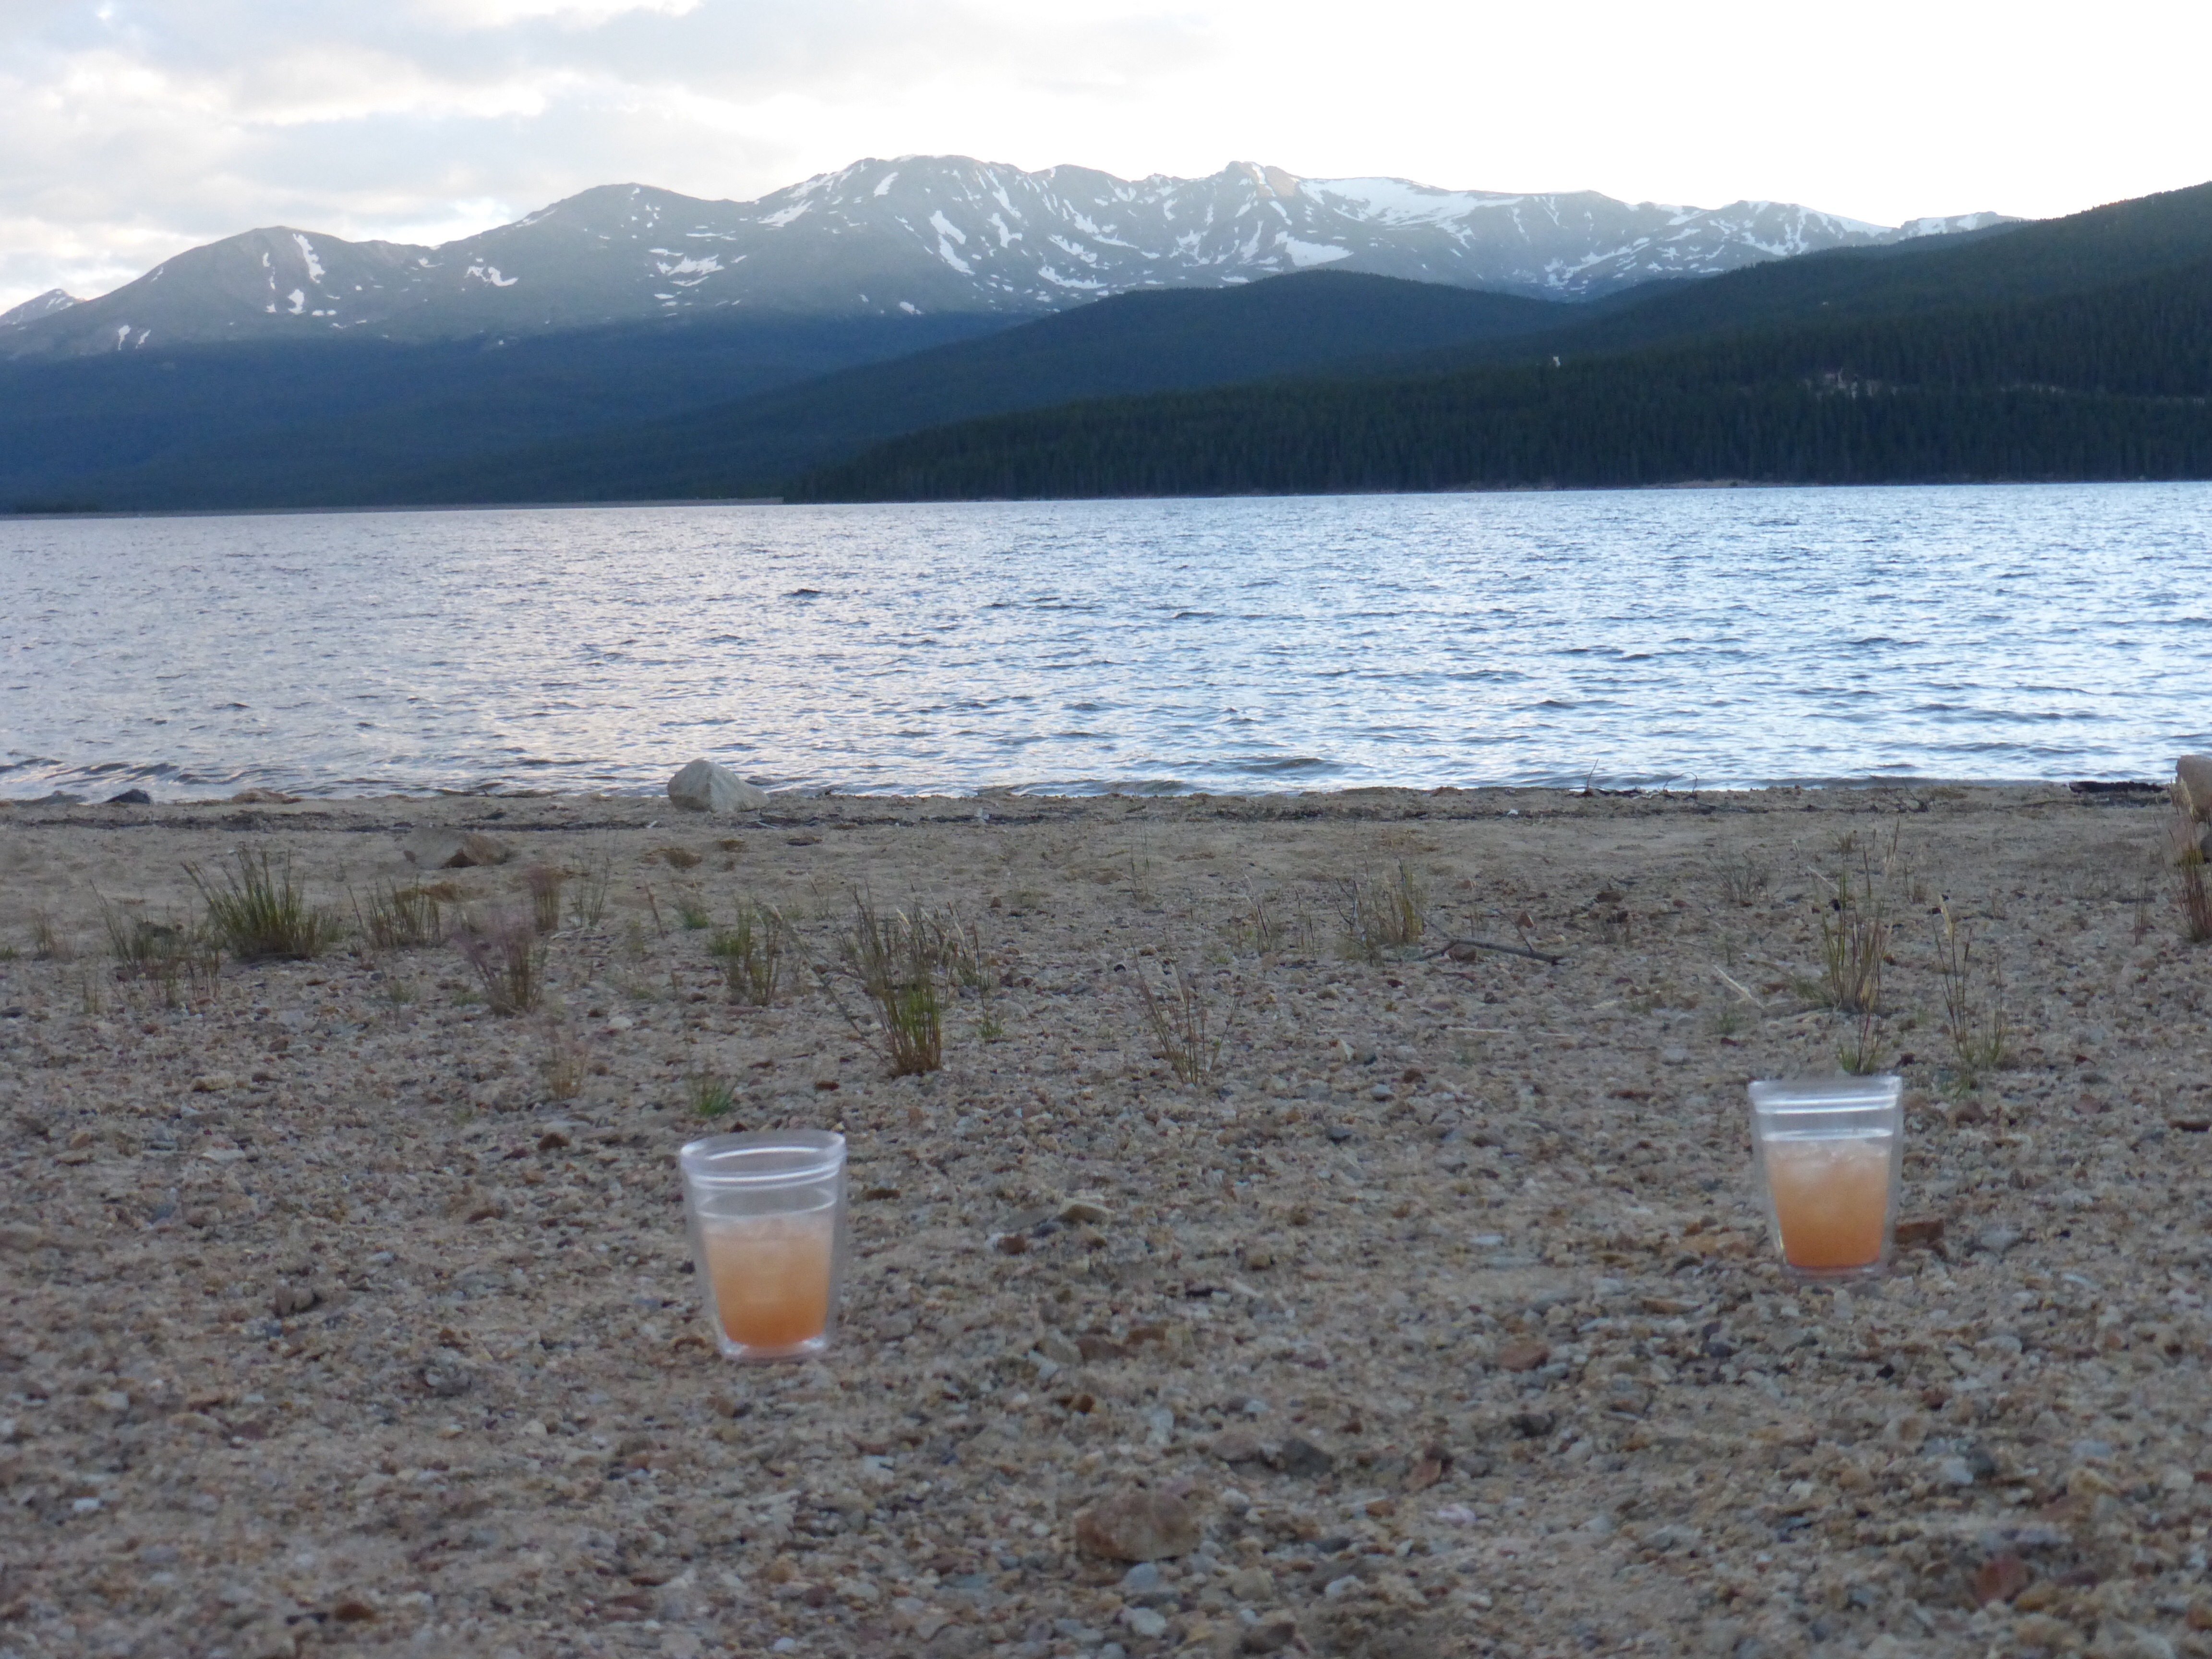
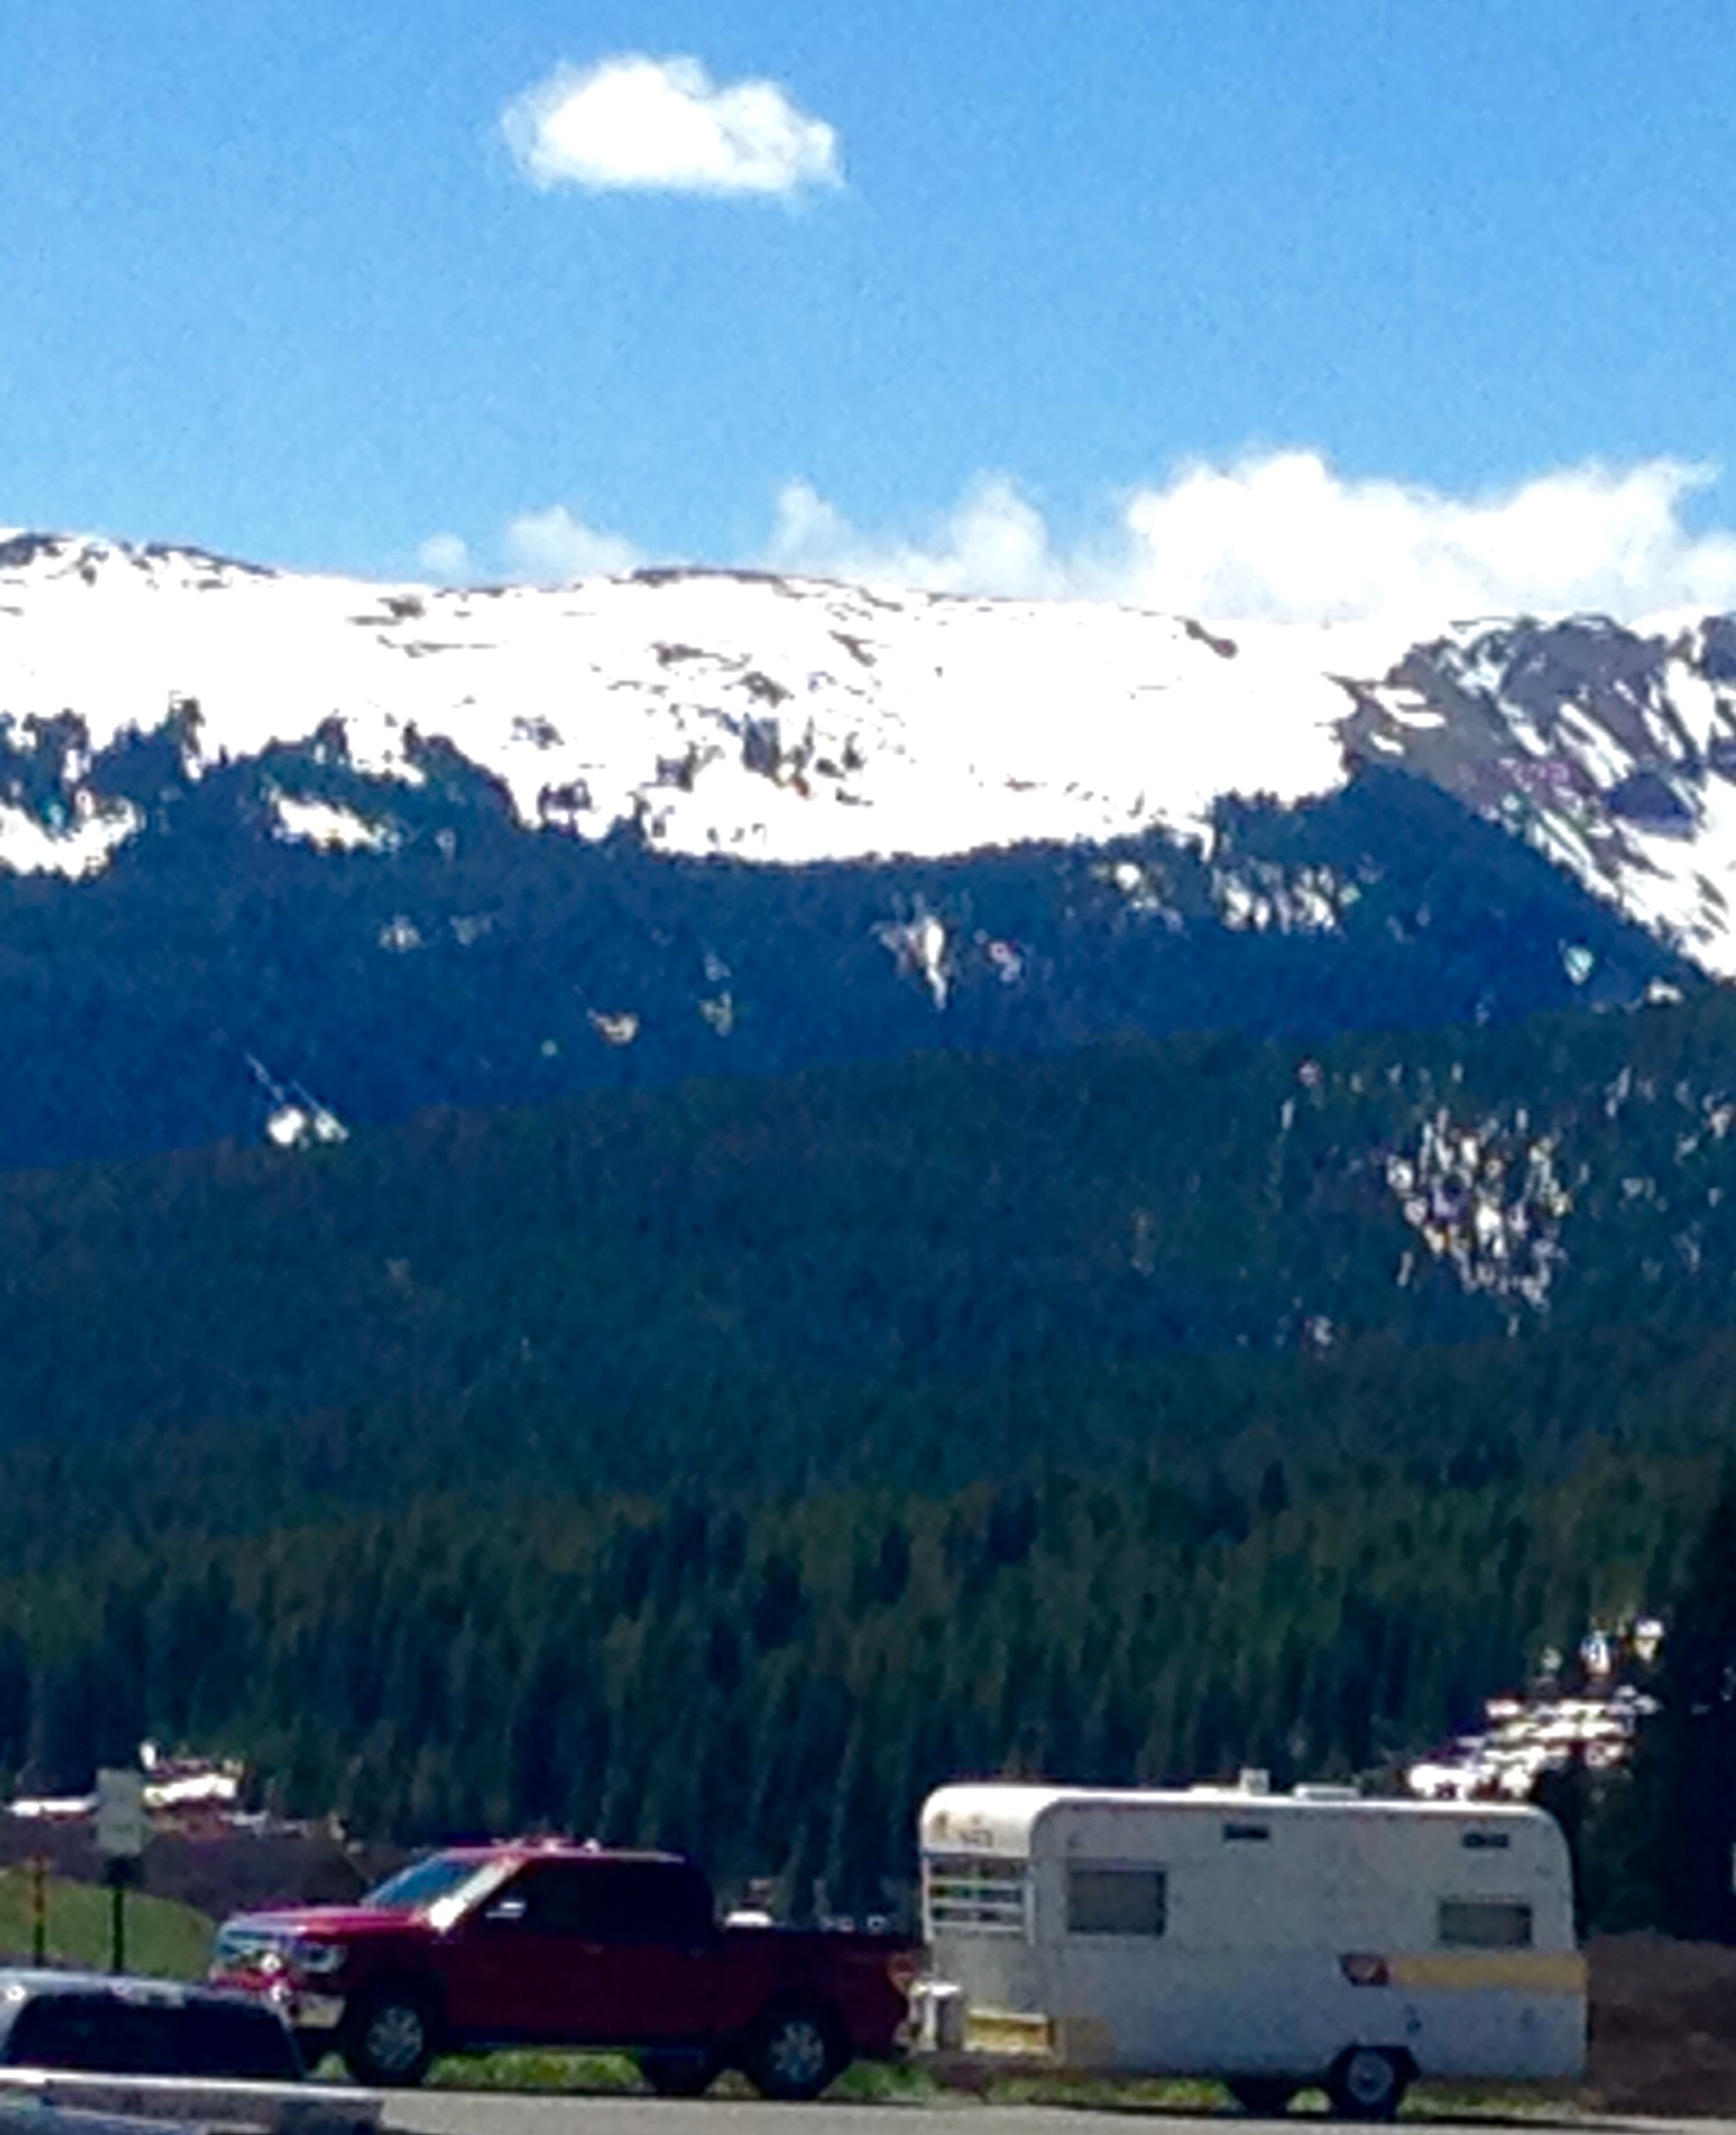
Dottie and Midge @ Turquoise Lake
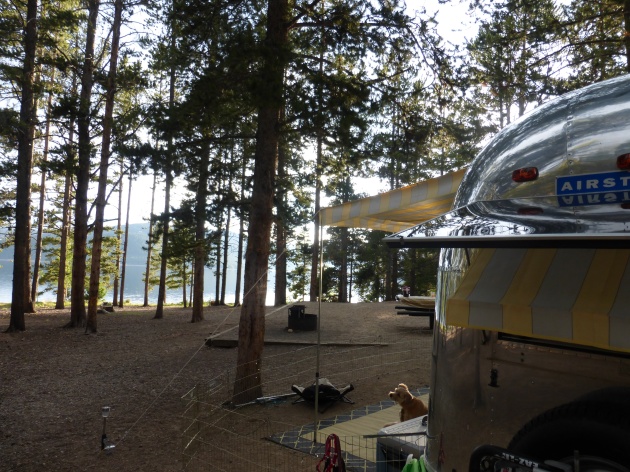
Turquoise Lake


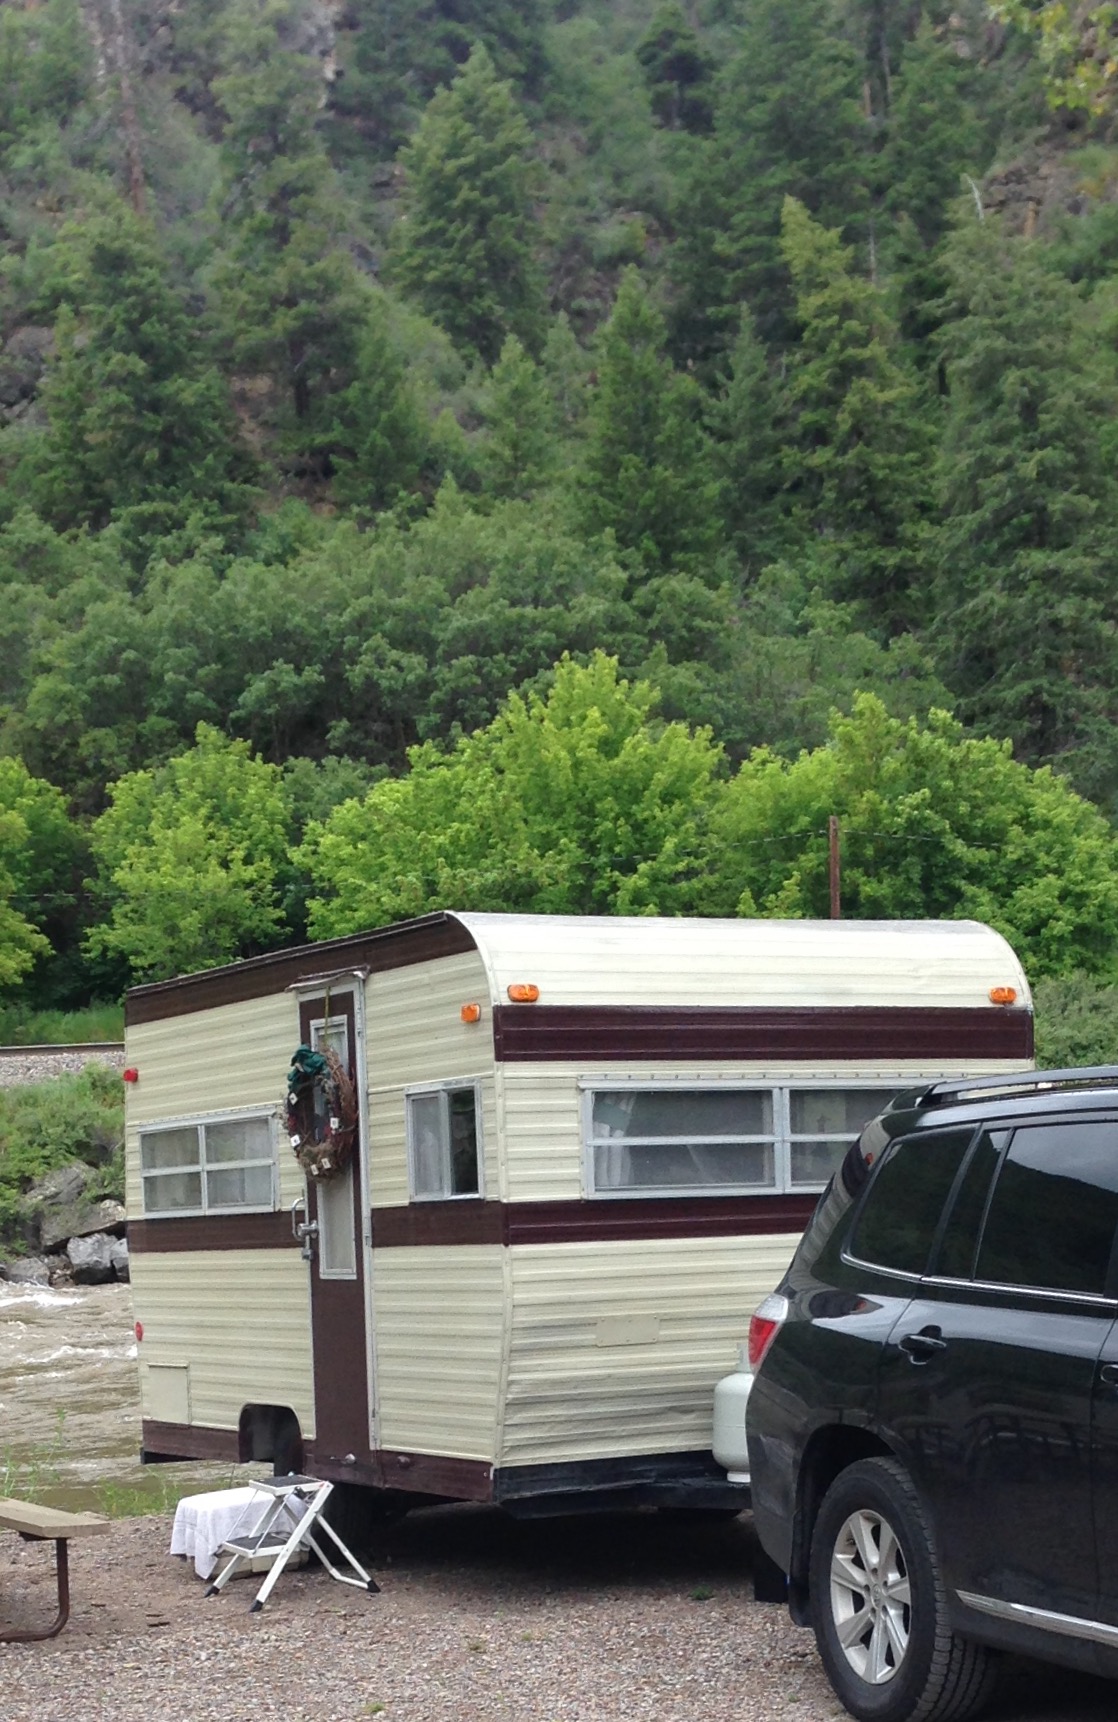
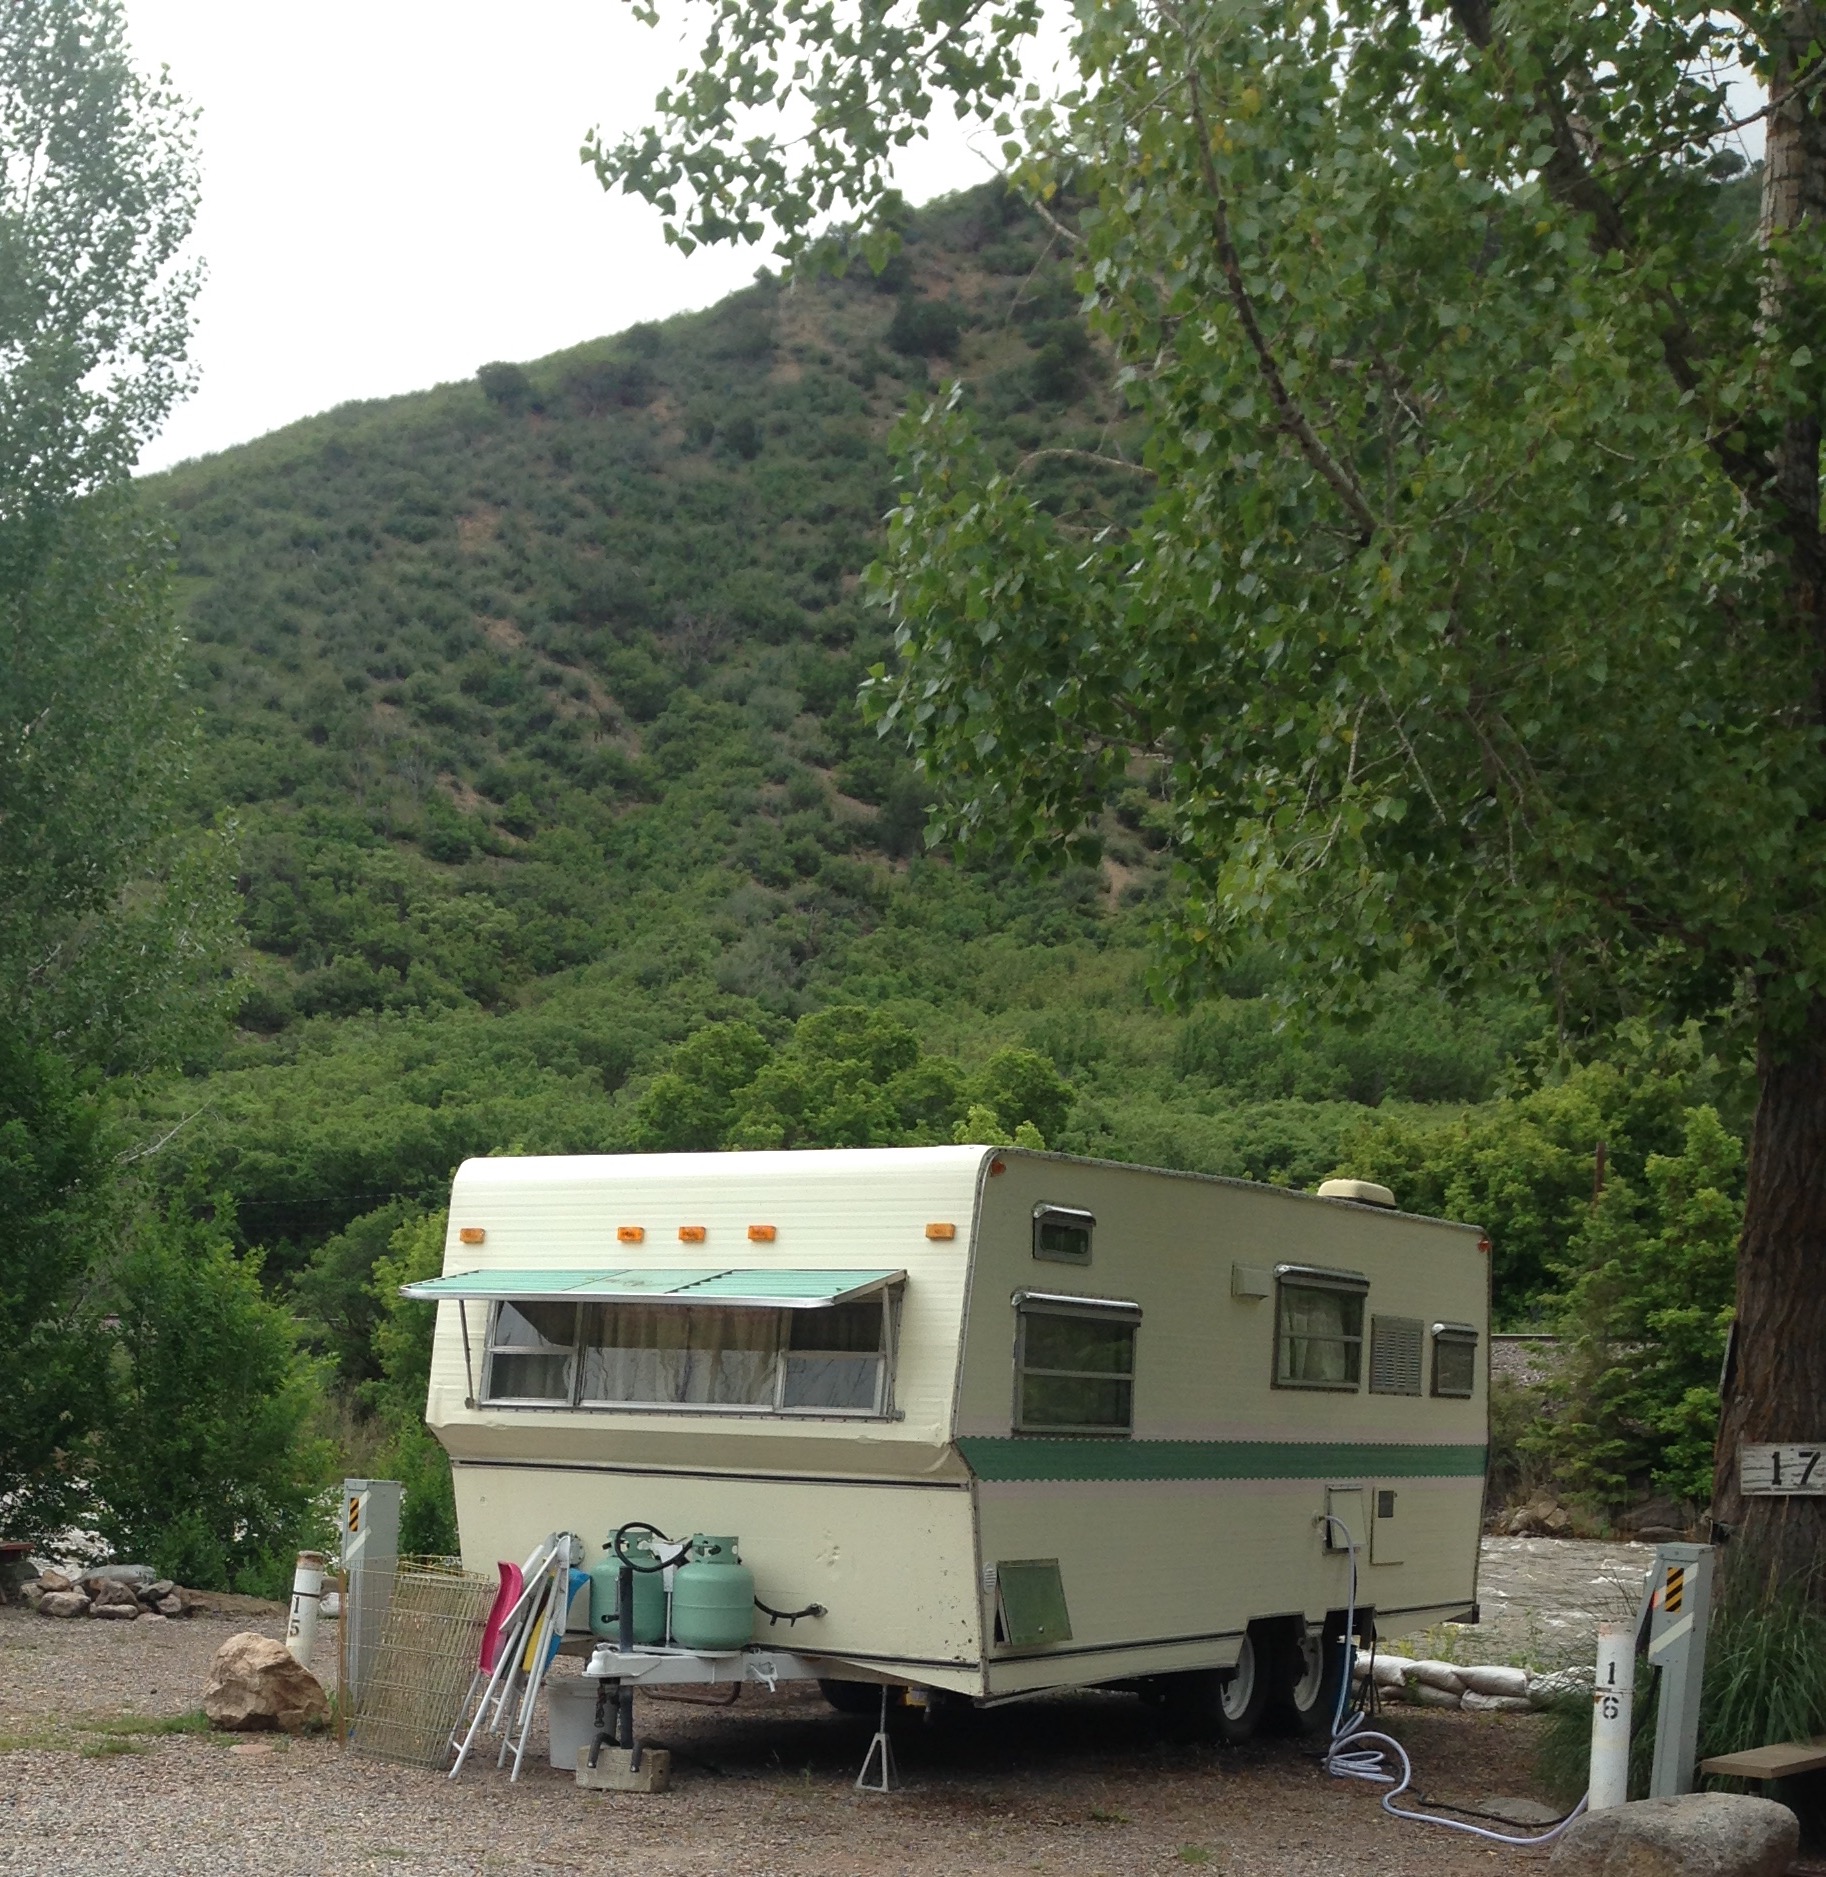
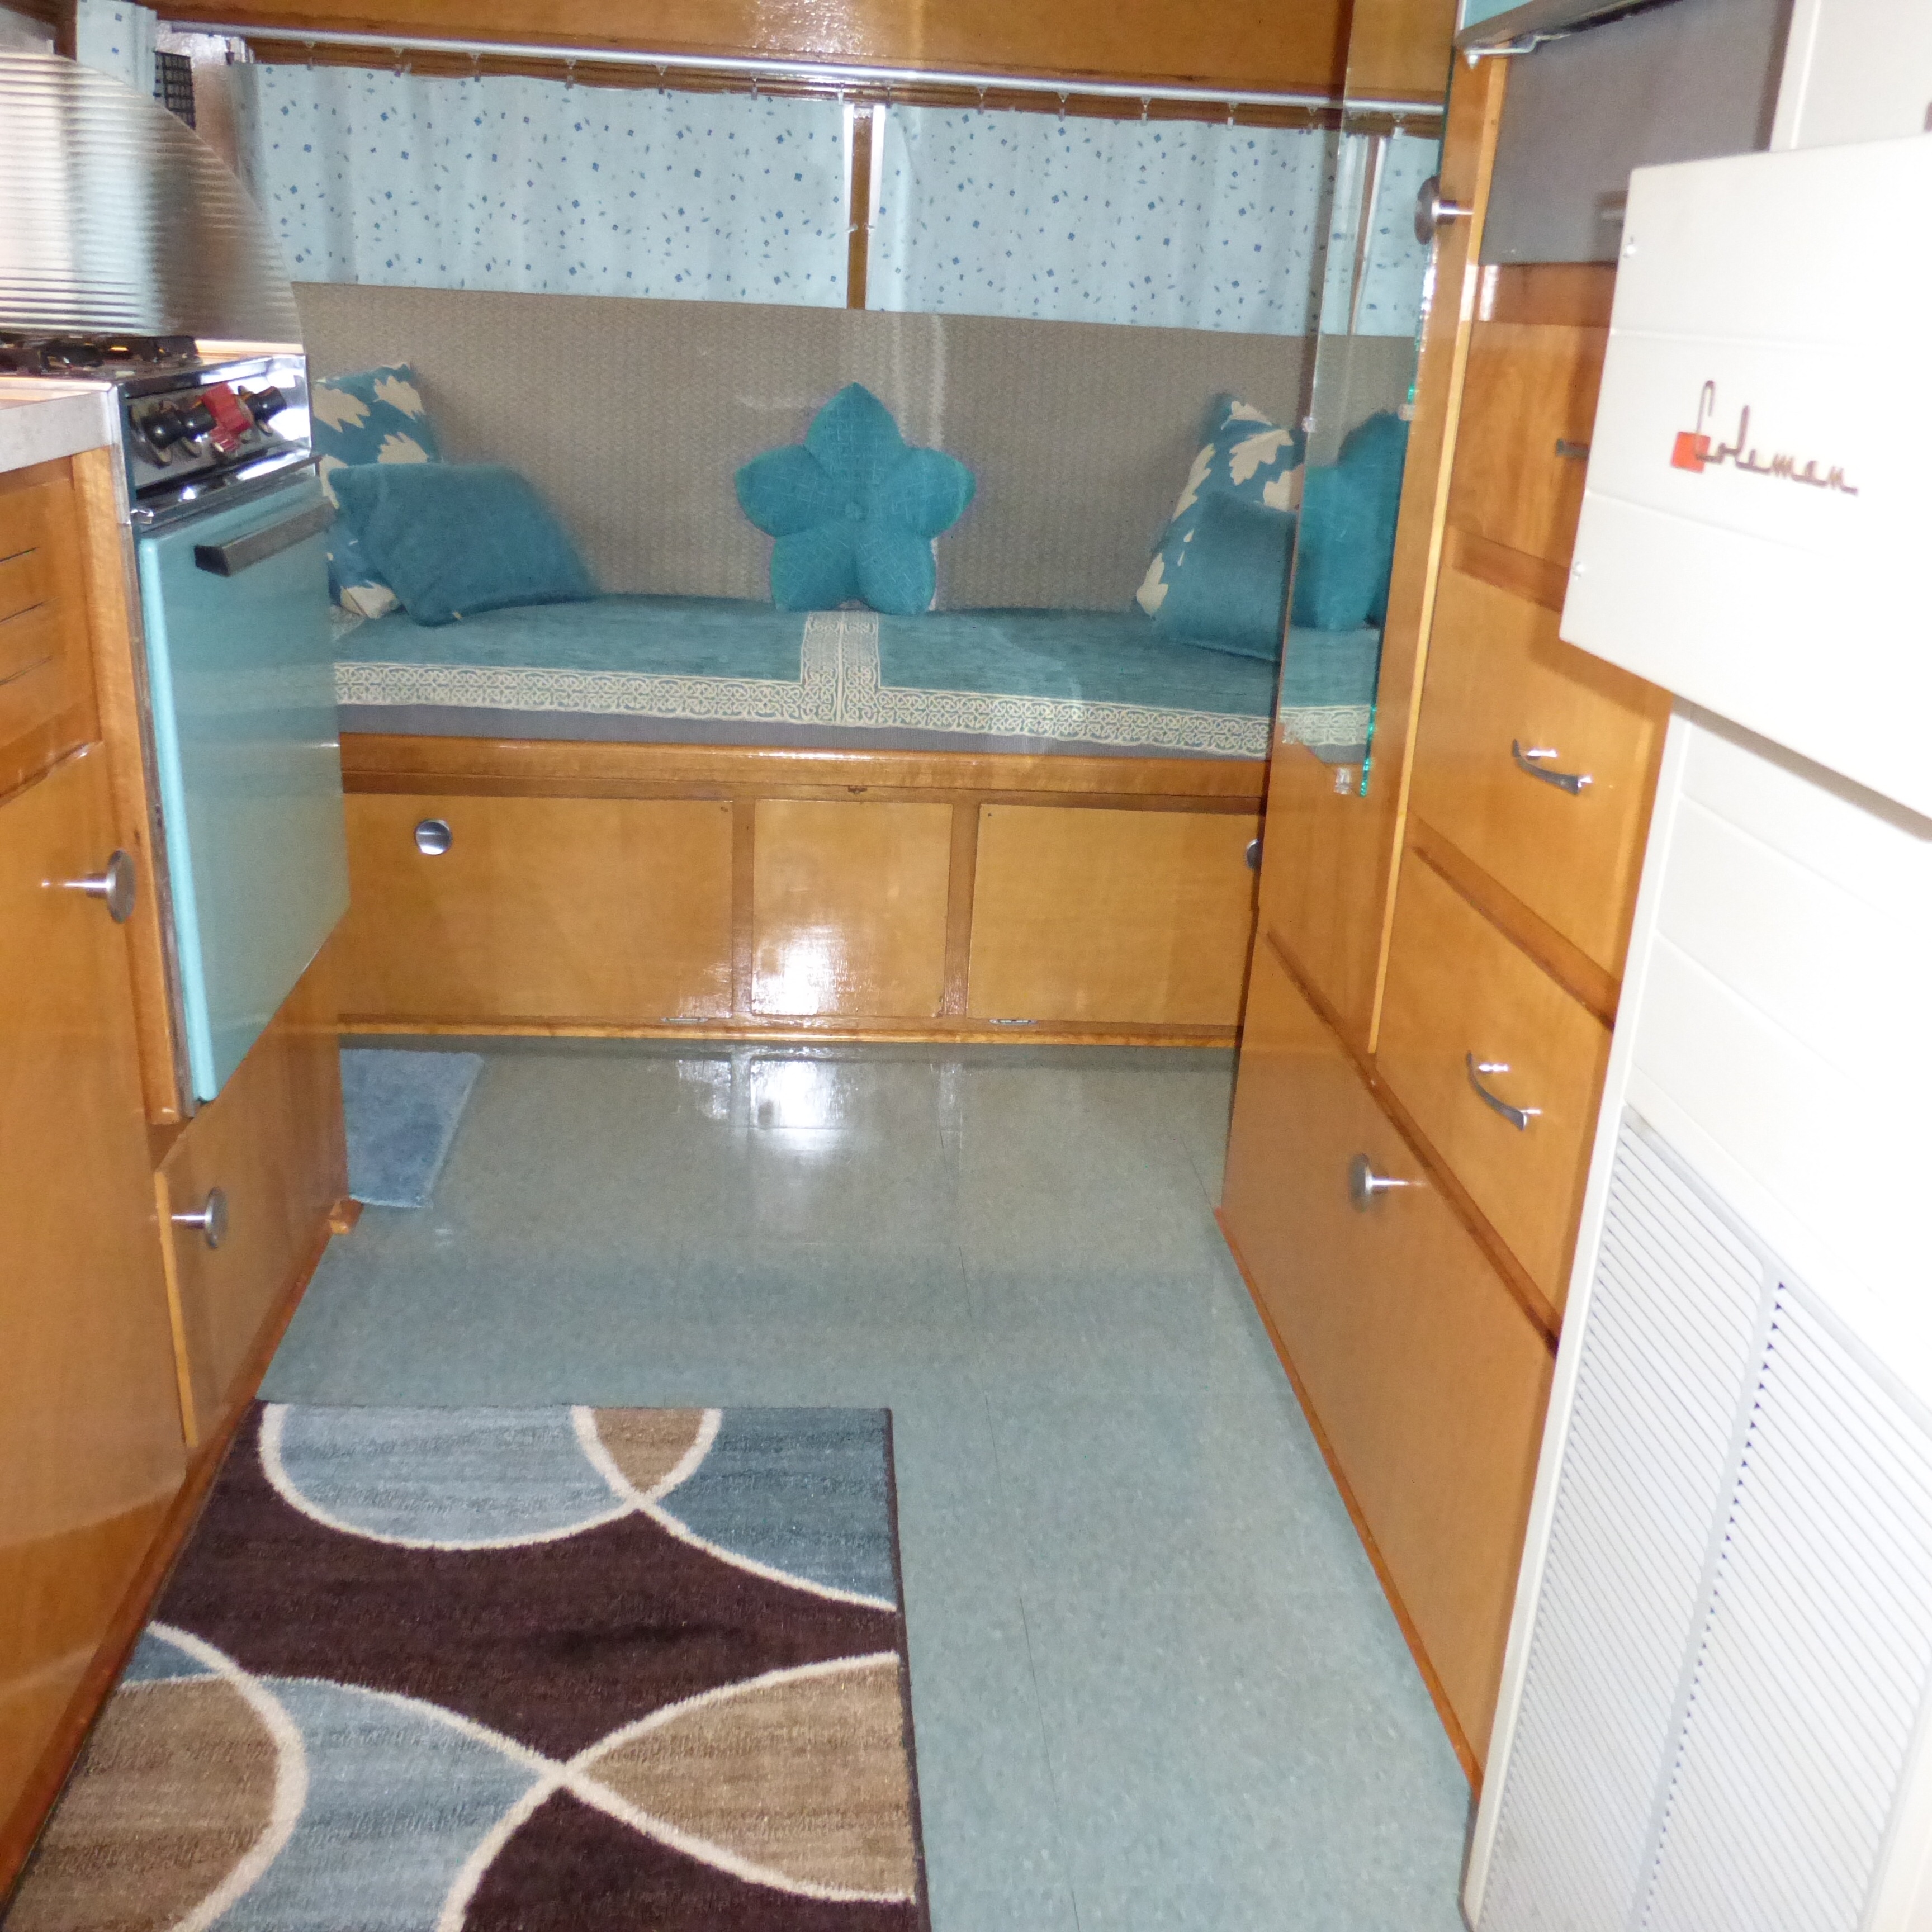
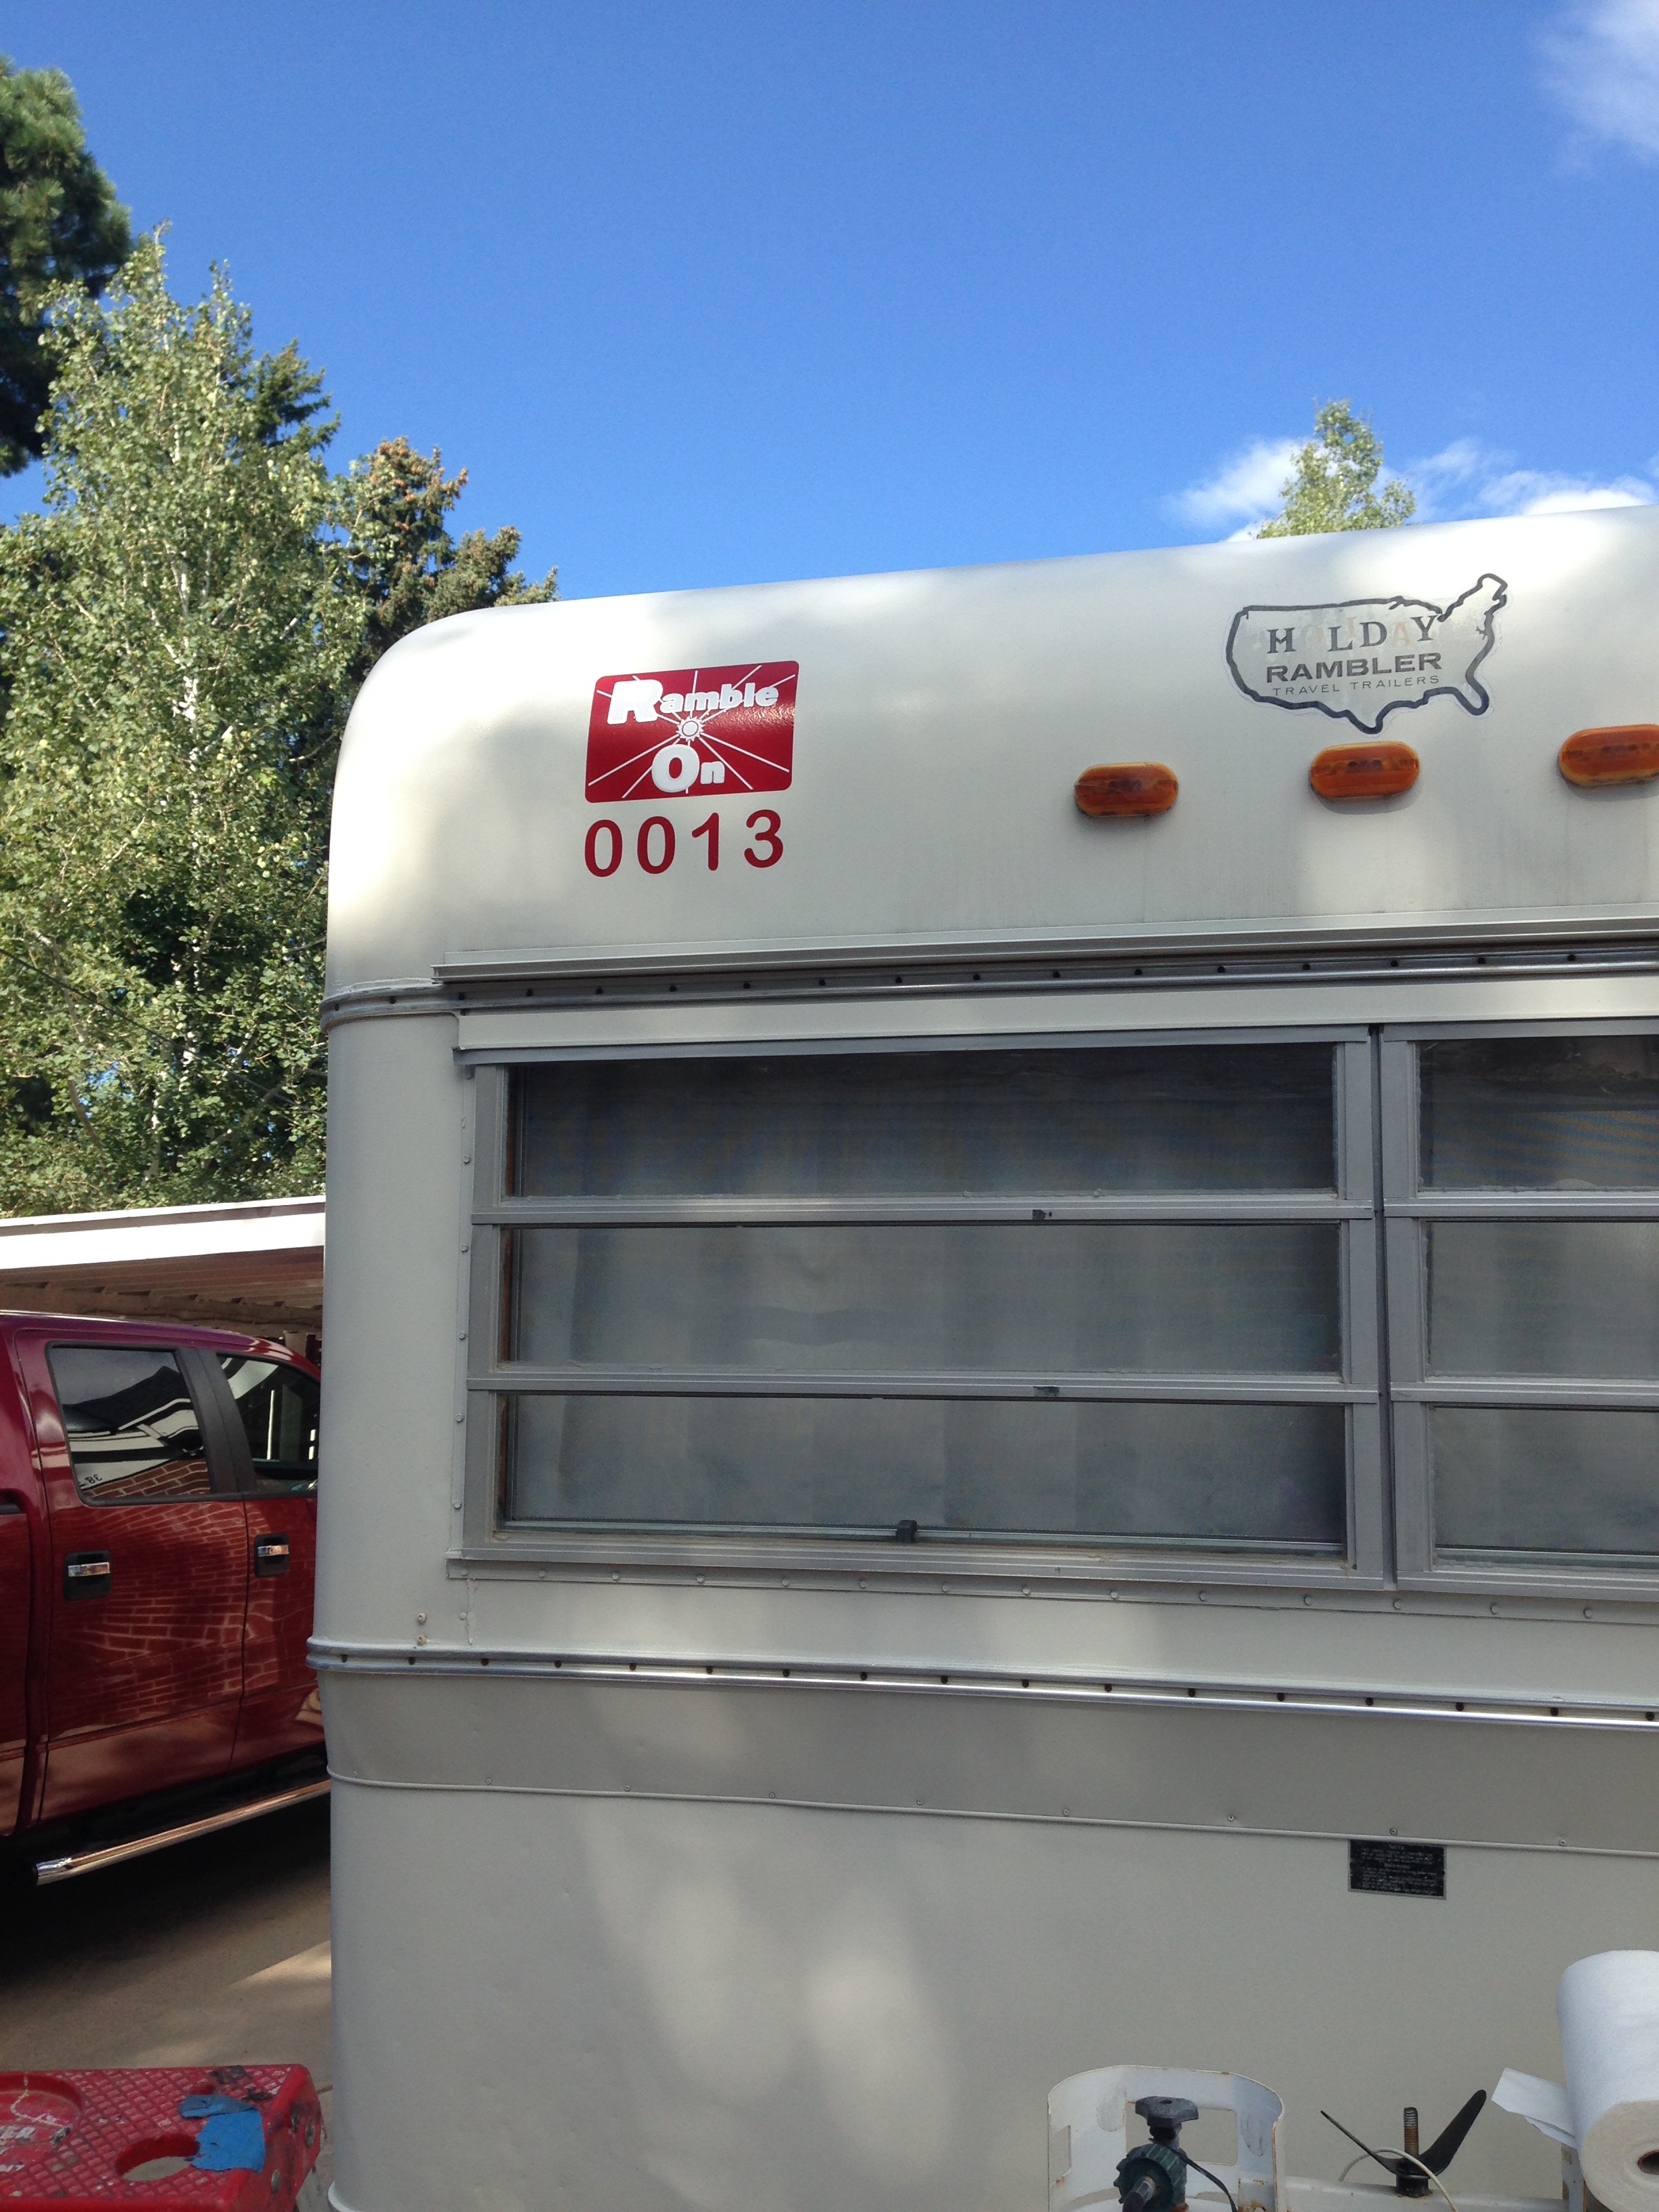
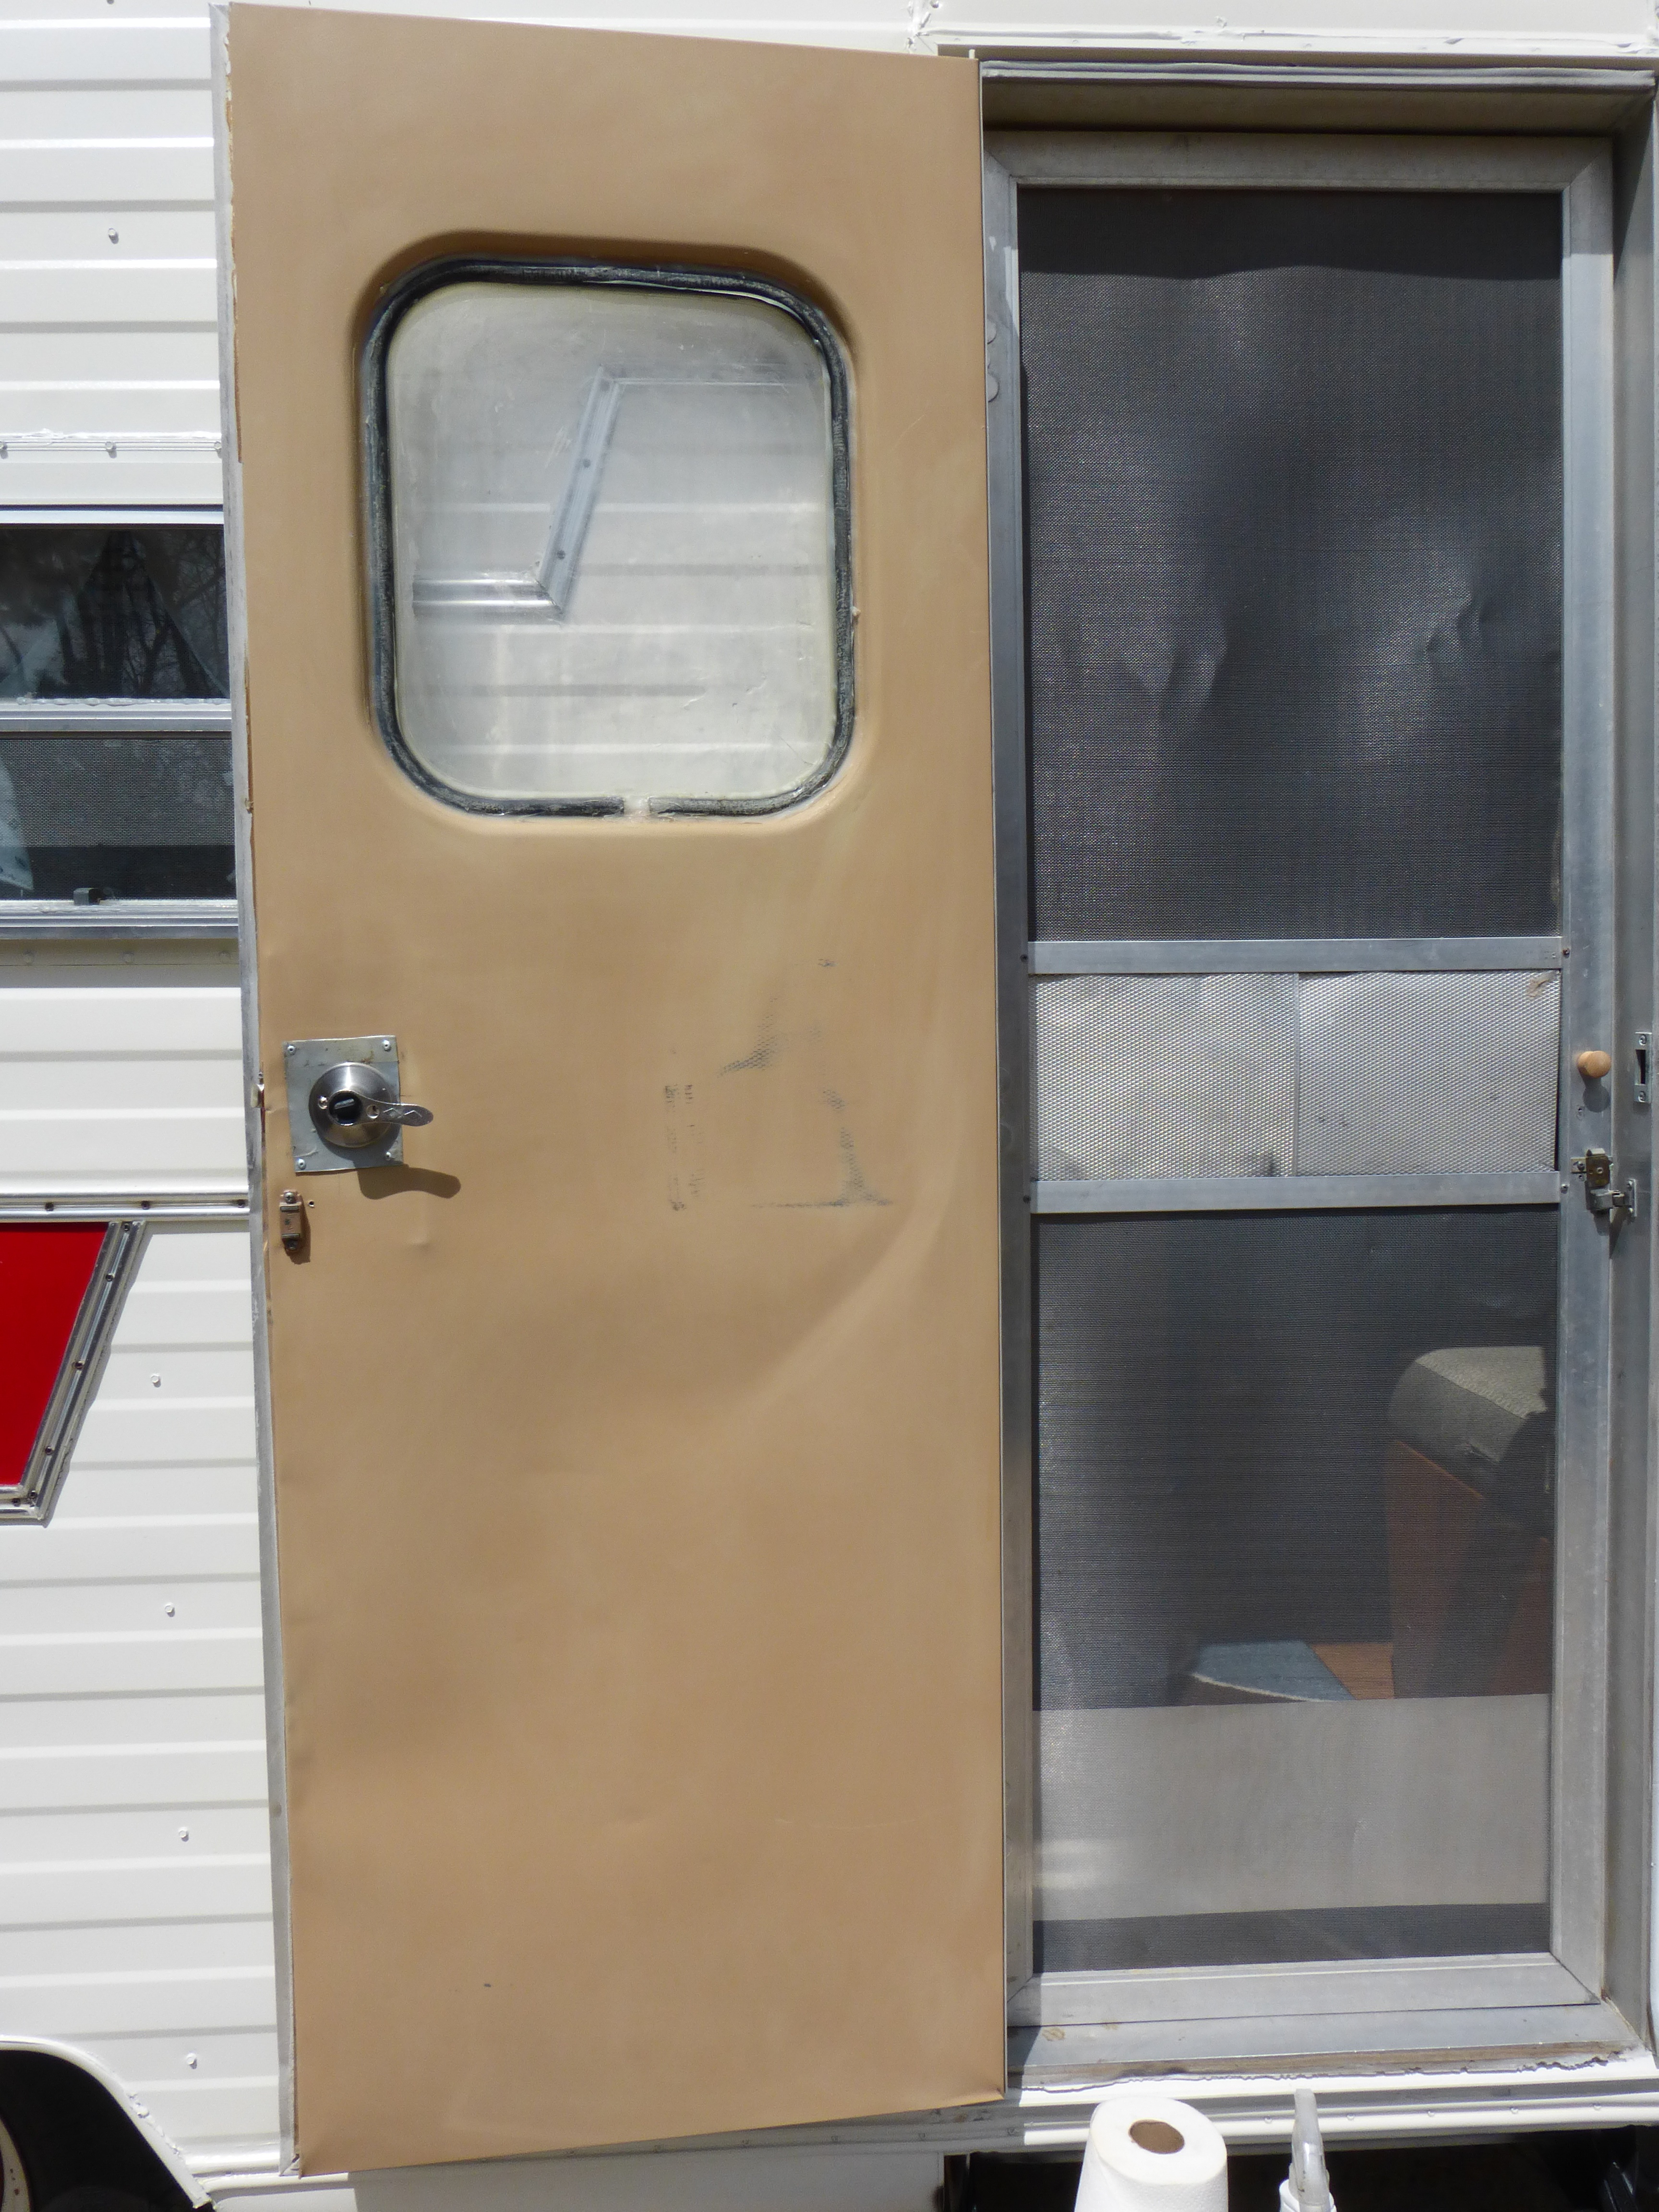
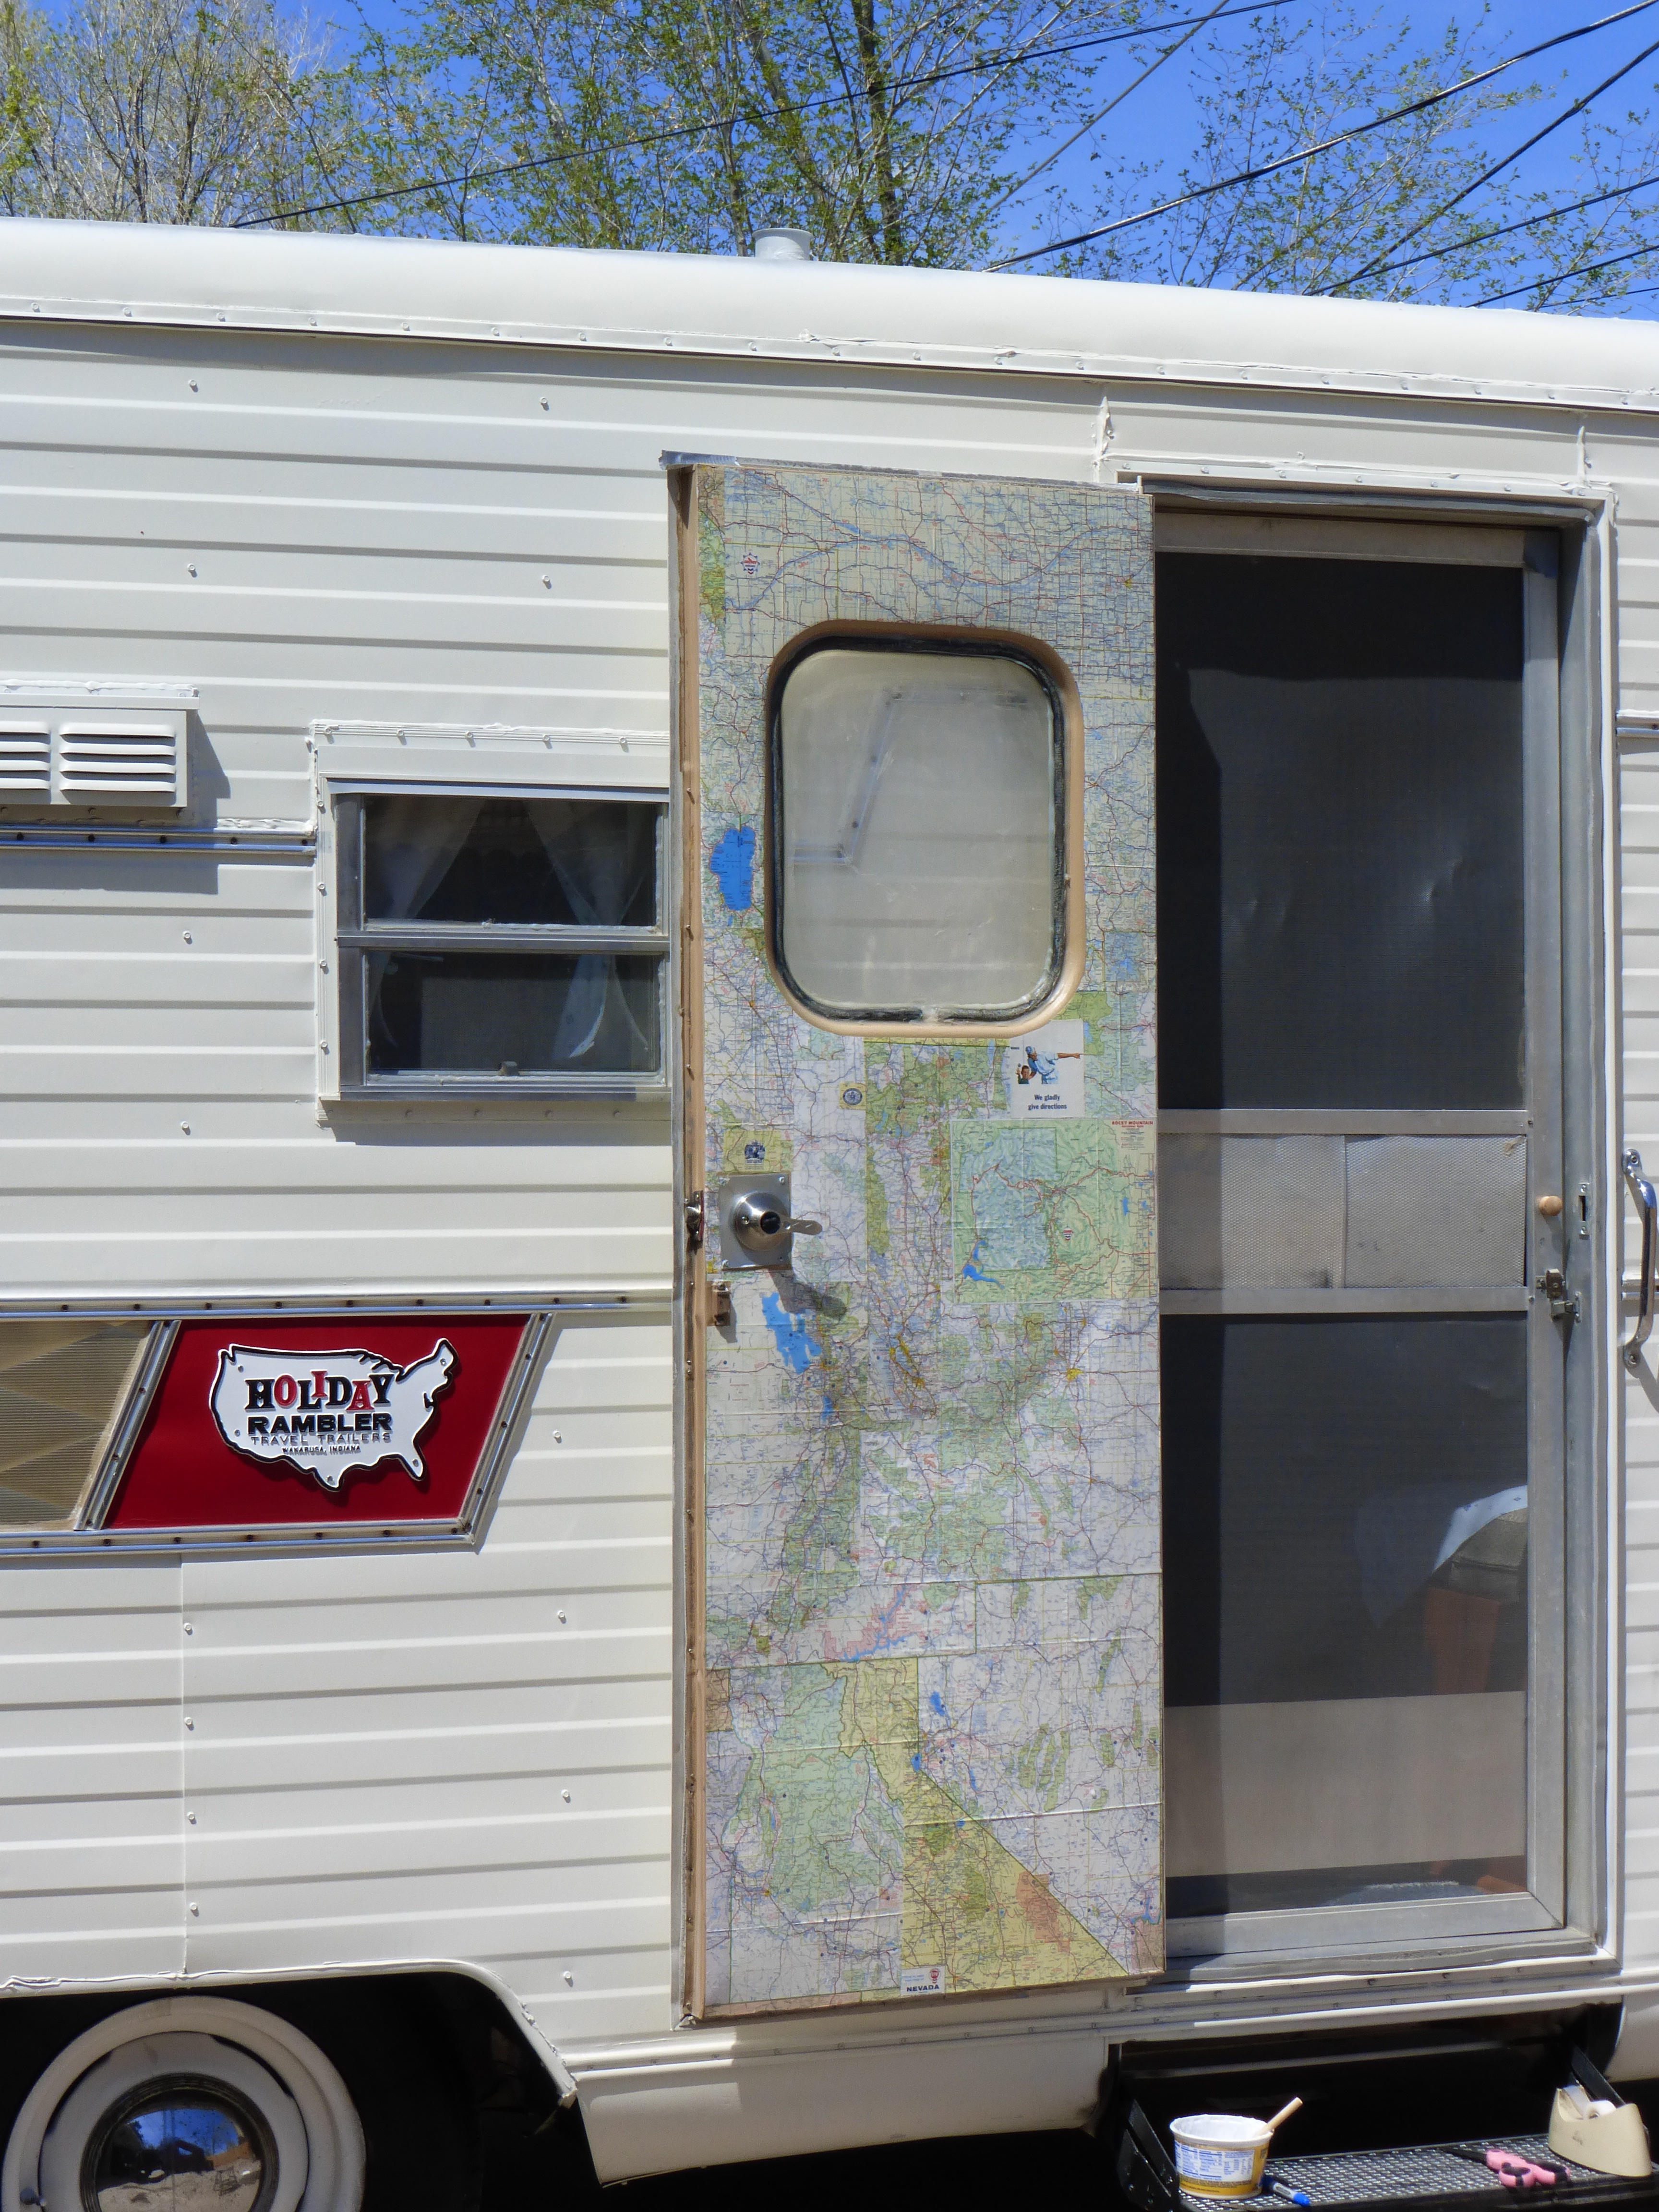
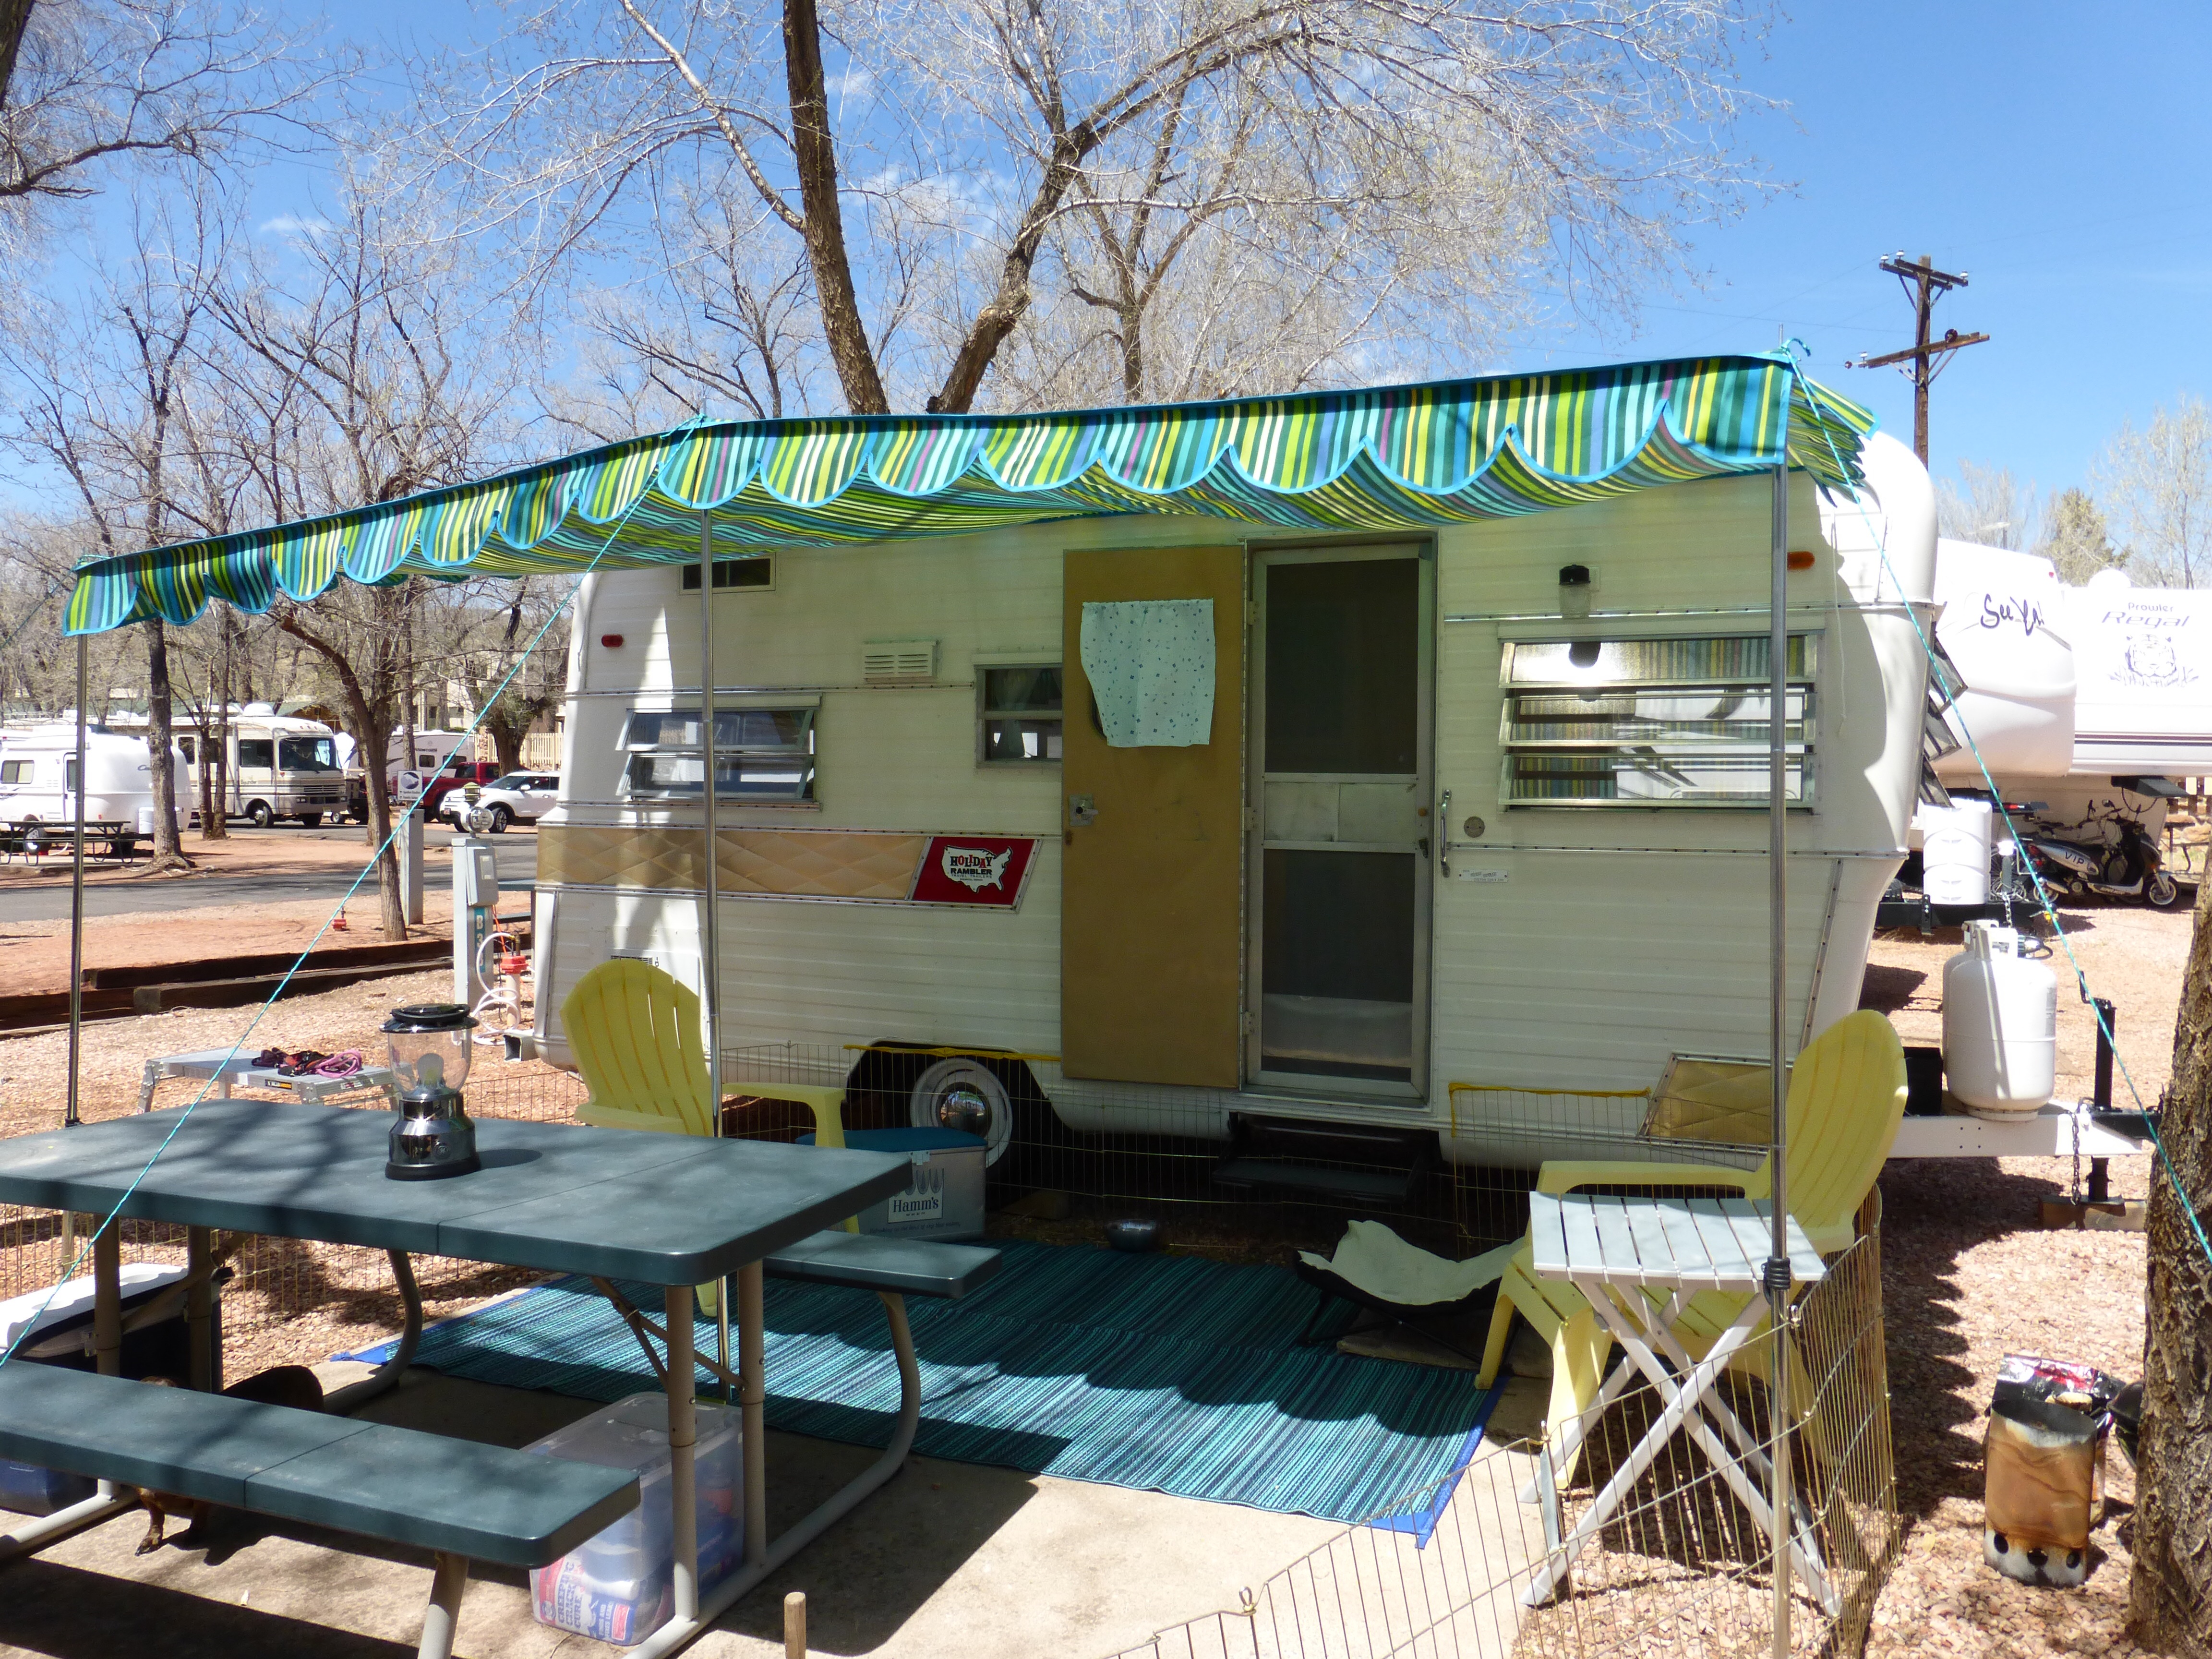
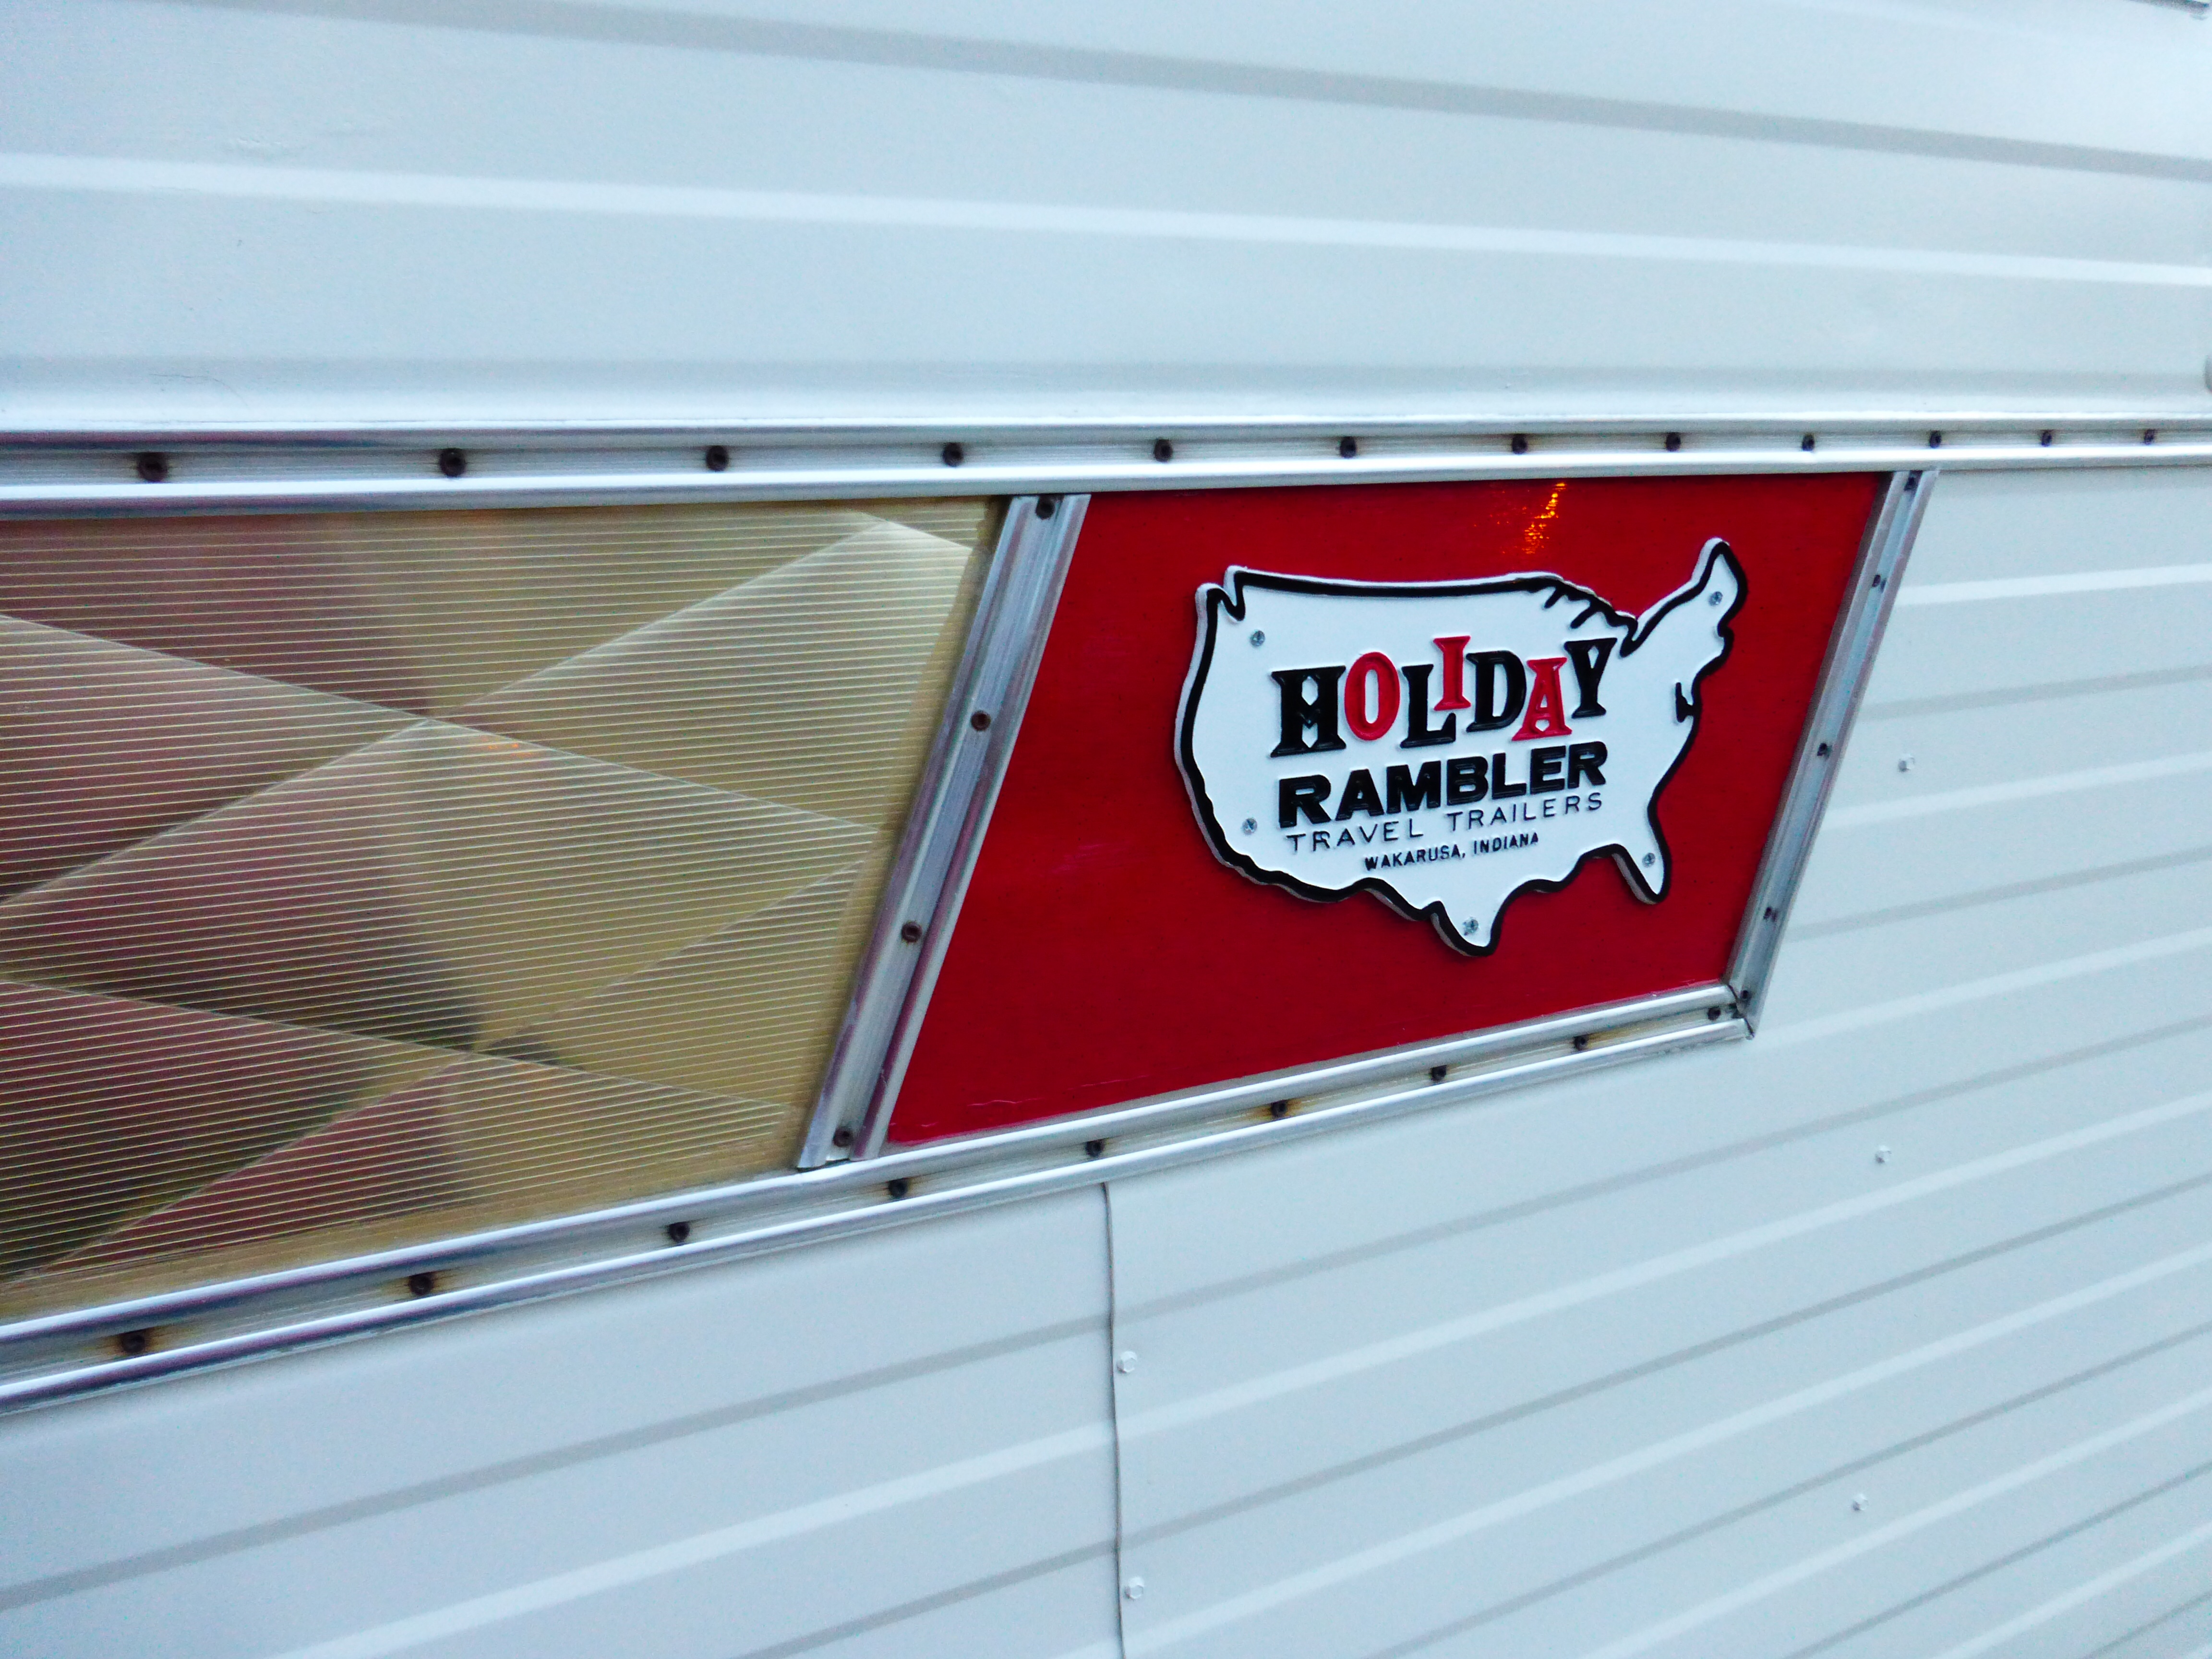
Our poor Holiday Rambler only got 1 trip this year! We took it to Paonia State Park and met some friends who, also, have a vintage Holiday Rambler. Theirs is a mansion compared to our little 18 footer, but they looked so cute together!
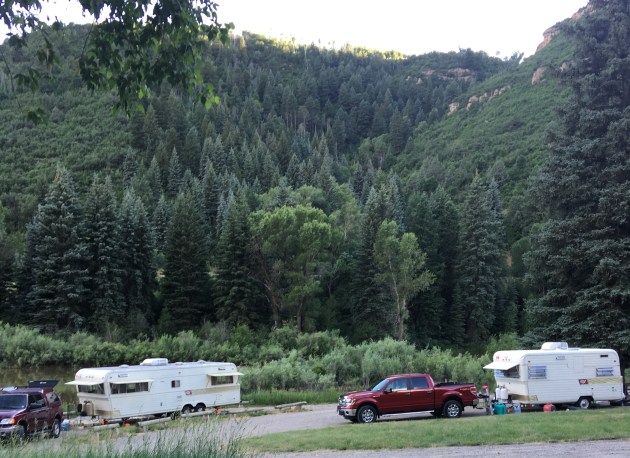
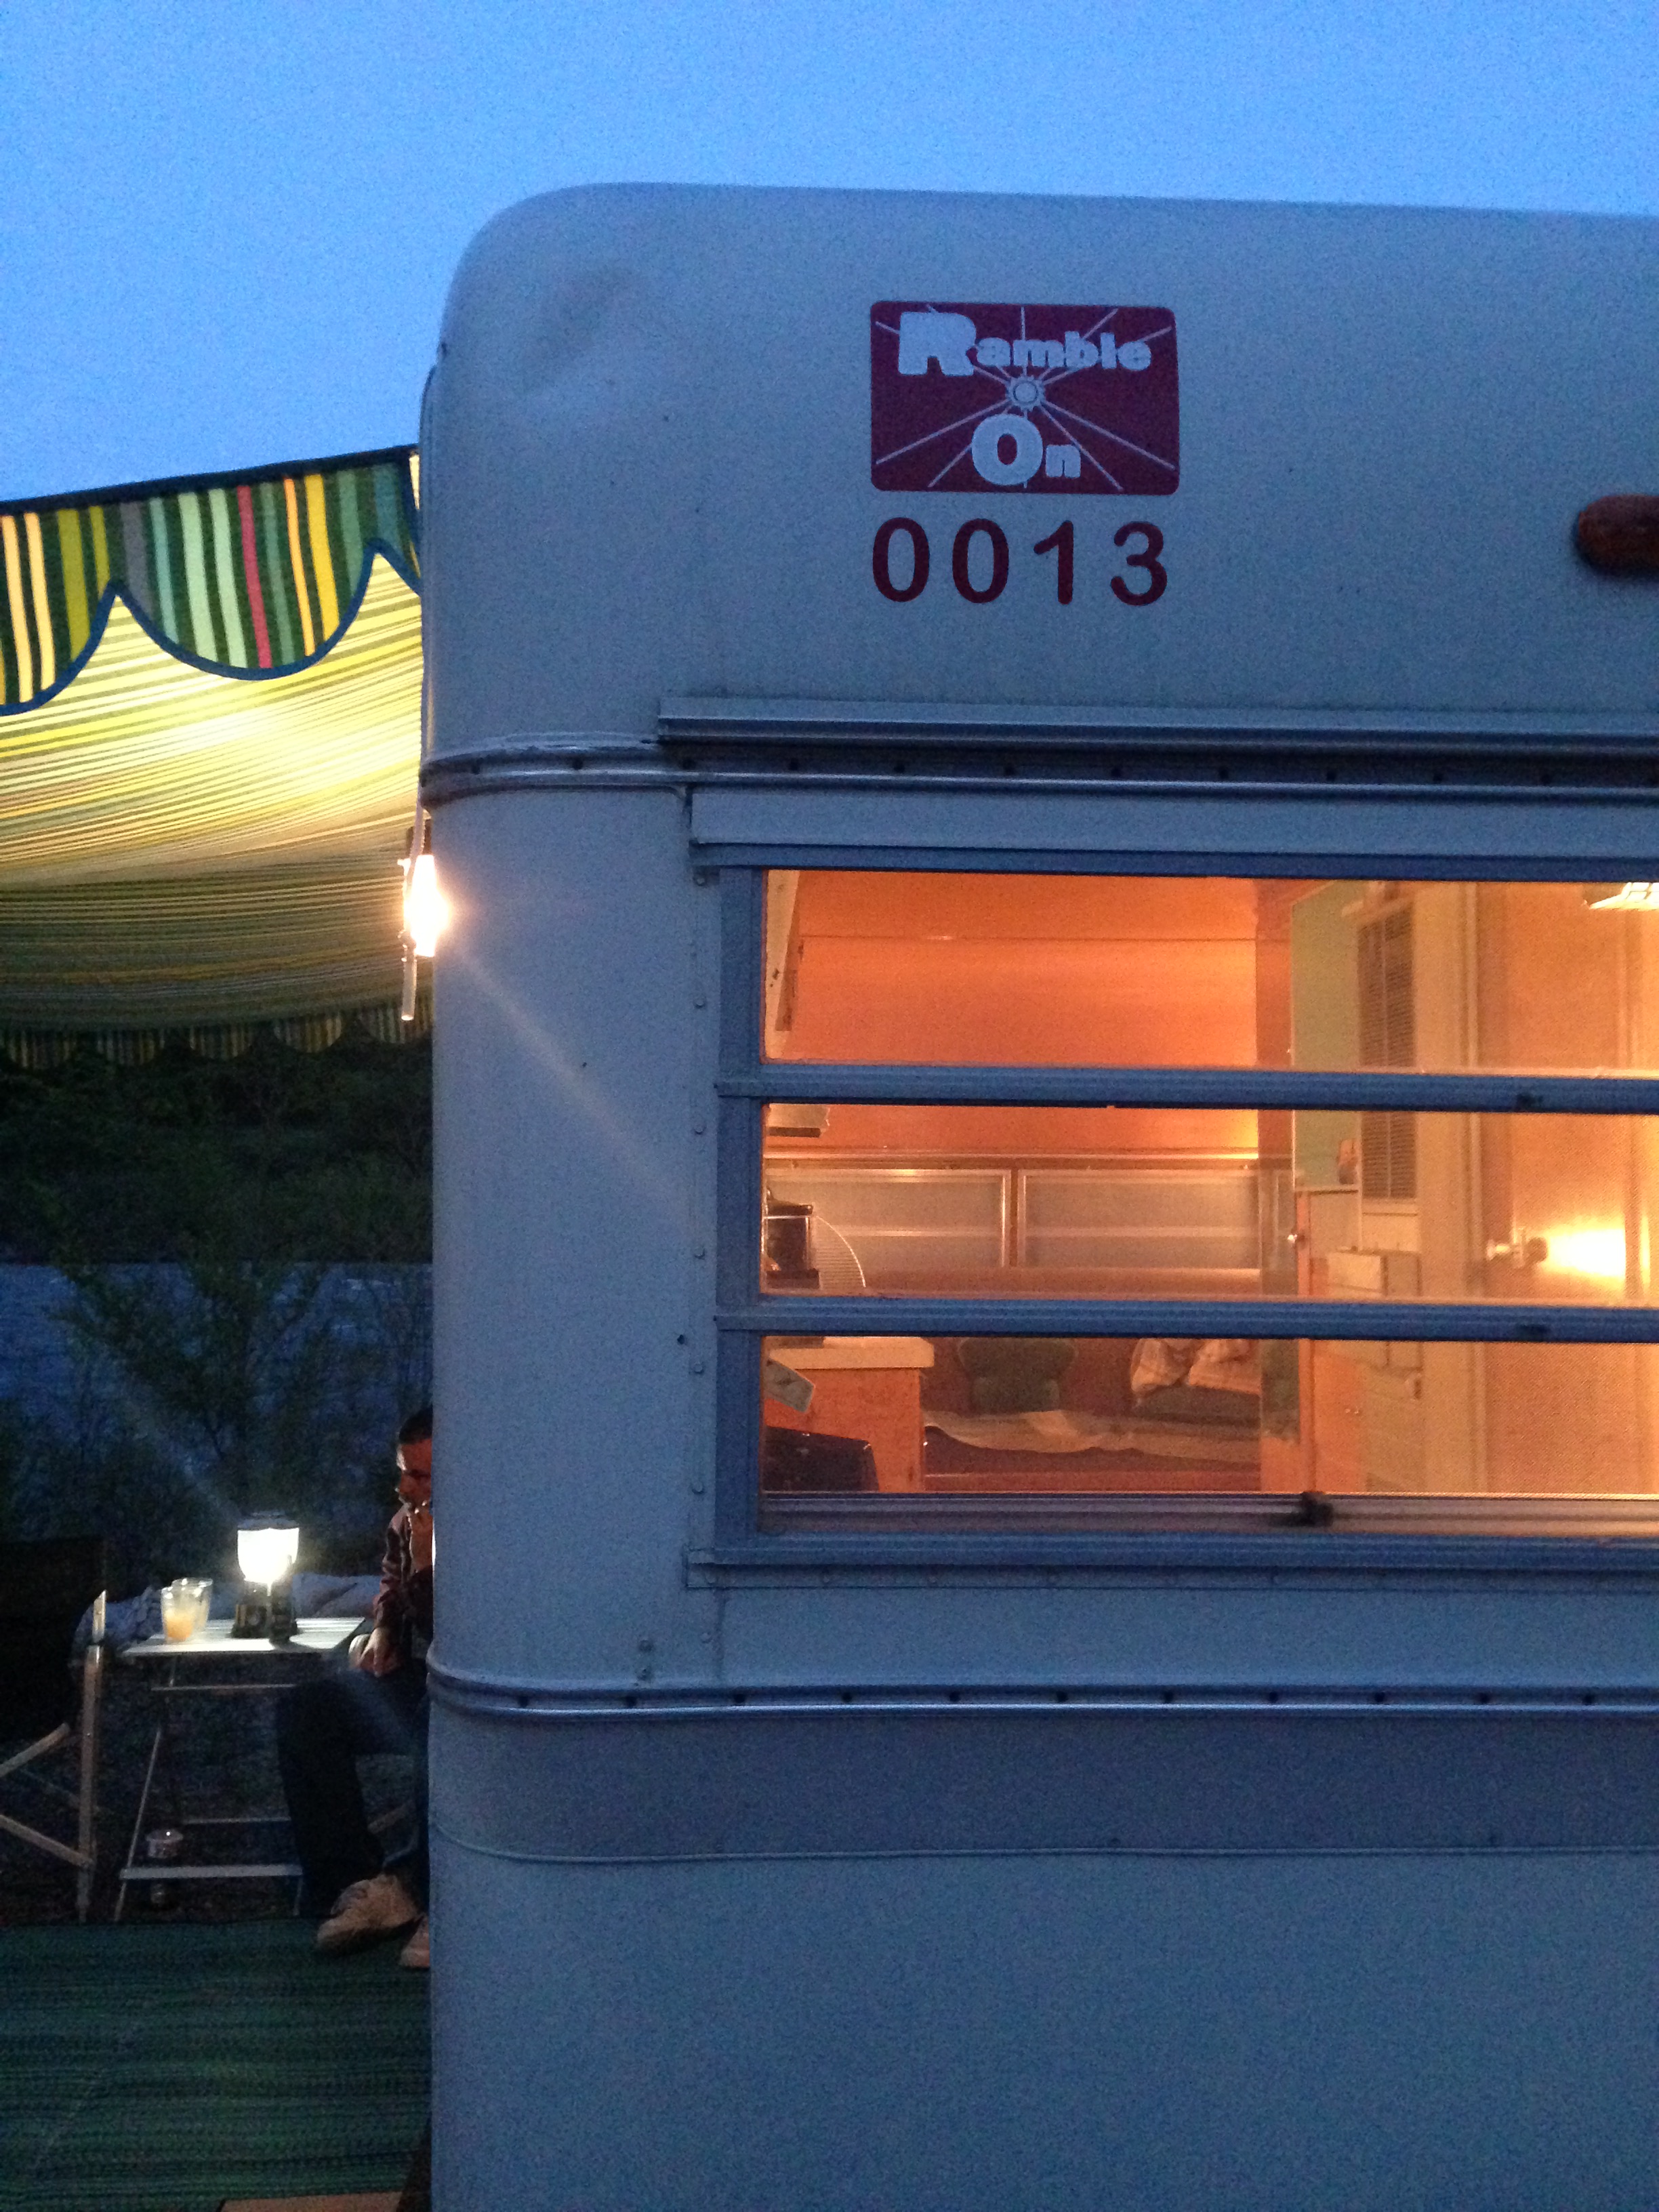
Ramblin’ On!
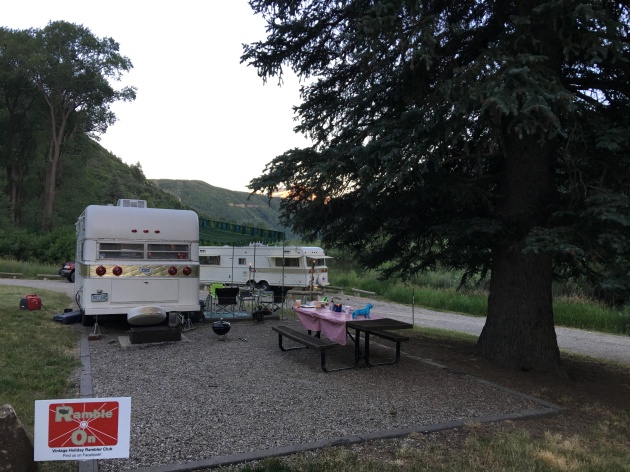
Holiday Ramblers
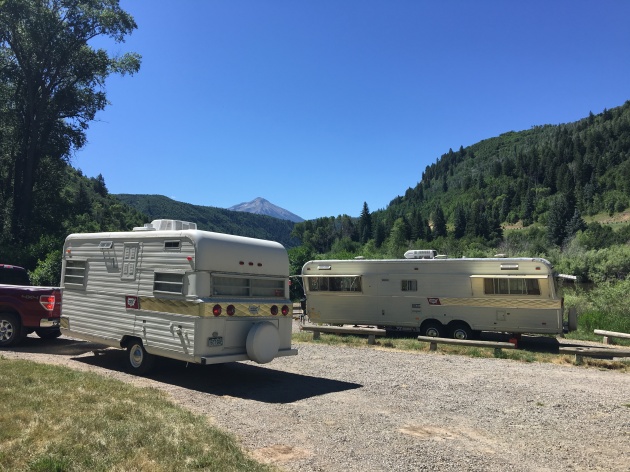
I l love these trailers!
We have a few more trips planned this fall, so we may take the HR out again (Palisade Winefest, Grand Lake, and Lathrop State Park). I love this little trailer, too! It’s beginning to be a problem – having so many trailers. I feel like I’m mistreating the ones that get left behind :-(.
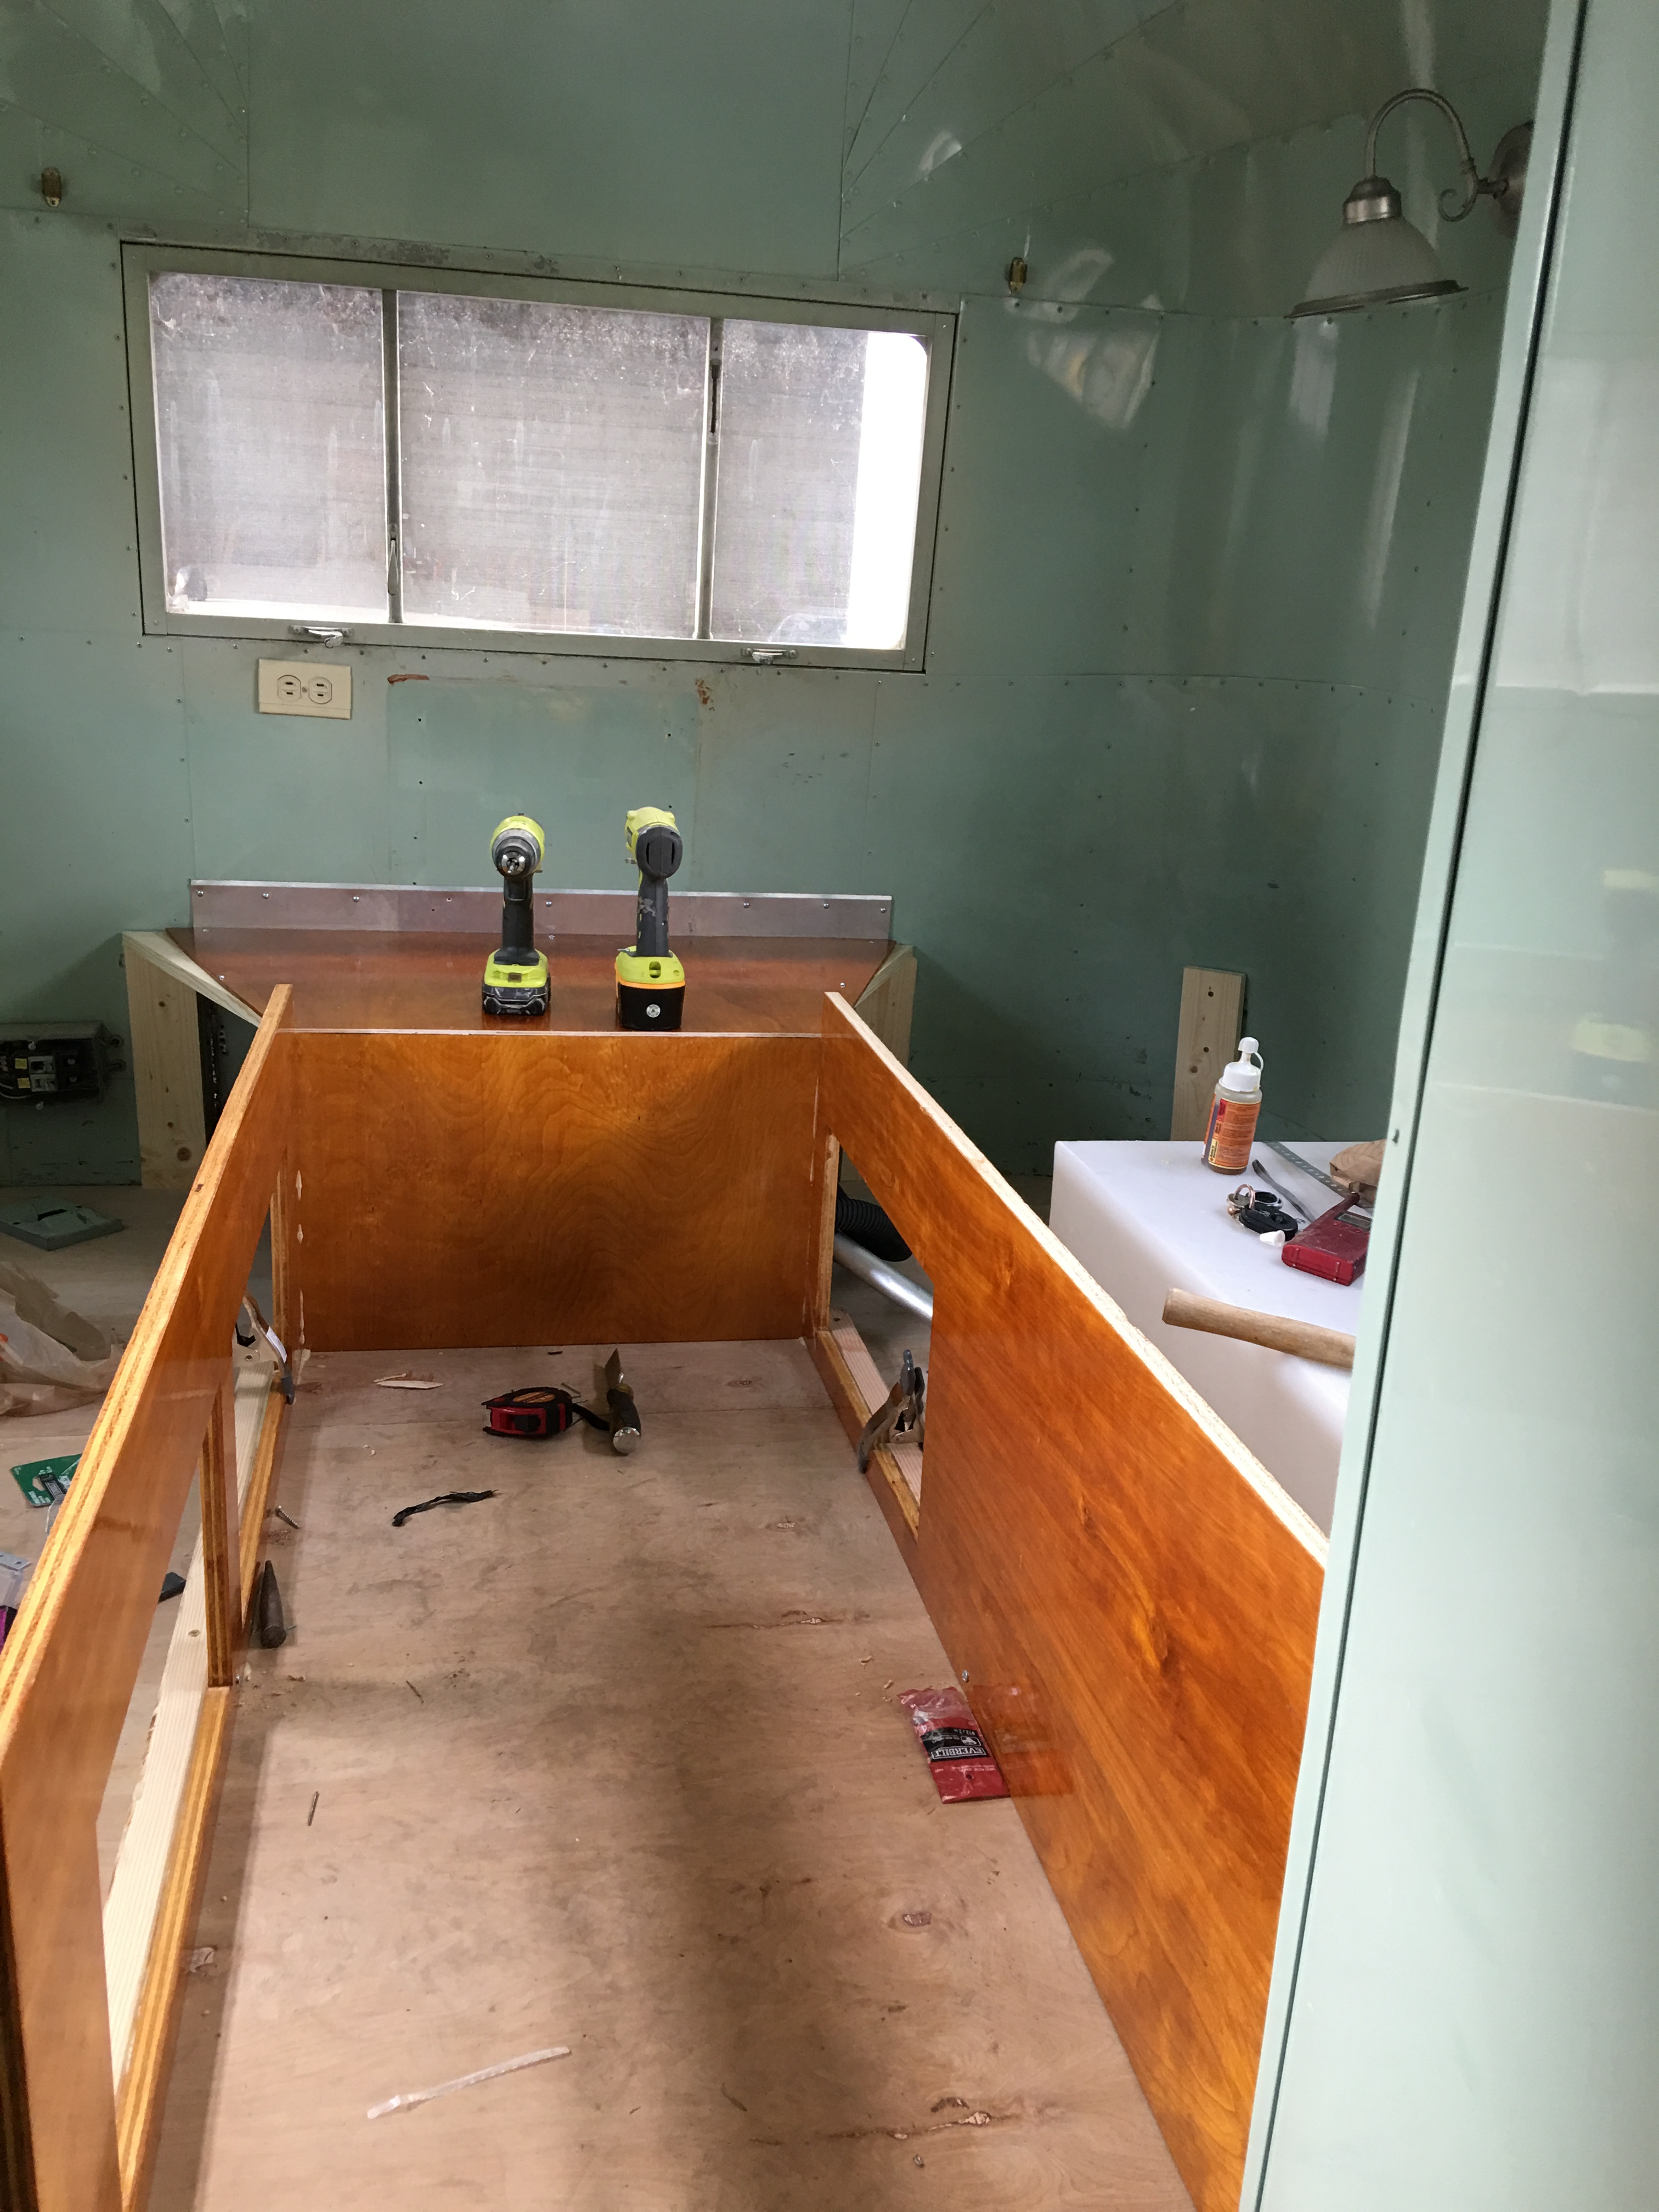
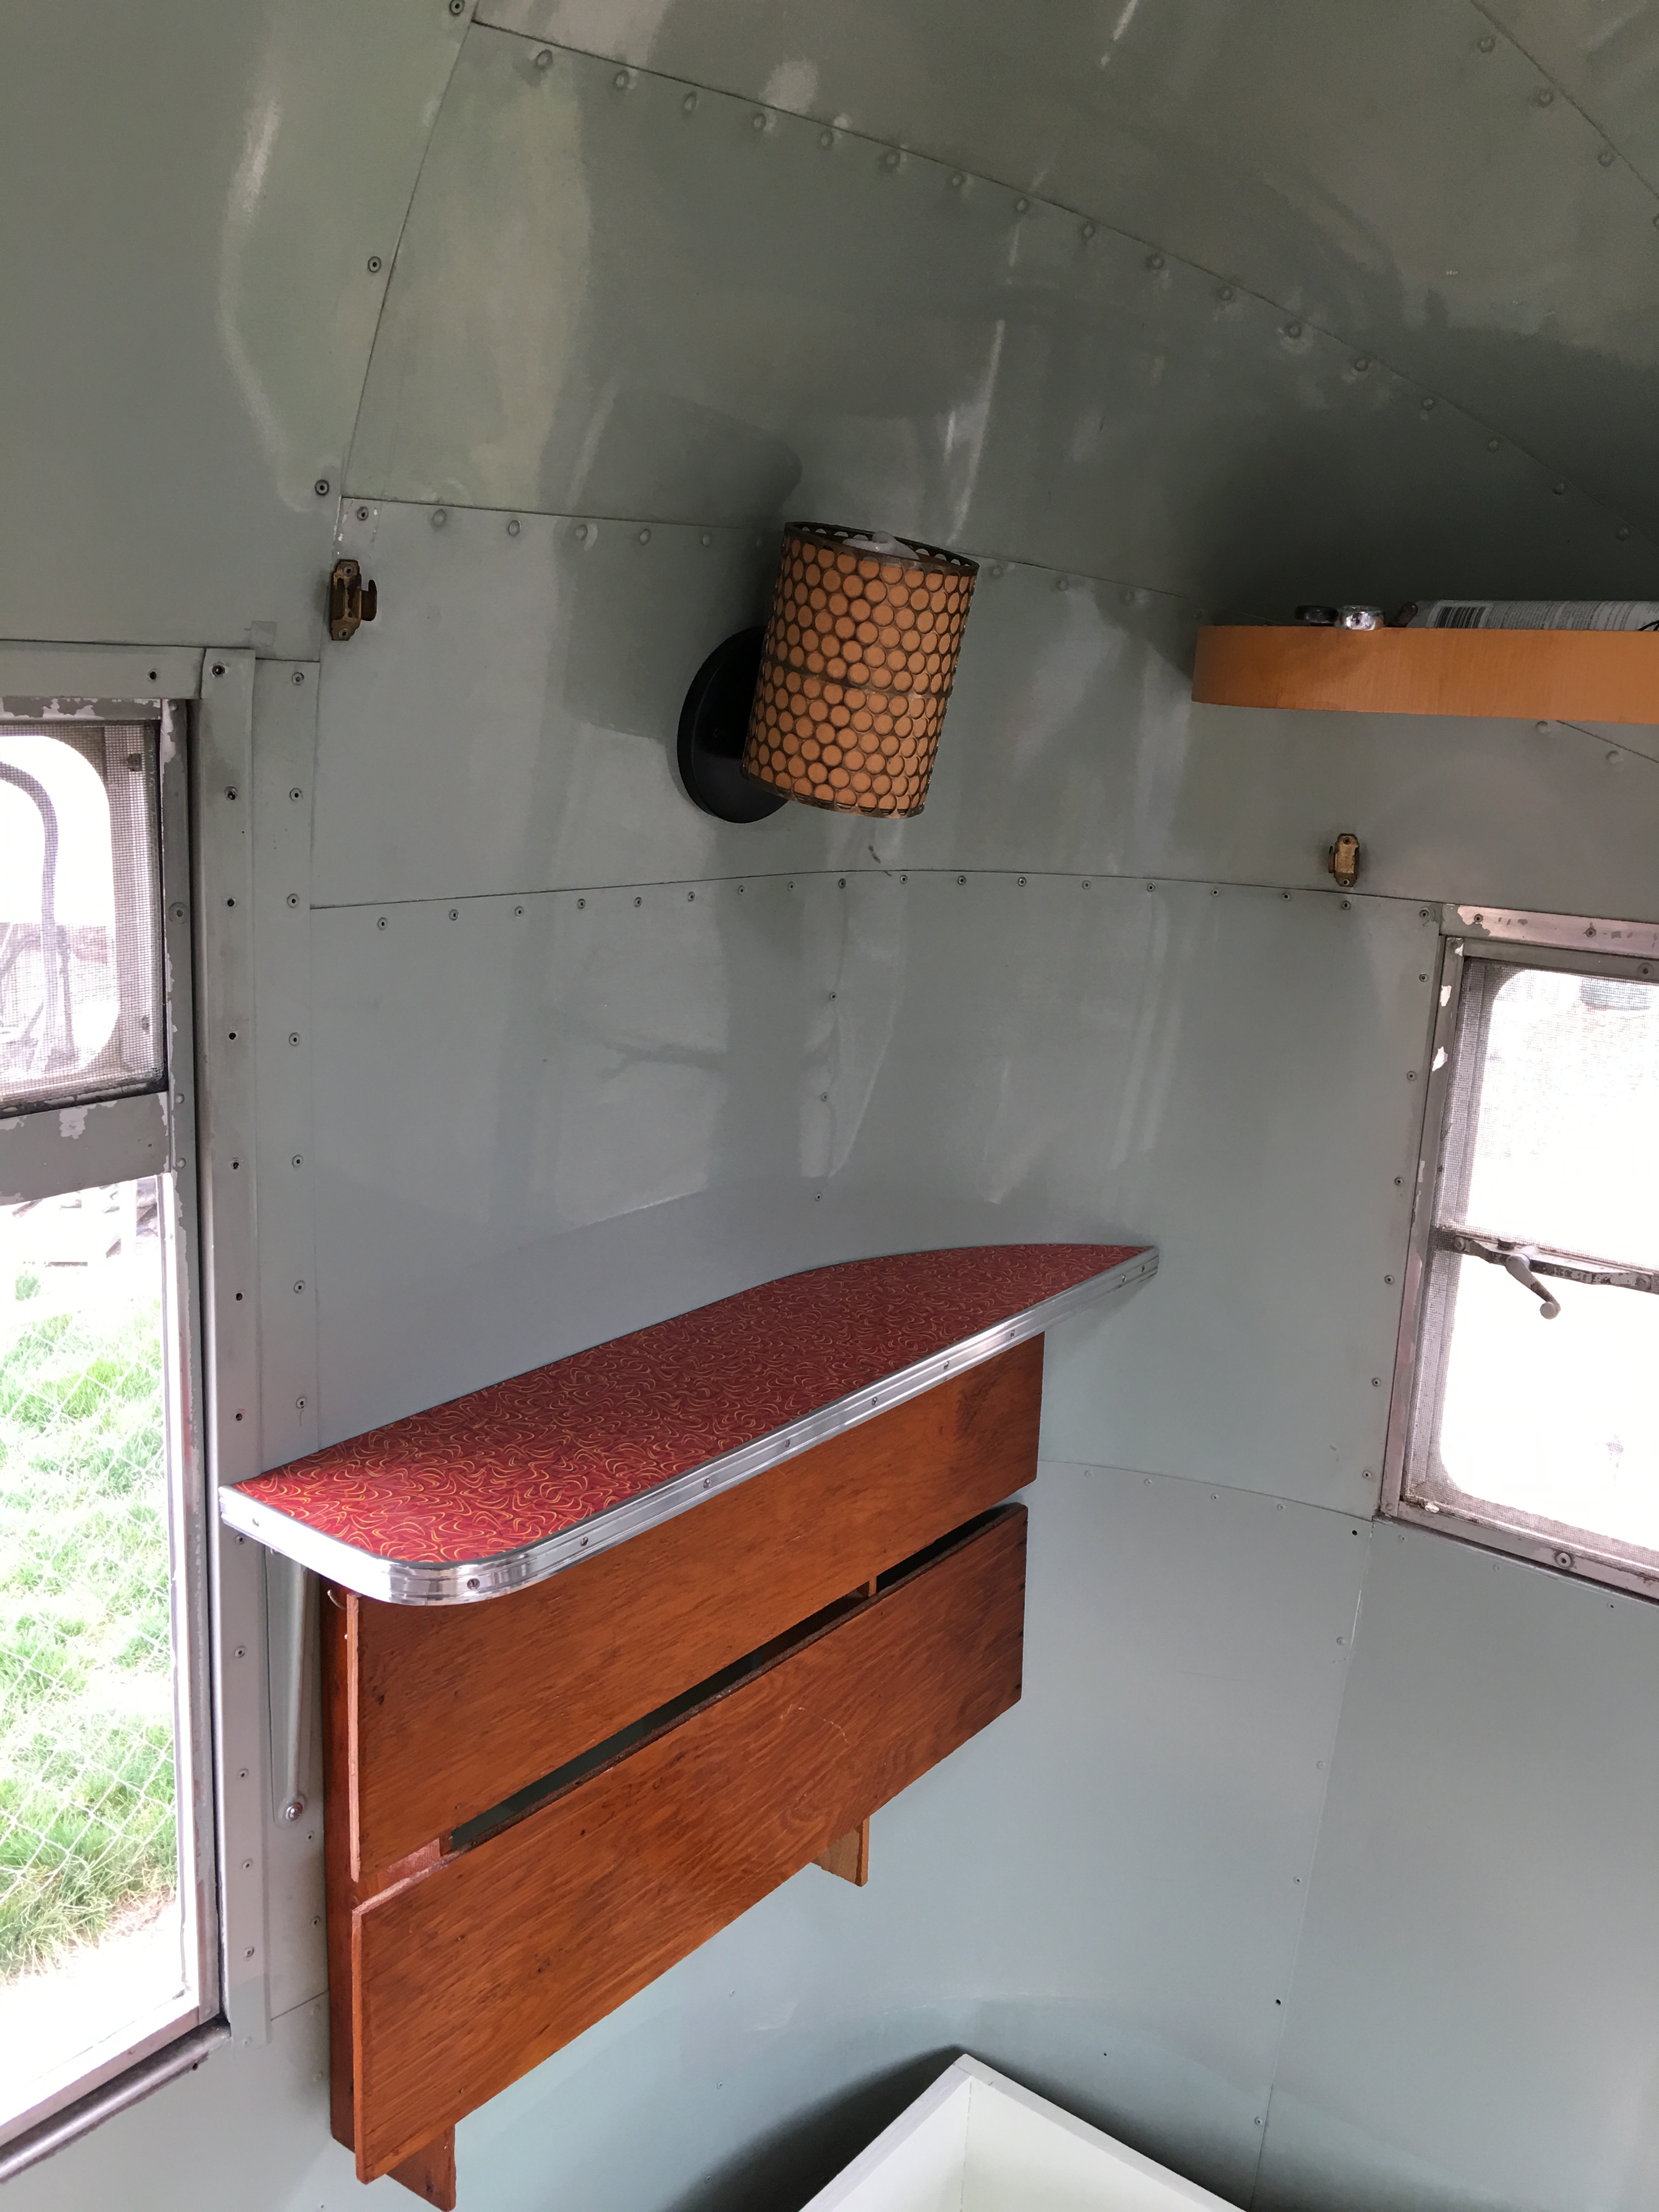
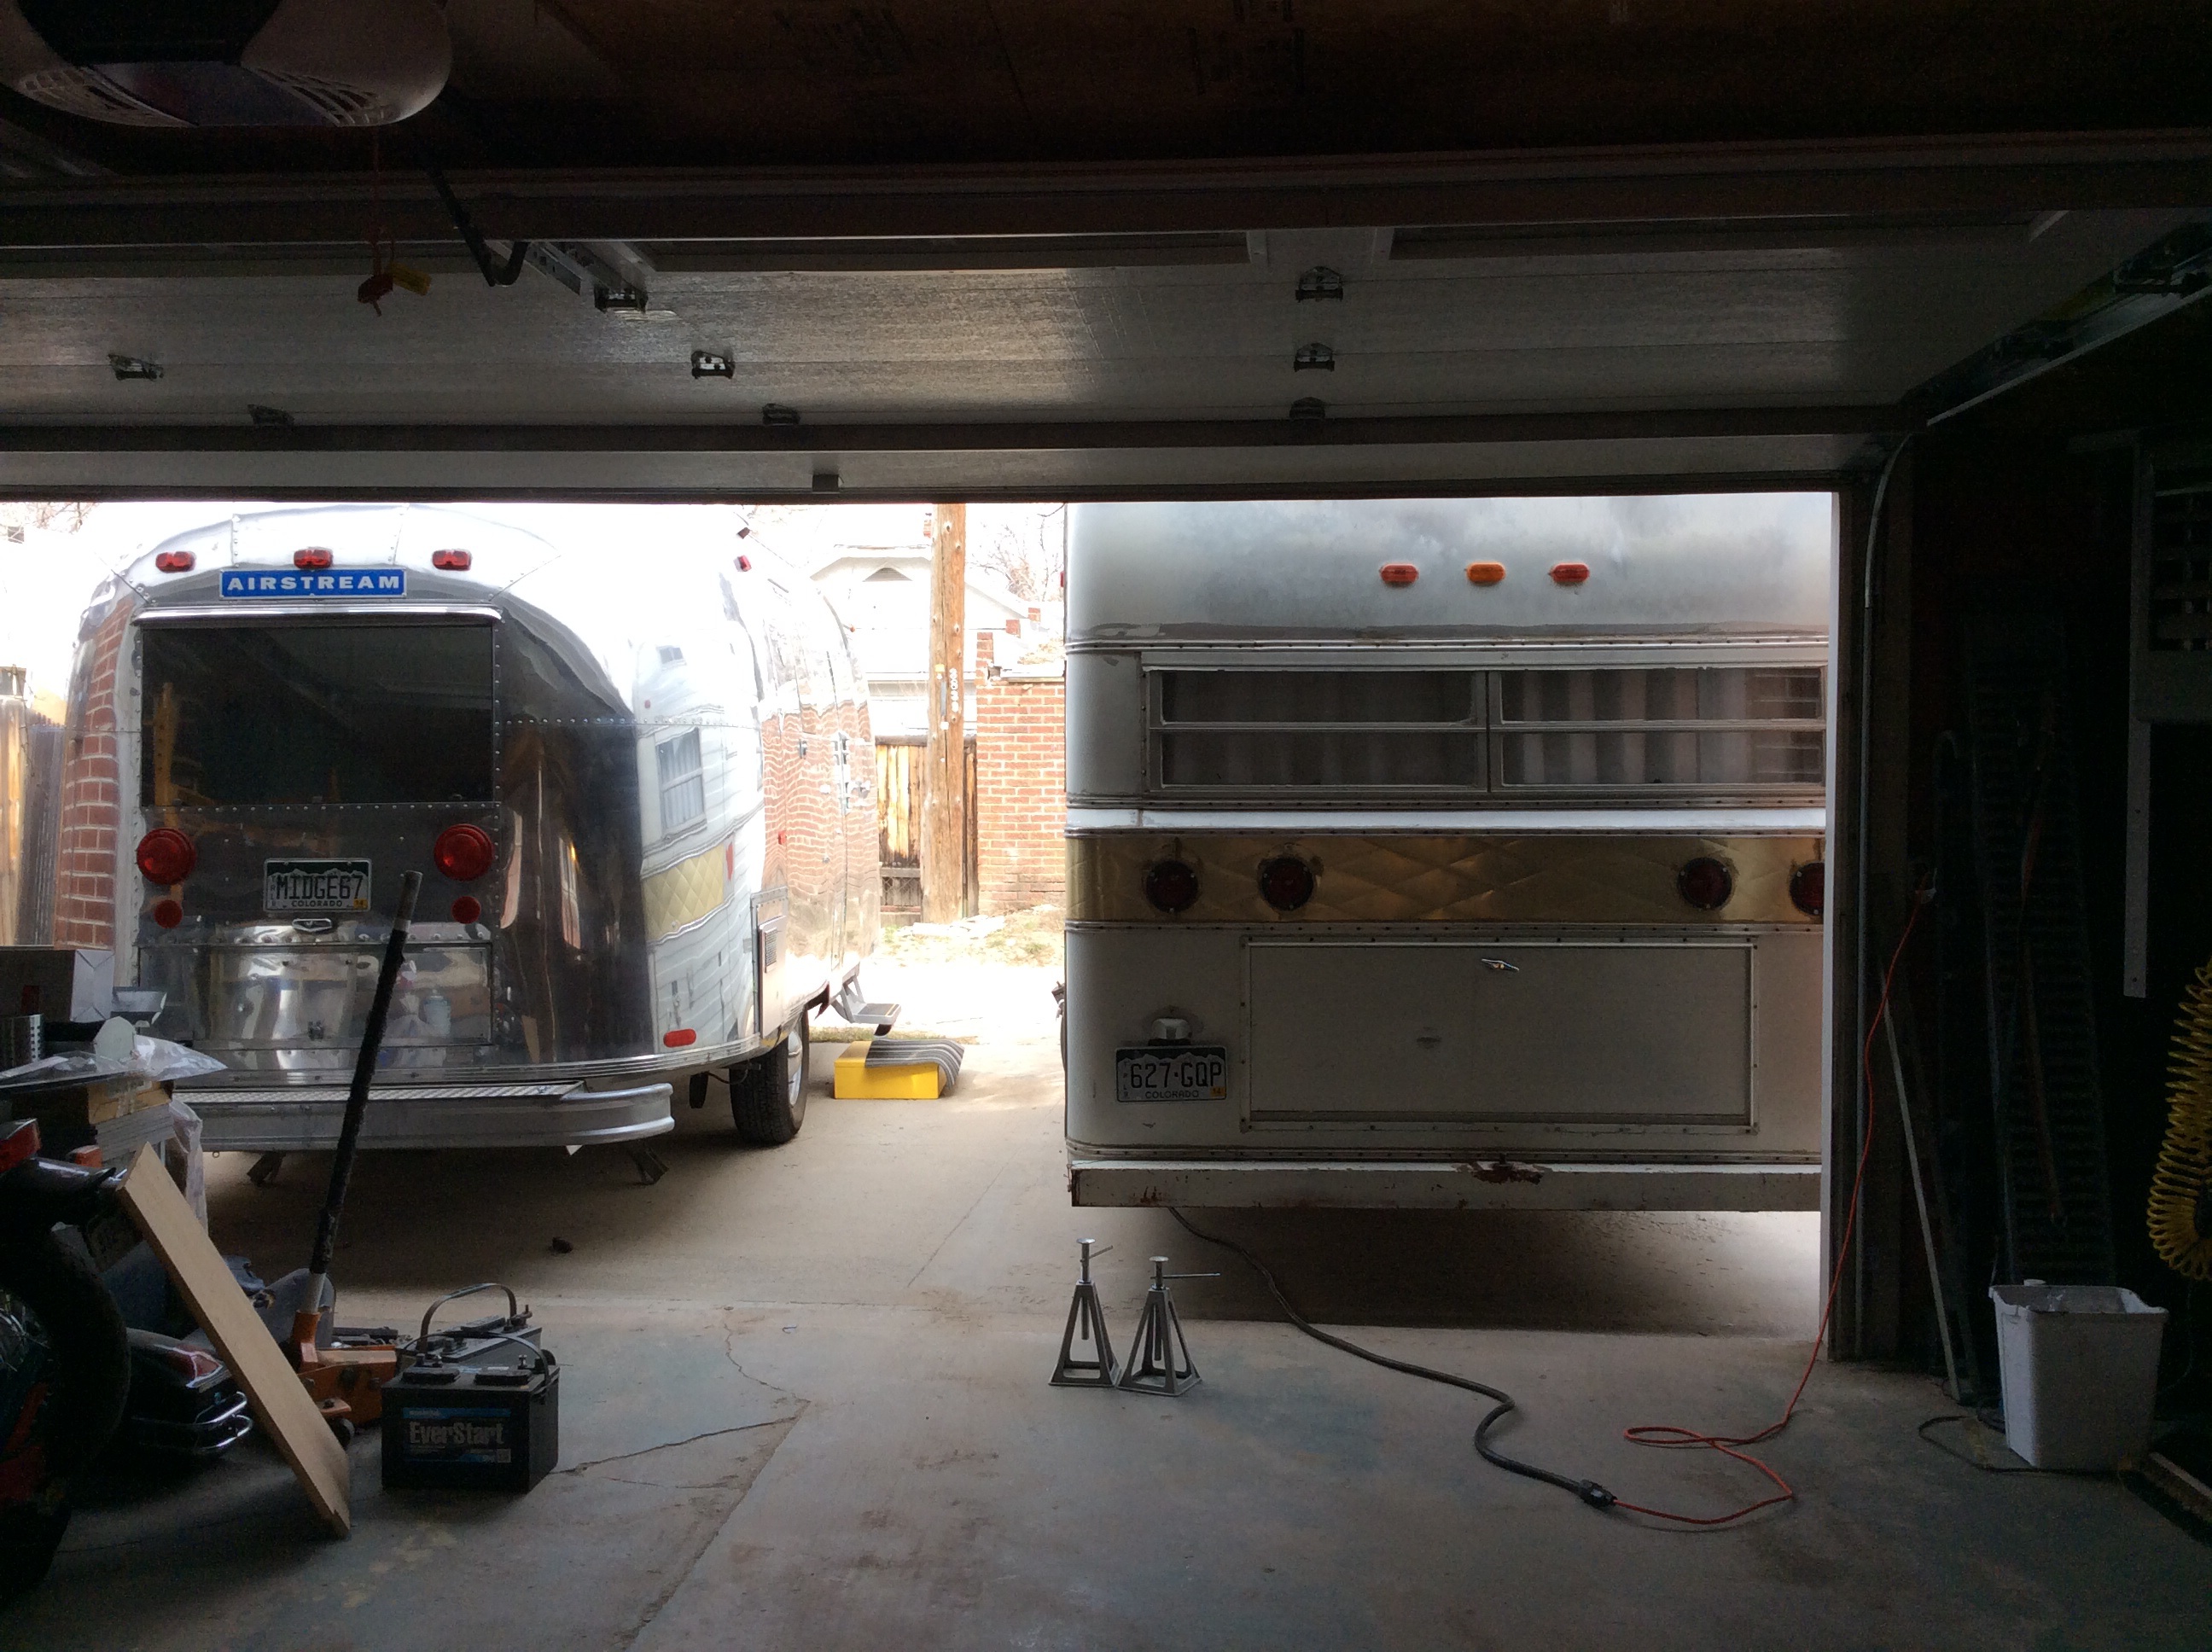
Dear Husband is in the process of enlarging our garage door so we can get the Holiday House inside for the renovations. It’s going to be a big job, but being inside will make it much easier. We rehabbed all of our other trailers outside, which is such a pain. The weather never cooperates, which makes it difficult to get anything done. We’ve named the Holiday House, “Astro”. It’s got such a futuristic Jetson’s vibe! So, I think that means we have 2 girl trailers (the silver beauties), and 2 boy trailers (the Holiday’s).
Here are some before/after pics of the polishing. I love our polishing guy! He’s amazing.
BEFORE:


DURING:


AFTER:


So that’s my update! Whew! It has been busy, busy, busy…..and FUN, FUN, FUN!!